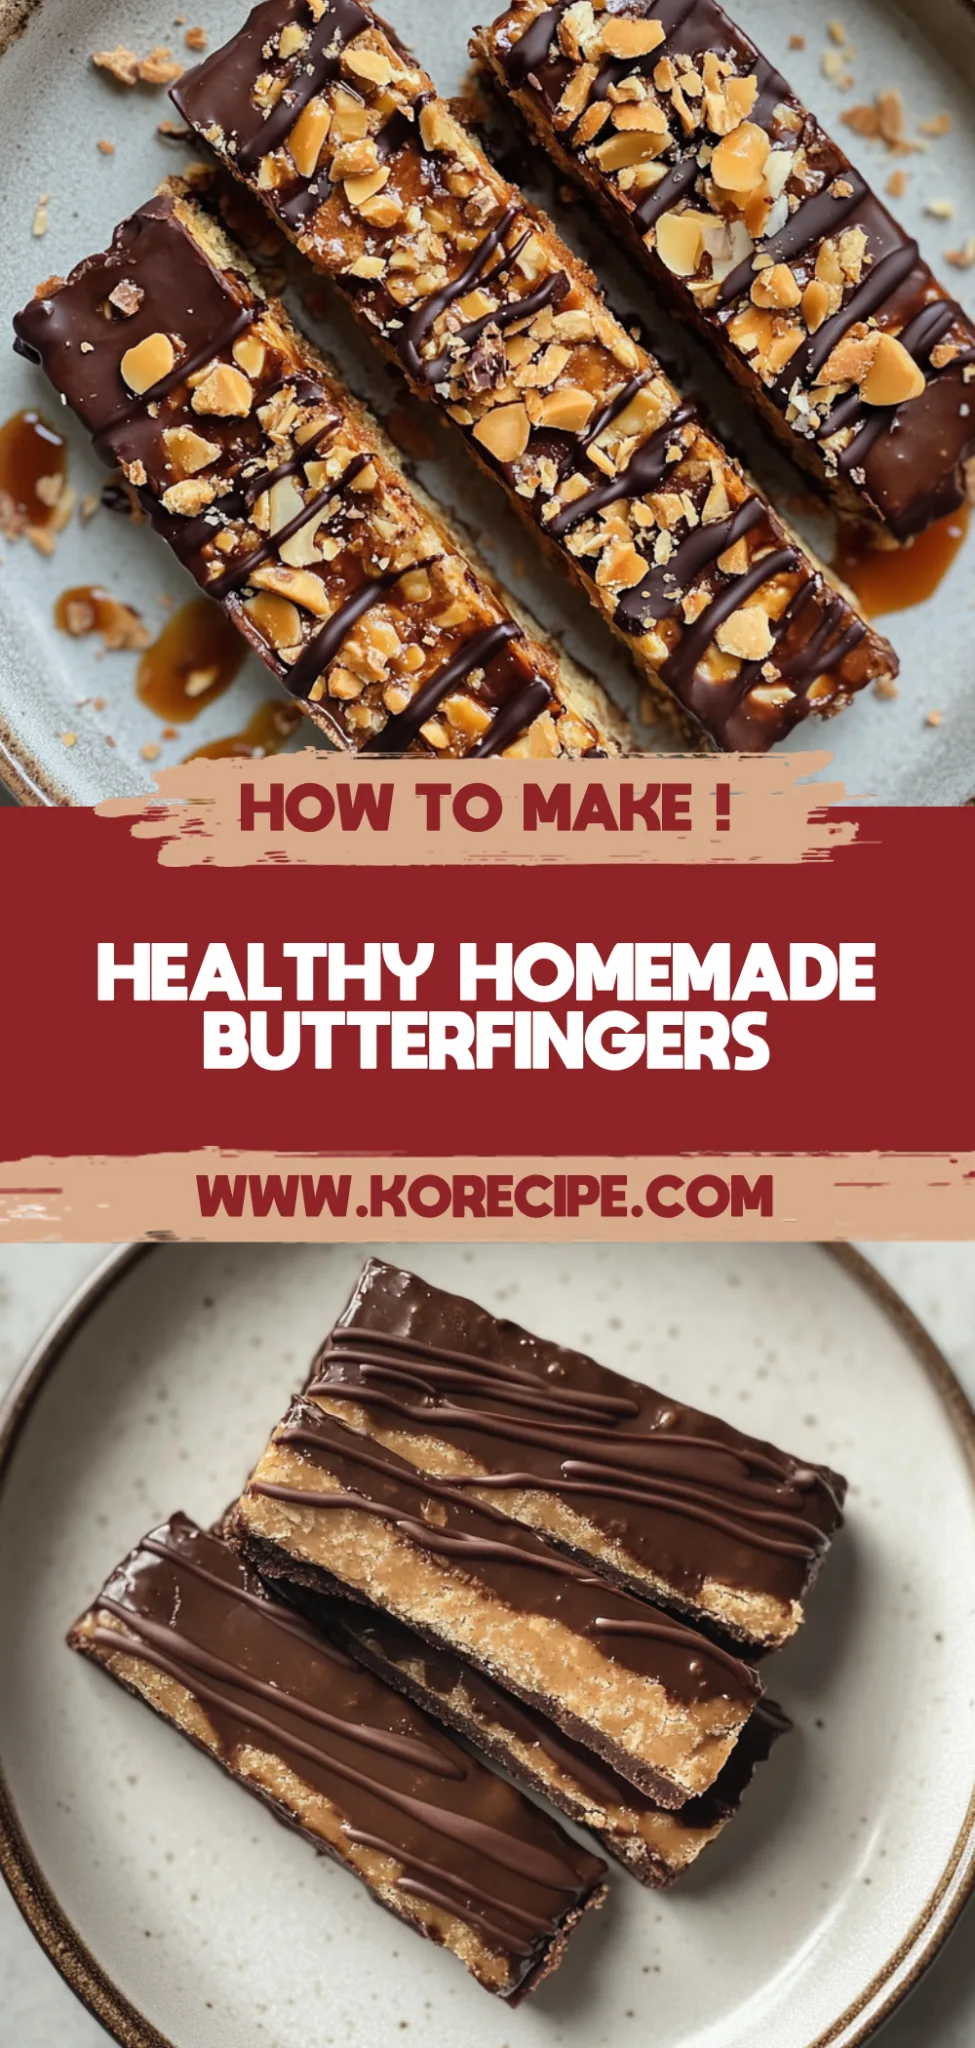
Healthy Homemade Butterfingers: Guilt-Free Indulgence
Indulgence Without Guilt
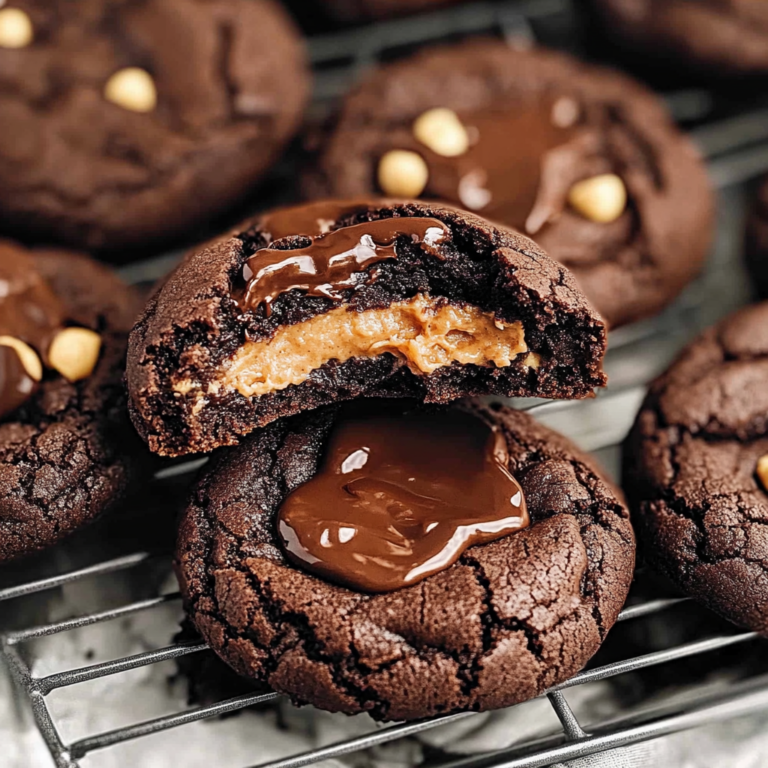
I’ll never forget the first time I decided to whip up these Healthy Homemade Butterfingers. It was a rainy afternoon, and I craved something sweet yet wholesome, and boy, did this recipe deliver! With its crunchy texture and rich peanut buttery flavor, it quickly became my go-to treat whenever that sweet tooth strikes.
What makes these little gems so special is the delightful aroma that fills your kitchen as they bake—it’s like a warm hug on a chilly day. Watching my family’s eyes light up when they take their first bite is priceless; these are perfect for cozy movie nights or as an after-school snack for the kids.
To elevate your experience, try pairing them with a scoop of vanilla ice cream or drizzling some dark chocolate over the top for an extra touch of decadence. Trust me, once you taste these Healthy Homemade Butterfingers, you’ll be counting down the minutes until you can make them again!
What are Healthy Homemade Butterfingers?
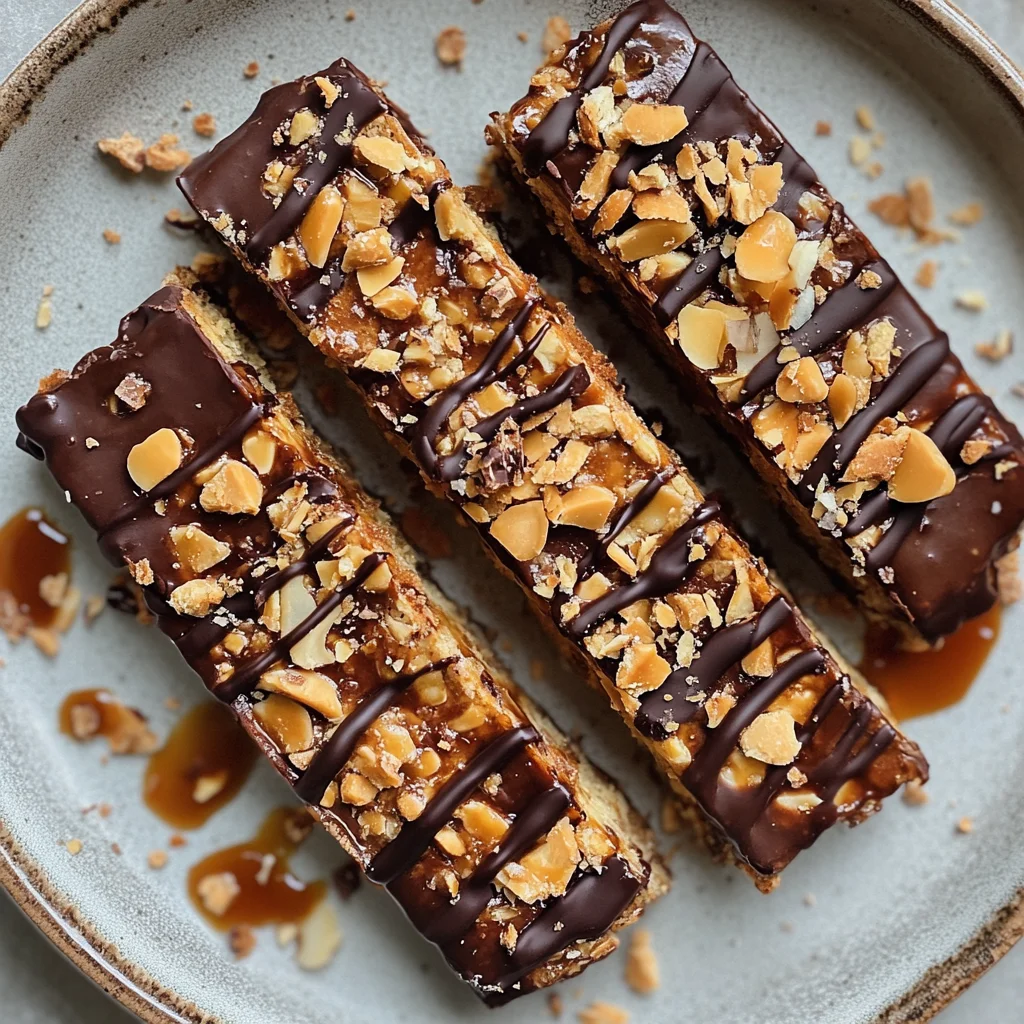
Healthy Homemade Butterfingers are a delightful twist on the classic candy bar, crafted using wholesome ingredients that offer a guilt-free indulgence. This no-bake treat features a base made from creamy natural peanut butter, sweetened with either honey or maple syrup, and complemented by a blend of oat flour and coconut flour for a perfect texture. Each bite delivers a satisfying crunch coated in rich dark chocolate, creating a harmony of flavors that is both sweet and nutty. The simplicity of the preparation—just mix, chill, and coat—means minimal effort and easy cleanup, making it an ideal choice for anyone looking to satisfy their sweet tooth without the fuss.
Perfect For:
Health-Conscious Treats: These Healthy Homemade Butterfingers are perfect for satisfying your sweet tooth without the guilt, making them a great choice for those looking to indulge in a healthier way.
Budget-Friendly Sweets: With simple, natural ingredients that won’t break the bank, you can whip up these delicious candies at home and save money compared to store-bought versions.
Family-Friendly Fun: This recipe is easy to make together, making it a fun family activity. Kids will love helping out and enjoying a healthier treat that everyone can agree on.
Movie Night Snacks: Cozy up with these homemade Butterfingers during your next movie night. They provide all the nostalgic flavors of the classic candy bar with none of the refined sugars—perfect for a guilt-free snack!
Healthy Homemade Butterfingers Ingredients
For the Butterfinger Base
- 1 cup natural peanut butter (smooth or crunchy) – This creamy base provides a rich flavor and healthy fats.
- 1/4 cup honey or maple syrup – Use for natural sweetness; maple syrup offers a unique depth of flavor.
- 1/2 cup oat flour (or ground oats) – A gluten-free alternative that adds fiber and helps bind the ingredients.
- 1/4 cup coconut flour – This adds texture and absorbs excess moisture for a perfect consistency.
- 1/2 teaspoon vanilla extract – A splash enhances the overall flavor, making these Healthy Homemade Butterfingers even more delicious.
For the Chocolate Coating
- 1 cup dark chocolate chips (at least 70% cocoa) – High-quality chocolate gives that classic rich coating while keeping it healthier.
- 1 teaspoon coconut oil – This helps with melting and gives the chocolate a smooth, glossy finish.
Kitchen Equipment You’ll Need
- Mixing bowl
- Baking sheet
- Parchment paper
- Double boiler or microwave-safe bowl
- Sharp knife
- Spatula
How to Make Healthy Homemade Butterfingers
Step 1:
In a mixing bowl, start by combining 1 cup of natural peanut butter with 1/4 cup of honey or maple syrup. Use a spatula or spoon to mix these ingredients until they form a smooth and creamy texture. This will be the deliciously rich base for your Butterfingers, so take your time to ensure everything is well blended.
Step 2:
Next, add in 1/2 cup of oat flour, 1/4 cup of coconut flour, and 1/2 teaspoon of vanilla extract to the peanut butter mixture. Stir everything together until fully combined; you want a thick and cohesive dough-like consistency. It should feel slightly sticky but manageable.
Step 3:
Now it’s time to spread the mixture! Line a baking sheet with parchment paper and evenly spread the mixture onto it, aiming for about 1/2 inch thick. This step is crucial for achieving the right shape and texture, so use a spatula for an even finish.
Step 4:
Once spread out, place the baking sheet in the refrigerator for about 15 minutes. This will allow the mixture to firm up nicely, making it easier to cut into bars later. You’ll know it’s ready when it feels set but still soft enough to slice through without crumbling.
Step 5:
While your base is chilling, let’s prepare the chocolate coating. In a double boiler or microwave-safe bowl, combine 1 cup of dark chocolate chips with 1 teaspoon of coconut oil. Heat gently until smooth and melted, stirring occasionally to prevent burning. The chocolate should be glossy and fluid when it’s ready.
Step 6:
After about 15 minutes in the fridge, remove the base from refrigeration and cut it into bars or squares using a sharp knife. Take your time here; even sizes will ensure each Butterfinger has that classic shape we all love!
Step 7:
Dip each bar into the melted chocolate carefully, ensuring it gets fully coated on all sides. A fork can help lift them out without too much mess! Let any excess chocolate drip off before placing them back on the parchment paper.
Step 8:
Finally, return the coated bars to the refrigerator for about 10 minutes, allowing the chocolate to harden completely. You’ll know they’re ready when they have a firm shell around them—perfectly set for that satisfying crunch!
Tips
- Choose the right peanut butter: Opt for natural peanut butter without added sugars or oils — this keeps your Butterfingers healthy and ensures a rich, nutty flavor that shines through.
- Use room temperature ingredients: Allow your peanut butter and honey (or maple syrup) to come to room temperature before mixing — this helps them blend smoothly, creating a cohesive base that’s easy to spread.
- Measure flours accurately: Use a kitchen scale or spoon and level method for your oat flour and coconut flour — accurate measurements ensure the right texture, preventing your bars from being too dry or crumbly.
- Chill the mixture thoroughly: Refrigerate the base for a full 15 minutes, or until firm — this step is crucial for easy cutting and prevents the bars from falling apart when you dip them in chocolate.
- Melt chocolate gently: When melting the dark chocolate chips with coconut oil, use low heat in a double boiler or microwave in short bursts — this prevents scorching and ensures a smooth, glossy coating.
- Coat promptly after cutting: Dip each bar into chocolate immediately after cutting them — this ensures the chocolate adheres well to the base, resulting in a beautiful finish that won’t easily crack off.
- Store properly for freshness: Keep your finished Butterfingers in an airtight container in the refrigerator — this preserves their texture and flavor while ensuring they remain deliciously sweet and satisfying.
Optional Ingredients
- Sea salt: A sprinkle of flaky sea salt on top enhances the sweetness and adds a delightful contrast, elevating each bite to new heights.
- Cayenne pepper: For those who enjoy a bit of heat, a pinch of cayenne can give your Butterfingers an unexpected kick. Mix it into the peanut butter before forming the bars for a spicy surprise.
- Chopped almonds: Adding chopped almonds provides a satisfying crunch and nutty flavor that complements the creamy texture of the base. Stir in some before chilling for an extra layer of taste and texture.
- Orange zest: Brighten up your Butterfingers with a hint of citrus by incorporating orange zest into the peanut butter mixture. This will add a refreshing aroma and a subtle tartness that balances the sweetness.
- Maple glaze: Drizzle a homemade maple glaze over the cooled bars for an extra layer of sweetness and shine, making them even more irresistible to indulge in.
What to Pair with Healthy Homemade Butterfingers?
To complement the rich, nutty flavor of Healthy Homemade Butterfingers, consider serving a fresh salad as a light starter. A mixed green salad with arugula, sliced strawberries, and a drizzle of balsamic vinaigrette adds a refreshing contrast. The sweetness of strawberries harmonizes beautifully with the peanut butter’s earthiness while the acidity from the vinaigrette balances the dessert’s dense texture.
Steamed or roasted vegetables can also be an excellent pairing to enhance your meal experience. Think of bright, colorful veggies like carrots and bell peppers tossed with a bit of coconut oil and sea salt. Their natural sweetness and crisp texture provide a lovely counterpoint to the creamy, chocolatey indulgence of your Butterfingers, creating a satisfying contrast that rounds out the plate.
For a comforting side dish, consider fluffy quinoa or brown rice seasoned with herbs. These grains offer a nutty flavor that echoes the peanut butter while providing a heartier component to your meal. The wholesome nature of these sides complements the healthier twist on the classic candy bar without overwhelming it, ensuring every bite feels complete and balanced.
Finally, pair your Butterfingers with a warm cup of herbal tea or a glass of almond milk for a cozy finish. The subtle flavors in these beverages won’t overpower the dessert but will instead enhance its creamy chocolate richness. They add an inviting warmth that makes for an ideal end to your meal, allowing you to savor each decadent bite while enjoying their soothing qualities.
Variations and Substitutions
Almond Butter instead: Swap the peanut butter for almond butter for a slightly different flavor profile that offers a nutty, subtly sweet essence. This variation also adds a touch of creaminess and is perfect for those looking to diversify their nut spreads.
Maple Syrup instead of Honey: Opt for pure maple syrup in place of honey to create a vegan-friendly version of these treats. The maple syrup adds a unique caramel-like flavor and complements the nuttiness of the base beautifully.
Coconut Flour Alternative: If you’re looking for a lighter texture, replace coconut flour with ground almonds or almond flour. This swap not only maintains the integrity of the bars but also gives them an added nutty richness that enhances their overall flavor.
Chocolate Protein Powder Boost: For an extra protein punch, incorporate 1/4 cup of chocolate protein powder into the base mixture. This not only increases the nutritional value but also provides a rich chocolate undertone that harmonizes with the dark chocolate coating.
Nut-Free Sunflower Seed Butter: For a nut-free version, use sunflower seed butter instead of peanut butter. This swap results in a deliciously unique taste while ensuring that those with nut allergies can enjoy these homemade treats without worry.
Spiced Up Vanilla: Add 1/4 teaspoon of cinnamon or a pinch of sea salt to the base mixture for an exciting flavor twist. The cinnamon adds warmth, while sea salt enhances sweetness, creating a delightful contrast that elevates each bite.
Dark Chocolate with Sea Salt: Elevate your chocolate coating by using dark chocolate with sea salt flakes mixed in. This variation not only intensifies the chocolate flavor but also brings out a wonderful savory-sweet balance that makes every bar irresistible.
To store your Healthy Homemade Butterfingers in the refrigerator, allow them to cool completely after preparation. Place them in an airtight container lined with parchment paper to prevent sticking, and they will keep well for up to one week. If you find that they’ve hardened too much upon refrigeration, simply let them sit at room temperature for a few minutes before enjoying to restore their softer texture.
These Butterfingers freeze well, though be aware that the chocolate coating may become slightly less glossy after thawing. For optimal freezing, slice the bars into individual portions and wrap each piece in plastic wrap before placing them in an airtight container or freezer bag. They can be stored in the freezer for up to three months; when you’re ready to enjoy one, thaw it in the refrigerator overnight or at room temperature for about 30 minutes.
FAQ
Can I use a different sweetener instead of honey or maple syrup?
Absolutely! You can substitute honey or maple syrup with agave nectar, coconut sugar, or even a sugar-free alternative like stevia or erythritol for a lower-calorie option. Just keep in mind that the flavor and sweetness level may vary slightly with each substitute.
Can I make these Healthy Homemade Butterfingers gluten-free?
Yes, you can easily make this recipe gluten-free by ensuring that the oat flour is certified gluten-free. Additionally, you can use ground almonds or another gluten-free flour alternative if you prefer.
How do I know when the Butterfinger base is firm enough?
The base should be chilled in the refrigerator for about 15 minutes until it’s firm to the touch. If it feels soft and sticky, give it a bit more time in the fridge to set before cutting into bars.
Can I use chocolate chips with less than 70% cocoa for coating?
While you can use chocolate chips with a lower cocoa percentage, keep in mind that they will be sweeter and have less intense chocolate flavor. This might alter the overall taste of your Healthy Homemade Butterfingers, so choose according to your preference.
How should I store my Healthy Homemade Butterfingers?
Store your Butterfingers in an airtight container at room temperature for up to a week, or refrigerate them for longer freshness. If you want to extend their shelf life, consider freezing them; just layer parchment paper between bars to prevent sticking.
Can I prepare the base ahead of time?
Yes, you can prepare the Butterfinger base a day in advance and store it in the refrigerator. Just remember to cover it well with plastic wrap or place it in an airtight container to keep it fresh before coating with chocolate.
What type of peanut butter works best for this recipe?
Natural peanut butter is ideal because it has no added sugars or preservatives. You can choose either smooth or crunchy based on your texture preference; both will work beautifully in creating delicious Butterfingers!
Healthy Homemade Butterfingers
Ingredients
Method
- In a mixing bowl, combine the peanut butter and honey (or maple syrup) until smooth.
- Add the oat flour, coconut flour, and vanilla extract. Mix until well combined.
- Spread the mixture evenly onto a baking sheet lined with parchment paper, about 1/2 inch thick.
- Refrigerate for about 15 minutes to firm up.
- In a double boiler or microwave-safe bowl, melt the dark chocolate chips and coconut oil together until smooth.
- Remove the base from the refrigerator and cut it into bars or squares.
- Dip each bar into the melted chocolate, ensuring it is fully coated.
- Place the coated bars back on the parchment paper and refrigerate until the chocolate hardens, about 10 minutes.