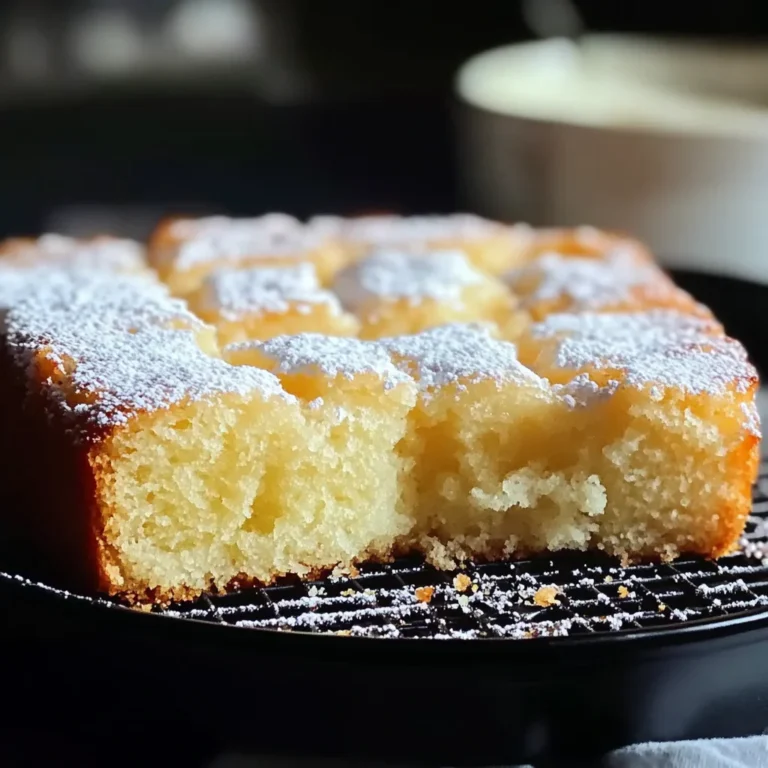
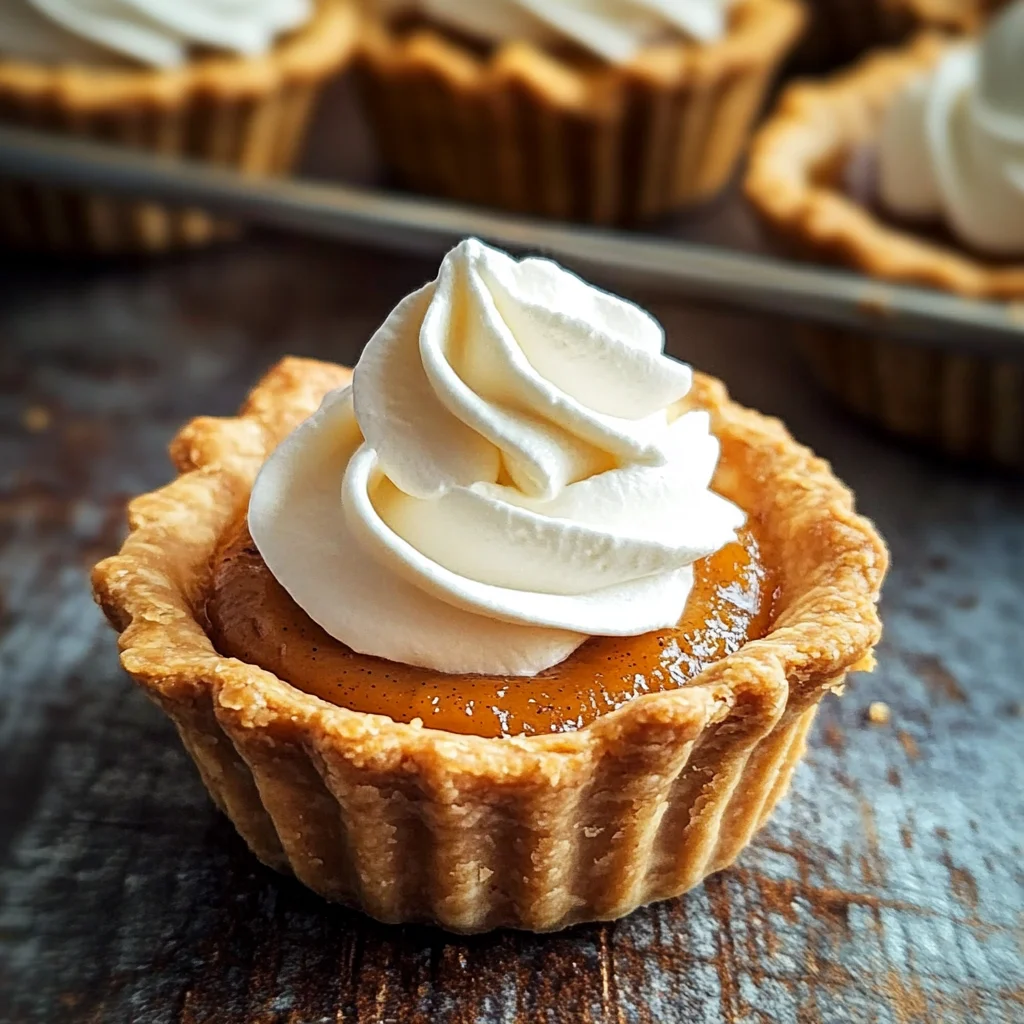
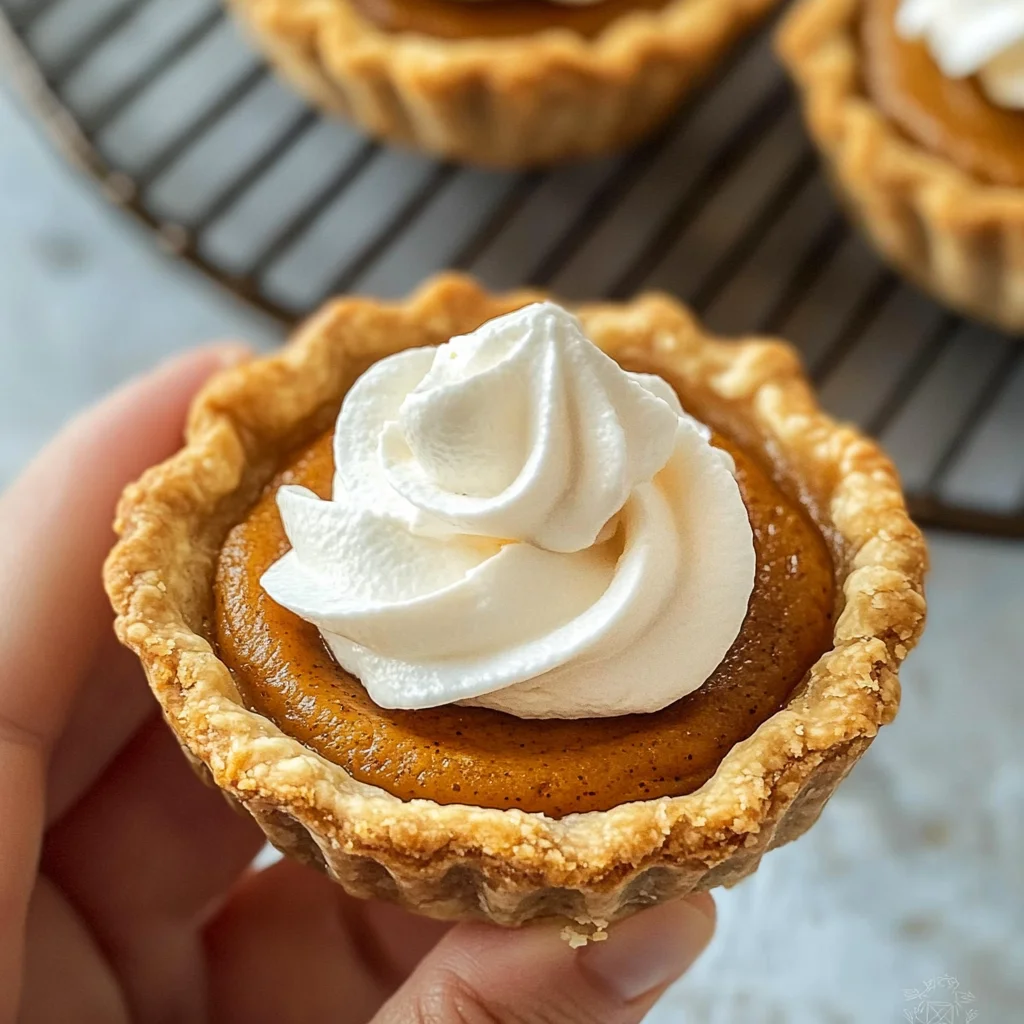
Mini Pumpkin Pies
If you’re looking for a delightful treat that captures the essence of fall, these Mini Pumpkin Pies are just what you need! They combine the classic flavors of traditional pumpkin pie into adorable, individual servings. Perfect for busy weeknights or family gatherings, these little pies are sure to bring smiles all around. Each bite is filled with warmth and nostalgia, making them a favorite at any occasion!
What makes these Mini Pumpkin Pies truly special is how easy they are to whip up. Whether you’re hosting a cozy gathering or simply indulging yourself, this recipe is a must-try!
Why You’ll Love This Recipe
- Easy to Make: This recipe is straightforward and beginner-friendly, making it perfect for bakers of all levels.
- Great for Sharing: With 18 mini pies, they’re perfect for parties or family gatherings where everyone can enjoy their own little dessert.
- Make Ahead: These pies can be prepared in advance and chilled, saving you time on the day of your event.
- Delicious Flavor: The combination of pumpkin puree and spices creates an irresistible flavor that everyone loves.
Ingredients You’ll Need
Let’s take a look at the simple, wholesome ingredients you’ll need to create these charming Mini Pumpkin Pies. Each ingredient plays a role in bringing out that rich pumpkin flavor we all adore.
- 2 9-inch unbaked pie crusts (homemade or store bought)
- 1/3 cup brown sugar
- 2 tablespoons granulated sugar
- 1 1/2 teaspoons pumpkin pie spice
- 1/4 teaspoon salt
- 1 cup canned pumpkin puree (not pumpkin pie filling)
- 3/4 cup evaporated milk
- 1 large egg (lightly beaten)
- 1/2 teaspoon vanilla extract
- Homemade whipped cream (for topping)
Variations
Feel free to get creative with these Mini Pumpkin Pies! Here are some fun variations to try:
- Add Nuts: Chopped pecans or walnuts can add a lovely crunch and flavor contrast.
- Spice it Up: If you like a little heat, consider adding a pinch of cayenne pepper to the filling for a spicy twist.
- Swap the Sweetener: For a healthier option, try using maple syrup instead of brown sugar.
- Dairy-Free Option: Substitute coconut milk for evaporated milk to make them dairy-free while still being delicious!
How to Make Mini Pumpkin Pies
Step 1: Preheat Your Oven
Begin by preheating your oven to 400 degrees F. This step is crucial as it ensures that your mini pies bake evenly and develop that lovely golden crust.
Step 2: Prepare the Pie Crusts
On a lightly floured surface, roll out your pie crusts until they’re about 1/8-inch thick. Using a 3 1/2-inch cookie cutter or cup, cut out circles to fit into your muffin pans. Re-roll any scraps if needed! This step is important because it ensures each mini pie has the perfect amount of crust.
Step 3: Fit Crusts into Muffin Pans
Carefully place each circle of pie crust into the slots of two standard muffin pans. Press gently down and around the sides so the dough fits snugly. This will create those adorable little cups ready to hold your filling. While prepping your filling, let them chill in the refrigerator.
Step 4: Make the Filling
In a mixing bowl, whisk together the brown sugar, granulated sugar, pumpkin pie spice, and salt. Mixing these dry ingredients well before adding the wet ones helps distribute flavors evenly throughout your filling. After that’s done, whisk in the pumpkin puree, evaporated milk, egg, and vanilla until everything is fully combined.
Step 5: Fill Your Crusts
Remove those cute little crusts from the refrigerator and fill each one with about 2 tablespoons of pumpkin filling. Try not to overfill—this will help them bake evenly without spilling over!
Step 6: Bake Until Set
Pop those muffin pans into your preheated oven and bake for about 16-20 minutes. Keep an eye on them; you want the tops set and lightly golden brown for that perfect mini-pie texture.
Step 7: Cool Down
Once baked to perfection, let them cool on a wire rack for about 30 minutes before carefully removing them from the muffin pans. Cooling allows their flavors to meld beautifully.
Step 8: Chill for Best Results
After they’ve cooled completely, transfer these mini delights into an airtight container and refrigerate them for at least three hours—or better yet—overnight! Chilling enhances their flavors even more.
Step 9: Serve and Enjoy!
After chilling, remove from their pans and serve either chilled or at room temperature. Top with homemade whipped cream if you like! These Mini Pumpkin Pies are bound to become a cherished favorite in no time!
Pro Tips for Making Mini Pumpkin Pies
Making mini pumpkin pies is a delightful experience, and a few handy tips can elevate your baking game. Here are some pro tips to ensure your mini pies turn out perfectly every time:
-
Use Cold Ingredients: Starting with cold ingredients, especially the pie crust, helps maintain a flaky texture. This prevents the dough from becoming too soft during handling and baking.
-
Don’t Overfill: While it’s tempting to fill each crust to the brim, leaving a little space will prevent overflow during baking. This ensures that your mini pies look neat and tidy.
-
Check for Doneness: Since ovens can vary in temperature, keep an eye on your mini pies as they bake. They should be set but not overcooked; a toothpick inserted should come out clean.
-
Chill Before Serving: Chilling the mini pumpkin pies enhances their flavors and makes them easier to handle. It also gives them a refreshing taste that’s perfect for fall gatherings.
-
Experiment with Spice Levels: Feel free to adjust the amount of pumpkin pie spice according to your taste preference. A little extra spice can add warmth and depth to each bite!
How to Serve Mini Pumpkin Pies
These mini pumpkin pies make an adorable addition to any dessert table, perfect for holiday gatherings or cozy family dinners. Here are some creative ways to serve them.
Garnishes
- Homemade Whipped Cream: A dollop of whipped cream on top adds creaminess and complements the rich filling beautifully.
- Cinnamon Sprinkle: A light dusting of cinnamon or nutmeg elevates presentation and enhances the warm spice flavors.
- Caramel Drizzle: For an extra touch of sweetness, consider drizzling caramel sauce over the tops just before serving.
Side Dishes
- Spiced Apple Cider: A warm cup of spiced apple cider pairs wonderfully with the flavors of pumpkin, creating a cozy fall vibe.
- Maple Glazed Pecans: These crunchy treats add texture and a hint of sweetness that balances well with the creamy pumpkin filling.
- Roasted Sweet Potatoes: The natural sweetness of roasted sweet potatoes harmonizes with the mini pies while providing a hearty side option.
- Mixed Green Salad: A fresh salad with apples, walnuts, and a tangy vinaigrette offers a refreshing contrast to the rich desserts.
With these tips and serving suggestions, your mini pumpkin pies will surely impress everyone at your gathering! Enjoy baking (and eating) these delightful treats!
Make Ahead and Storage
These Mini Pumpkin Pies are perfect for meal prep, allowing you to make them in advance for gatherings or just to enjoy throughout the week. They store well and can be enjoyed chilled or at room temperature.
Storing Leftovers
- Store any leftover mini pumpkin pies in an airtight container.
- Keep them in the refrigerator for up to 5 days.
- For best results, place parchment paper between layers of pies to prevent sticking.
Freezing
- Allow the mini pumpkin pies to cool completely before freezing.
- Place them in a single layer on a baking sheet and freeze until solid.
- Once frozen, transfer them to a freezer-safe bag or container.
- They can be frozen for up to 2 months.
Reheating
- To reheat, preheat your oven to 350°F (175°C).
- Place the mini pumpkin pies on a baking sheet and cover with aluminum foil.
- Heat for about 10-15 minutes or until warmed through.
FAQs
Got questions? No worries! Here are some common queries about Mini Pumpkin Pies that might help.
Can I use fresh pumpkin instead of canned for Mini Pumpkin Pies?
Yes! You can absolutely use fresh pumpkin. Just make sure it’s cooked and pureed smoothly before adding it to the filling mixture.
How do I make Mini Pumpkin Pies gluten-free?
To make these Mini Pumpkin Pies gluten-free, simply substitute the regular pie crusts with a gluten-free pie crust option available at stores or make your own using gluten-free flour.
Can I prepare Mini Pumpkin Pies ahead of time?
Definitely! These pies can be made ahead and stored in the fridge or freezer, making them ideal for holiday preparations or weekly treats.
What toppings pair well with Mini Pumpkin Pies?
Homemade whipped cream is a classic choice, but you can also try adding caramel sauce, nuts, or even a sprinkle of chocolate shavings for added flair.
Final Thoughts
I hope you enjoy making these delightful Mini Pumpkin Pies as much as I do! They offer all the cozy flavors of traditional pumpkin pie but in adorable little portions that are perfect for sharing. Whether you’re celebrating the fall season or simply treating yourself, these mini delights are sure to bring smiles. Happy baking!
Mini Pumpkin Pies

If you’re seeking a delightful dessert that embodies the flavors of fall, look no further than these Mini Pumpkin Pies. These charming individual servings combine the rich taste of pumpkin puree with warm spices, creating a nostalgic treat that’s perfect for any occasion—from cozy family gatherings to festive celebrations. Not only are they easy to make, but their small size makes them perfect for sharing. Each bite is a burst of autumnal goodness, topped with a light dollop of homemade whipped cream for an extra touch of indulgence. Whip up these mini delights and watch as they become a favorite among friends and family!
- Prep Time: 20 minutes
- Cook Time: 20 minutes
- Total Time: 40 minutes
- Yield: Makes approximately 18 mini pies 1x
- Category: Dessert
- Method: Baking
- Cuisine: American
Ingredients
- 2 unbaked pie crusts (9-inch)
- 1/3 cup brown sugar
- 2 tablespoons granulated sugar
- 1 1/2 teaspoons pumpkin pie spice
- 1/4 teaspoon salt
- 1 cup canned pumpkin puree
- 3/4 cup evaporated milk
- 1 large egg (beaten)
- 1/2 teaspoon vanilla extract
- Homemade whipped cream (for topping)
Instructions
- Preheat your oven to 400°F.
- Roll out the pie crusts on a floured surface and cut into circles to fit muffin pans.
- Place the crusts in muffin slots and refrigerate while preparing the filling.
- In a bowl, whisk together brown sugar, granulated sugar, pumpkin pie spice, and salt. Then mix in pumpkin puree, evaporated milk, egg, and vanilla until smooth.
- Fill each crust with about 2 tablespoons of filling and bake for 16-20 minutes until set.
- Cool on a wire rack for half an hour before refrigerating for at least three hours before serving.
Nutrition
- Serving Size: 1 mini pumpkin pie (50g)
- Calories: 120
- Sugar: 10g
- Sodium: 80mg
- Fat: 5g
- Saturated Fat: 2g
- Unsaturated Fat: 3g
- Trans Fat: 0g
- Carbohydrates: 17g
- Fiber: 1g
- Protein: 2g
- Cholesterol: 30mg