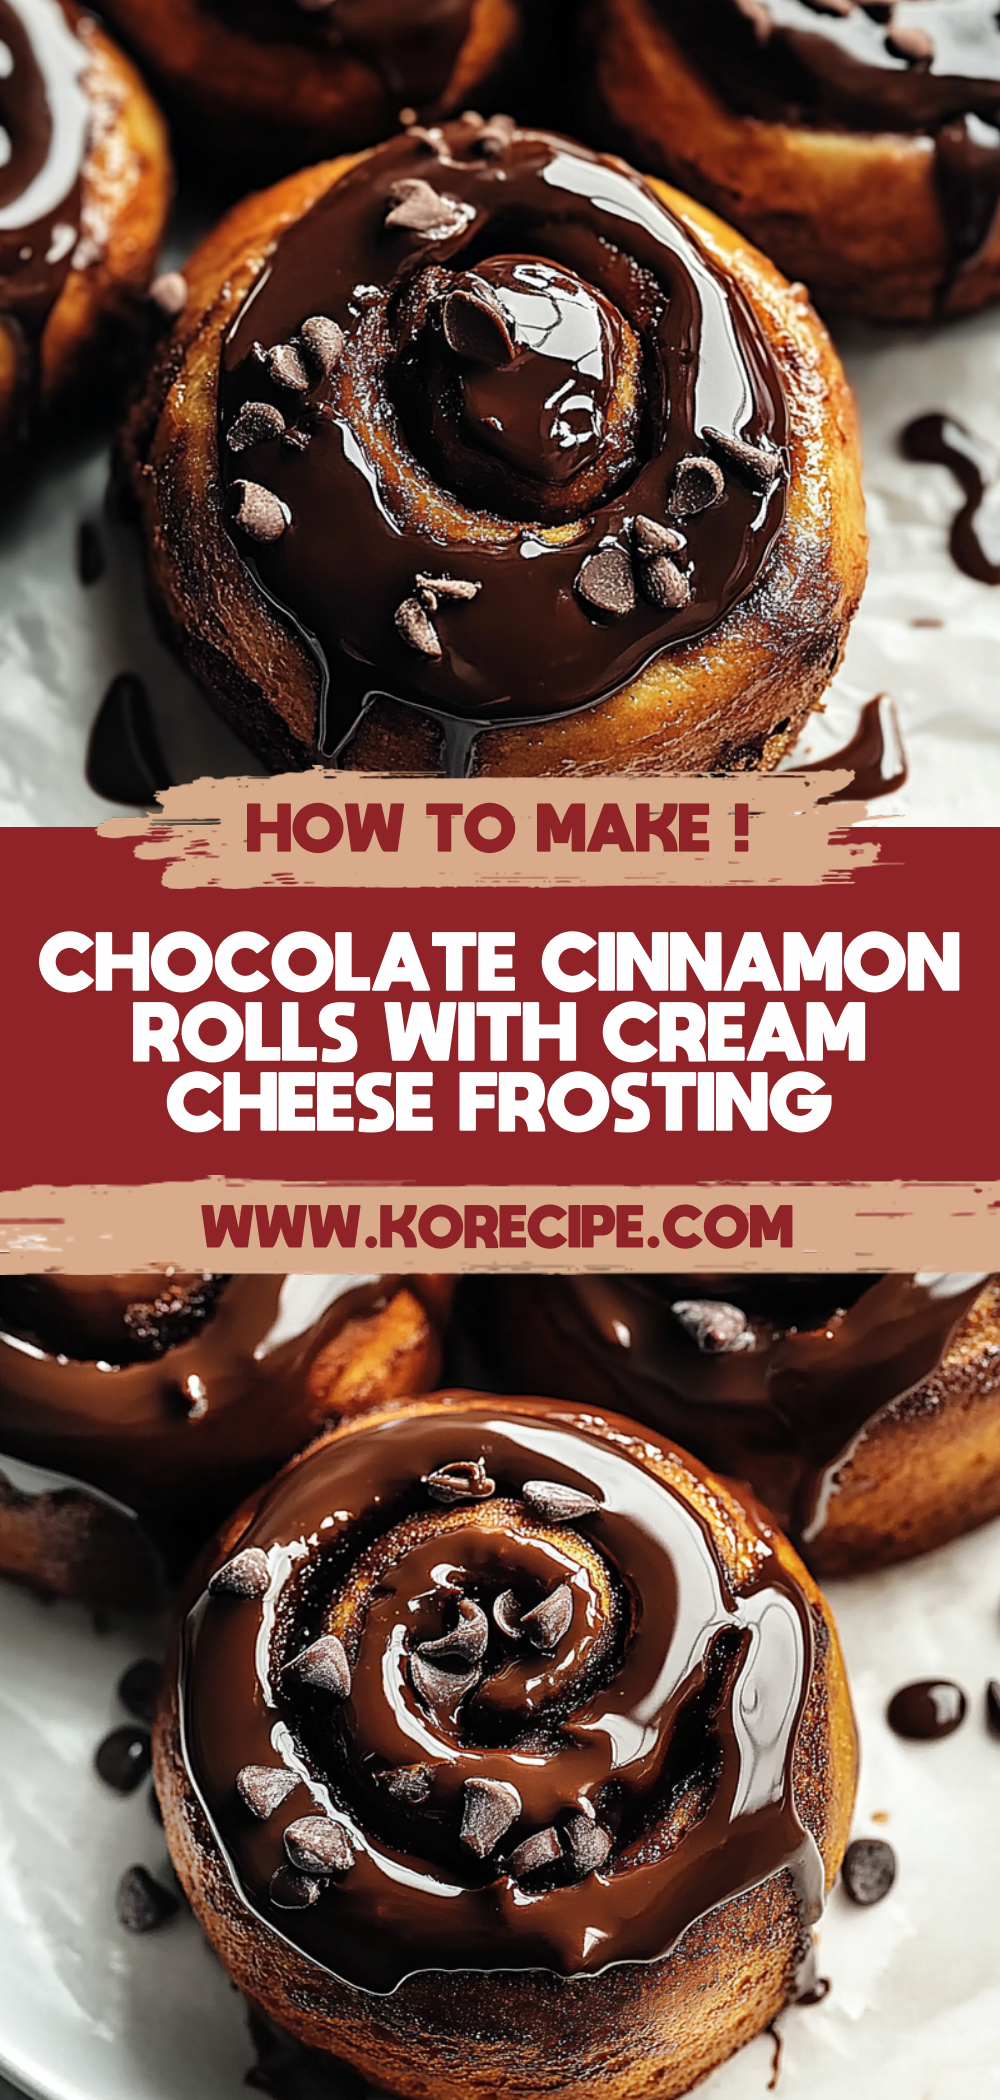
Irresistible Chocolate Cinnamon Rolls Recipe to Indulge In
There’s something truly magical about the aroma of freshly baked Chocolate Cinnamon Rolls wafting through your kitchen. Whether it’s a lazy Sunday morning or a special occasion, these soft and fluffy rolls are sure to become a favorite in your home. The combination of rich cocoa and warm cinnamon creates an indulgent treat that delights both the eyes and the taste buds. Trust me, once you try this recipe for Chocolate Cinnamon Rolls, you’ll be eager to share it with family and friends!
These delightful rolls are not just for breakfast; they make a wonderful dessert too! Picture yourself enjoying them with a cup of coffee or tea, or serving them at gatherings where smiles and sweet treats are guaranteed. Let’s dive into why this recipe is so special.
Why You’ll Love This Recipe
– Soft and fluffy texture: Each roll is light as air, making them irresistible.
– Rich chocolate flavor: A luscious filling that satisfies any chocolate craving.
– Easy to make: With simple steps, you’ll be baking like a pro in no time.
– Perfect for sharing: These rolls are great for brunches, celebrations, or cozy evenings at home.
Ingredients You’ll Need
Gathering the right ingredients is key to making these Chocolate Cinnamon Rolls a success. Here’s what you’ll need:
For the Dough
– 3 cups flour
– 1/4 cup cocoa powder
– 2 tsp cinnamon
– 1/4 cup sugar
– 1 cup warm milk
– 2 1/4 tsp active dry yeast
– 1/4 cup melted butter
For the Filling
– 1/2 cup brown sugar
– 2 tbsp cocoa powder
– 2 tsp cinnamon
– 2 tbsp softened butter
Variations
Feel free to get creative with your Chocolate Cinnamon Rolls! Here are some fun ideas to switch things up:
– Add nuts: Sprinkle some chopped walnuts or pecans into the filling for an extra crunch.
– Mix in chocolate chips: Fold in some semi-sweet or dark chocolate chips for an even richer experience.
– Use different spices: Experiment with nutmeg or cardamom alongside cinnamon for unique flavor twists.
– Top with fruit: Consider adding sliced bananas or strawberries under the glaze for a fruity touch.
How to Make Chocolate Cinnamon Rolls
Step 1: Prepare the Yeast Mixture
Start by mixing warm milk, sugar, and yeast in a bowl. Let it bloom for about 5 minutes. This step is crucial because it activates the yeast, ensuring your rolls will rise beautifully.
Step 2: Combine Dry Ingredients
In another bowl, combine flour, cocoa powder, and cinnamon. Gradually add the bloomed yeast mixture along with melted butter. This mix creates a soft dough that’s easy to work with.
Step 3: Knead the Dough
Knead the dough on a floured surface for about 5–7 minutes until it’s smooth and elastic. Then cover it and let it rise in a warm place for about an hour. This process allows the dough to develop its texture and flavor.
Step 4: Roll Out the Dough
Once risen, roll out the dough into a rectangle. Spread softened butter over it evenly, then sprinkle your filling mixture of brown sugar, cocoa powder, and cinnamon across the surface. This step ensures every bite is packed with deliciousness.
Step 5: Shape the Rolls
Carefully roll up the dough tightly from one end to the other. Slice it into 12 rolls with a sharp knife and arrange them in a greased pan. The way you slice matters—it ensures each roll bakes evenly and remains fluffy.
Step 6: Bake to Perfection
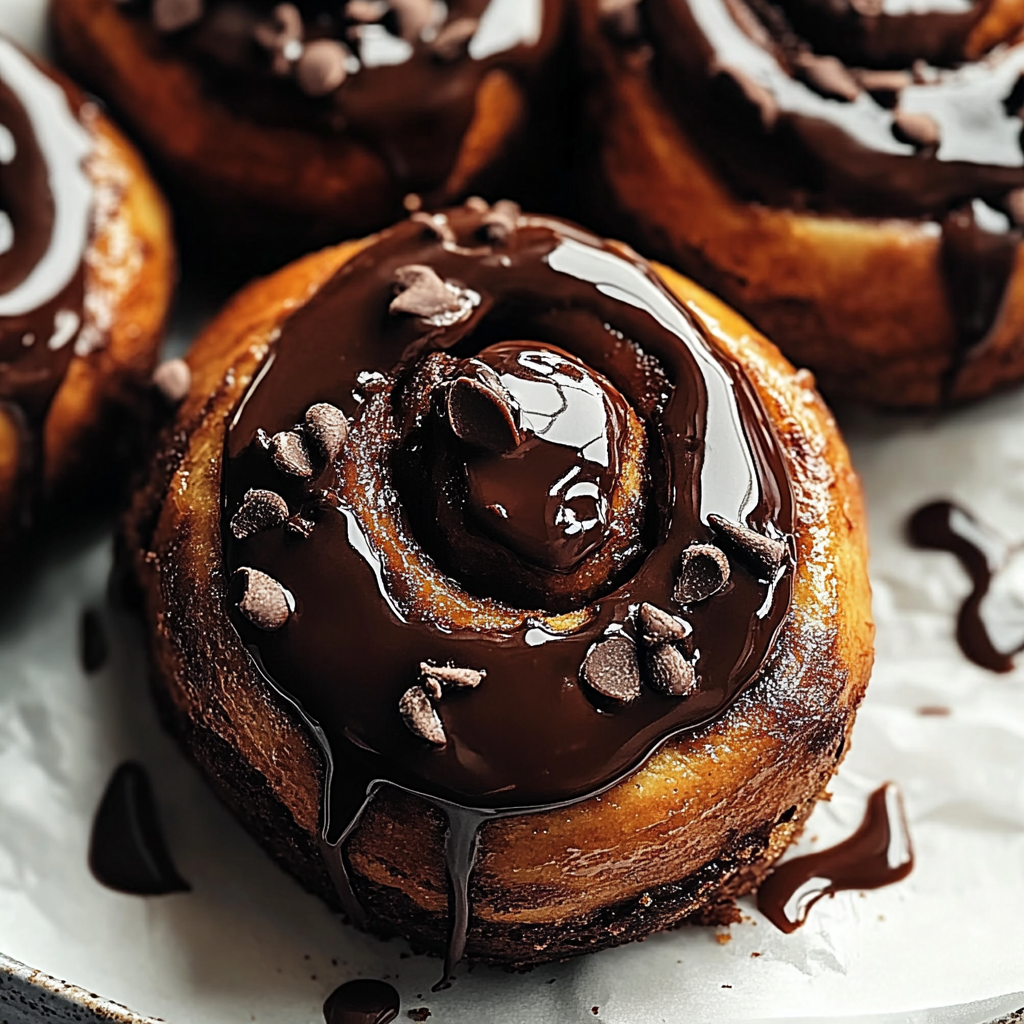
Bake your rolls at 350°F (175°C) for about 25 minutes. Keep an eye on them as they bake—you’re looking for that lovely golden-brown color. Once done, allow them to cool slightly before drizzling on your favorite glaze.
And there you have it—homemade Chocolate Cinnamon Rolls that are sure to impress anyone lucky enough to taste them! Enjoy this delightful treat fresh out of the oven or warmed up later on; either way, they’re bound to be loved by all!
Pro Tips for Making Chocolate Cinnamon Rolls
Making chocolate cinnamon rolls is a delightful experience, and with a few handy tips, you can elevate your baking game! Here are some actionable suggestions to ensure your rolls are soft, gooey, and absolutely delicious:
– Use warm milk: Make sure your milk is warm but not too hot. This helps activate the yeast properly, leading to fluffy rolls.
– Don’t skip the kneading: Kneading the dough is crucial for developing gluten, which gives your rolls that perfect chewy texture. Aim for 5–7 minutes of kneading.
– Let the dough rise in a warm place: Find a cozy spot in your kitchen for the dough to rise. A warm environment speeds up the rising process and improves texture.
– Roll tightly: When rolling the dough, make sure to roll it tightly to prevent gaps in the filling and achieve those beautiful swirls.
– Allow cooling before glazing: Letting the rolls cool slightly before adding the glaze will ensure it doesn’t melt away completely and creates that lovely drizzle effect.
How to Serve Chocolate Cinnamon Rolls
When it comes to serving chocolate cinnamon rolls, presentation is key! These delightful treats can be enjoyed in various ways that will impress your family or guests.
Garnishes
– Powdered sugar: A light dusting of powdered sugar adds a sweet touch and enhances visual appeal.
– Chopped nuts: Sprinkle some chopped walnuts or pecans on top for a crunchy texture contrast.
Side Dishes
– Fresh fruit salad: A refreshing fruit salad pairs beautifully with chocolate cinnamon rolls, balancing sweetness with brightness.
– Hot coffee or tea: Serve alongside a hot beverage for a cozy brunch experience.
– Vanilla ice cream: For dessert lovers, adding a scoop of vanilla ice cream creates an indulgent treat.
Make Ahead and Storage
Meal prepping chocolate cinnamon rolls can save you time during busy mornings or special occasions. With proper storage techniques, you can enjoy these treats even days later.
Storing Leftovers
– Store in an airtight container at room temperature for up to 2 days.
– If you have leftover glaze, keep it separate in a small container until ready to use.
Freezing
– To freeze unbaked rolls, prepare them up to the point before baking. Place them on a baking sheet in the freezer until firm, then transfer to a freezer bag for up to 3 months.
– For baked rolls, cool completely before wrapping them tightly in plastic wrap and placing them in a freezer bag.
Reheating
– Reheat individual rolls in the microwave for about 15–20 seconds or until warmed through.
– For multiple rolls, preheat your oven to 350°F (175°C) and bake for about 10 minutes until heated.
FAQs
If you’re new to making chocolate cinnamon rolls or have some questions about this recipe, you’re not alone! Here are some common queries:
Can I use whole wheat flour instead of all-purpose flour?
You can substitute whole wheat flour; however, keep in mind that it may create denser rolls. You might want to mix half whole wheat and half all-purpose flour for better texture.
How do I know if my yeast is active?
After blooming your yeast with warm milk and sugar, it should become frothy within five minutes. If it doesn’t foam up, consider using fresh yeast.
Can I add other fillings?
Absolutely! Feel free to get creative by adding ingredients like nuts, dried fruits, or even peanut butter for an exciting twist on the classic recipe.
Final Thoughts
There’s something truly special about savoring homemade chocolate cinnamon rolls. Whether it’s breakfast or dessert, these delightful treats are sure to bring smiles all around. So why not give this recipe a try? Enjoy every gooey bite!
Chocolate Cinnamon Rolls
Ingredients
Method
- Start by mixing warm milk, sugar, and yeast in a bowl. Let it bloom for about 5 minutes.
- In another bowl, combine flour, cocoa powder, and cinnamon. Gradually add the bloomed yeast mixture along with melted butter.
- Knead the dough on a floured surface for about 5–7 minutes until it's smooth and elastic. Cover and let it rise in a warm place for about an hour.
- Once risen, roll out the dough into a rectangle. Spread softened butter over it evenly, then sprinkle your filling mixture across the surface.
- Carefully roll up the dough tightly from one end to the other. Slice it into 12 rolls and arrange them in a greased pan.
- Bake your rolls at 350°F (175°C) for about 25 minutes until golden-brown. Allow to cool slightly before glazing.