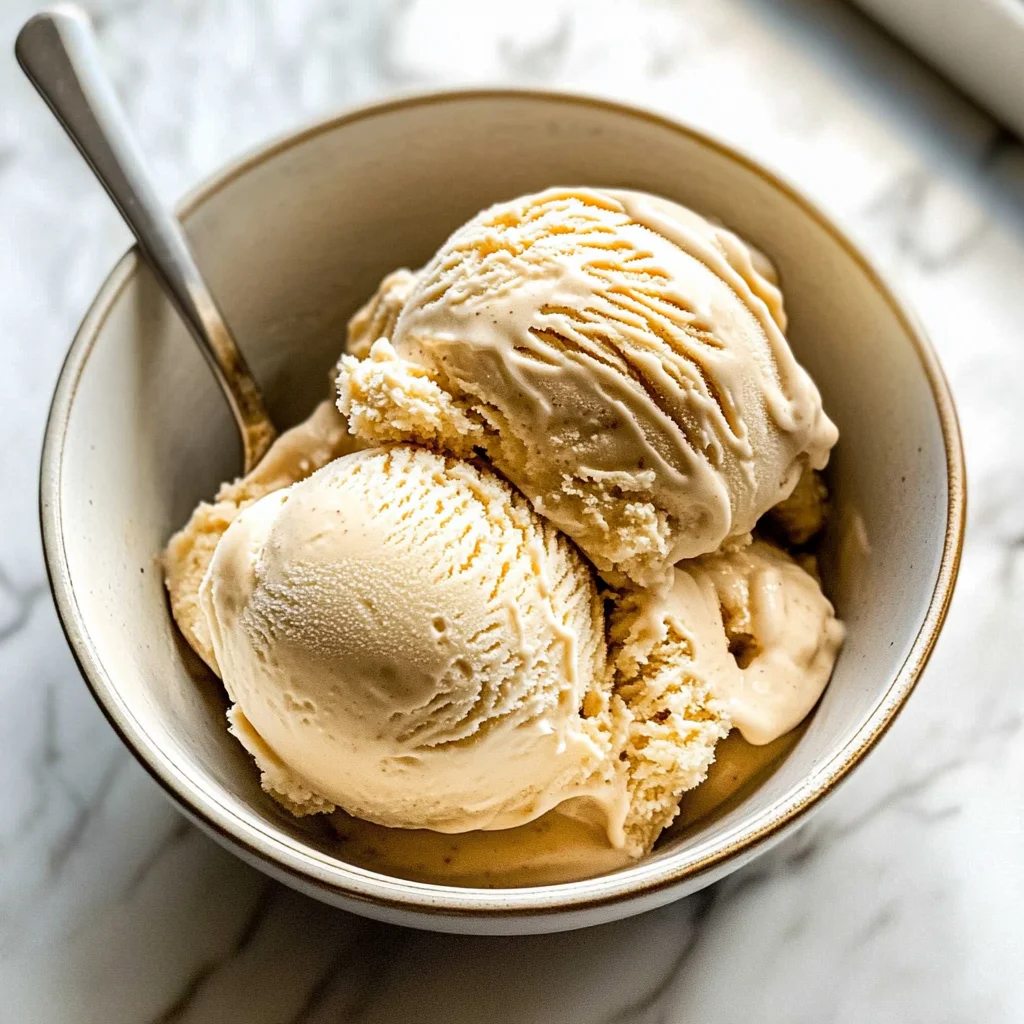
Homemade Maple Ice Cream
If you’re looking for a delightful treat that will make your taste buds dance, you’ve come to the right place! Homemade Maple Ice Cream is not just a dessert; it’s an experience. This creamy, dreamy ice cream has a light maple flavor that perfectly complements so many desserts, particularly apple crisp. Imagine gathering around with family or friends and sharing this special homemade delight on a sunny afternoon or cozy winter evening. Trust me, it’ll become a favorite in no time!
Whether it’s a busy weeknight or a festive family gathering, this recipe is simple enough to whip up whenever the craving strikes. Plus, who doesn’t love the idea of having homemade ice cream ready to scoop at a moment’s notice?
Why You’ll Love This Recipe
- Easy Preparation: With just a few simple steps, you’ll have delicious ice cream ready for your loved ones.
- Family-Friendly Appeal: Everyone from kids to grandparents will adore this sweet treat and ask for seconds!
- Make-Ahead Convenience: Prepare it in advance and simply freeze before serving for stress-free entertaining.
- Delicious Flavor: The rich maple essence combines beautifully with other desserts or can be enjoyed on its own.
Ingredients You’ll Need
To make your own Homemade Maple Ice Cream, you’ll need some simple and wholesome ingredients. No fancy items here—just good stuff that you might already have in your pantry!
For the Custard Base
- 6 egg yolks
- 3/4 cup maple syrup (Grade B, see notes)
- 1 tsp arrowroot (or tapioca starch, or cornstarch)
- 1/4 tsp sea salt
- 1 1/2 cups half and half
- 1 1/2 cups heavy cream
- 1 tsp vanilla extract
Variations
One of the best parts about making Homemade Maple Ice Cream is how flexible it is! You can easily tweak the flavors to suit your taste. Here are some fun ideas:
- Add Some Spice: Stir in a pinch of cinnamon or nutmeg for an extra layer of warmth and flavor.
- Mix in Extras: Toss in chocolate chips, nuts, or pieces of your favorite candy for added texture and surprise!
- Fruit Infusion: Blend in some pureed fruits like strawberries or blueberries for a fruity twist on this classic recipe.
- Scoop with Toppings: Serve it with whipped coconut cream or drizzled with more maple syrup for an indulgent finish.
How to Make Homemade Maple Ice Cream
Step 1: Whisk Together the Base
Start by whisking together the egg yolks, maple syrup, arrowroot, and sea salt until everything is fully combined. This step is crucial as it creates the foundation of your creamy custard.
Step 2: Combine and Heat
Next, whisk in the half and half. It’s important to cook this mixture over medium-high heat while constantly whisking until it thickens slightly but doesn’t boil. This gentle cooking process helps develop that silky texture we all love!
Step 3: Add Cream and Vanilla
Once thickened, immediately remove the pan from heat. Now’s the time to whisk in the heavy cream and vanilla extract. This not only adds richness but also enhances that beautiful maple flavor.
Step 4: Chill the Mixture
Pour your custard through a strainer into another bowl to catch any bits that may have formed during cooking. Then chill it in the refrigerator for at least 4 hours—patience pays off when it comes to ice cream!
Step 5: Freeze It Up
After chilling, freeze your mixture according to your ice cream machine’s instructions. You’ll know it’s done when it stands up nicely on a spoon—oh so tempting!
Step 6: Final Freeze
Once done churning, transfer your ice cream into an airtight container and freeze for an additional 4-6 hours to achieve that perfect scoopable consistency.
And there you have it—the ultimate Homemade Maple Ice Cream recipe! Enjoy every creamy bite!
Pro Tips for Making Homemade Maple Ice Cream
Making homemade ice cream is a delightful experience, and with these pro tips, you’ll achieve a creamy, dreamy texture every time!
-
Use Grade B Maple Syrup: This type of syrup has a richer flavor compared to Grade A, which enhances the maple essence in your ice cream. The deeper taste will give your dessert a more robust profile.
-
Whisk Constantly: While cooking the custard, continuous whisking prevents the egg yolks from scrambling and ensures that your mixture thickens evenly. This step is crucial for achieving that silky-smooth texture.
-
Chill Thoroughly: Allowing the custard to chill in the refrigerator for at least 4 hours (or overnight if you can wait!) helps deepen the flavors. Cold mixtures churn better in the ice cream maker, resulting in a creamier consistency.
-
Don’t Rush the Freezing: After churning, let your ice cream firm up in the freezer for several hours. This final step allows it to set properly and makes scooping much easier later on.
-
Experiment with Add-ins: Feel free to mix in nuts or chocolate chips after churning for added texture. Just be sure they’re not too large so they don’t disrupt that smooth mouthfeel!
How to Serve Homemade Maple Ice Cream
Serving homemade maple ice cream can be as simple or as extravagant as you desire! Whether you want a casual scoop or an elegant dessert presentation, this ice cream is versatile enough to shine in any setting.
Garnishes
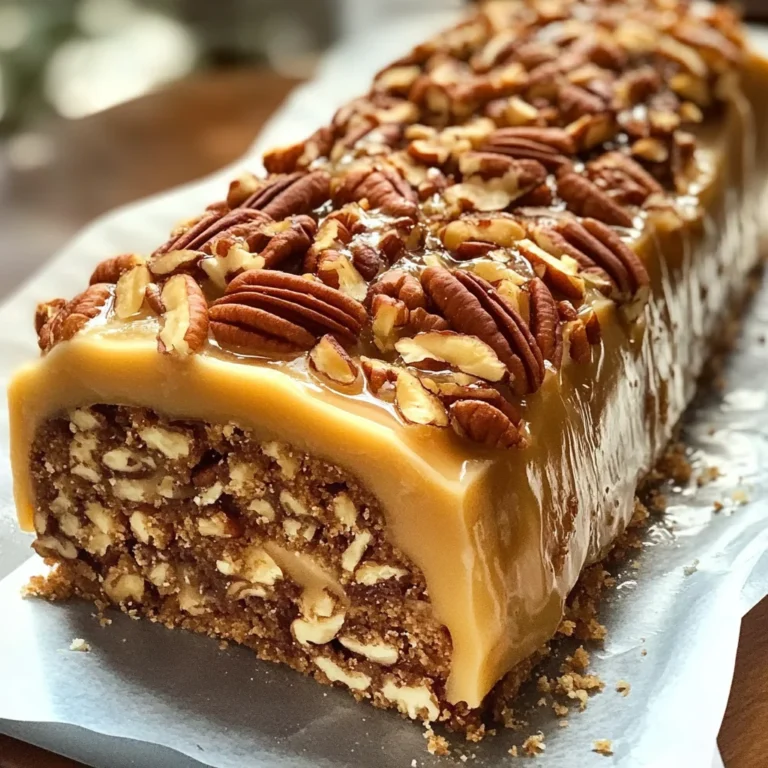
- Chopped Pecans: These add a delightful crunch and complement the maple flavor beautifully.
- Caramel Drizzle: A light drizzle of caramel sauce on top elevates your dessert with an additional layer of sweetness.
- Fresh Berries: Strawberries or raspberries provide a refreshing contrast and add a pop of color to your serving dish.
Side Dishes
- Apple Crisp: The warm, cinnamon-spiced apples work beautifully with the cool maple ice cream, creating a comforting dessert experience.
- Chocolate Chip Cookies: Soft and chewy cookies provide a classic pairing; enjoy them together for that delicious combination of flavors.
- Pecan Pie Bars: The nutty richness of these bars pairs wonderfully with the creamy ice cream, making for an indulgent treat.
- Grilled Peaches: Grilling brings out the natural sweetness in peaches, and when served warm alongside maple ice cream, it creates a delightful summer dessert.
Now that you have all the tips and serving suggestions, it’s time to whip up some homemade maple ice cream! Enjoy every creamy bite!
Make Ahead and Storage
This Homemade Maple Ice Cream is perfect for meal prep! You can make it ahead of time, ensuring you have a delightful treat ready whenever the craving hits. Here are some tips on how to store your ice cream effectively.
Storing Leftovers
- Store the ice cream in an airtight container to prevent freezer burn.
- For optimal texture, cover the surface of the ice cream with plastic wrap before sealing the lid.
- Enjoy within a month for the best flavor and consistency.
Freezing
- If you’re making this Homemade Maple Ice Cream in advance, freeze it in a suitable container at least 4-6 hours after churning.
- Ensure it’s well sealed to avoid absorbing any odors from the freezer.
Reheating
- While you don’t typically reheat ice cream, if it becomes too hard, let it sit at room temperature for about 10 minutes before scooping.
- You can also microwave it for a few seconds to soften, but be cautious not to melt it!
FAQs
Here are some common questions about Homemade Maple Ice Cream:
Can I use a different sweetener instead of maple syrup?
Absolutely! While maple syrup gives this ice cream its unique flavor, you can substitute it with agave syrup or honey. Just keep in mind that it will change the taste slightly.
How do I make Homemade Maple Ice Cream without an ice cream machine?
You can still enjoy this delicious treat! After chilling your custard mixture, pour it into a shallow dish and place it in the freezer. Stir every 30 minutes until creamy (about 3-4 hours).
What makes this Homemade Maple Ice Cream so creamy?
The combination of egg yolks and heavy cream creates a rich custard base that results in a wonderfully creamy texture. The arrowroot helps stabilize and thicken the mixture without compromising its smoothness.
Can I add mix-ins to my Homemade Maple Ice Cream?
Definitely! Feel free to add nuts, chocolate chips, or even swirls of caramel for extra flavor. Just fold them in after churning before transferring to the storage container.
How long does Homemade Maple Ice Cream last in the freezer?
For best quality, consume your ice cream within one month. After that, while it may still be safe to eat, the texture and flavor may begin to decline.
Final Thoughts
I hope you’re as excited as I am about making this Homemade Maple Ice Cream! It’s such a special recipe that brings warmth and joy with every scoop. Whether you enjoy it on its own or paired with desserts like apple crisp, I know you’ll love how easy and delicious it is. Don’t hesitate to try making it today—your taste buds will thank you!
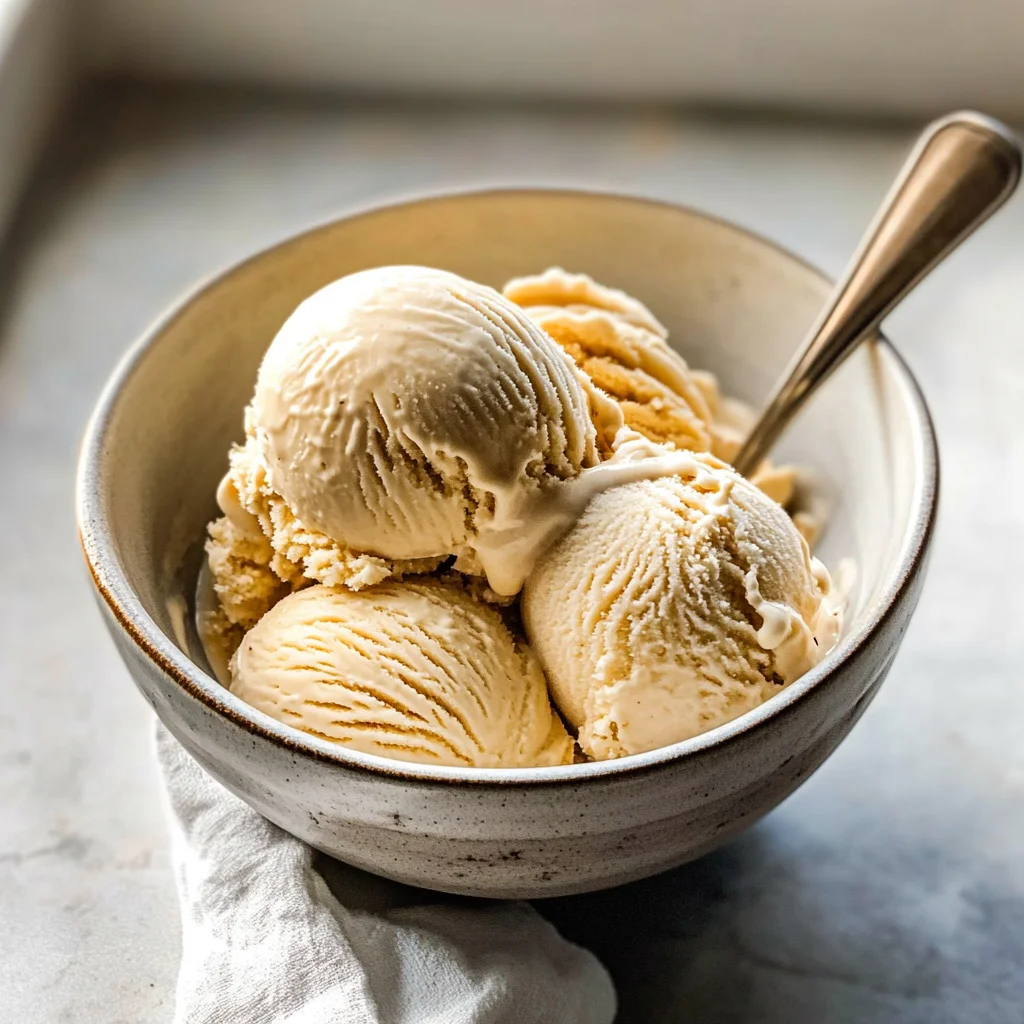
Homemade Maple Ice Cream

Indulge in the creamy delight of Homemade Maple Ice Cream, a simple yet decadent dessert that will elevate any occasion. This luscious treat combines the rich essence of maple syrup with a smooth custard base, creating an irresistible frozen delicacy that’s perfect for warm summer days or cozy winter evenings. With its versatile flavor profile, this ice cream pairs beautifully with desserts like apple crisp or can be enjoyed on its own. Whipping up your own batch is not only easy but also a fun activity to share with family and friends. Get ready to scoop up smiles with every bite!
- Prep Time: 15 minutes
- Cook Time: 15 minutes
- Total Time: 30 minutes
- Yield: Approximately 6 servings 1x
- Category: Dessert
- Method: Churning
- Cuisine: American
Ingredients
- 6 egg yolks
- 3/4 cup maple syrup
- 1 tsp arrowroot (or tapioca starch, or cornstarch)
- 1/4 tsp sea salt
- 1 1/2 cups half and half
- 1 1/2 cups heavy cream
- 1 tsp vanilla extract
Instructions
- In a bowl, whisk together the egg yolks, maple syrup, arrowroot, and sea salt until fully combined.
- Gradually whisk in the half and half, then cook over medium-high heat while continuously whisking until slightly thickened (do not boil).
- Remove from heat and stir in the heavy cream and vanilla extract.
- Strain the mixture into another bowl to catch any solids, then chill in the refrigerator for at least 4 hours.
- Freeze according to your ice cream maker's instructions until it reaches a soft-serve consistency.
- Transfer to an airtight container and freeze for an additional 4-6 hours before serving.
Nutrition
- Serving Size: 1 serving
- Calories: 320
- Sugar: 28g
- Sodium: 40mg
- Fat: 24g
- Saturated Fat: 14g
- Unsaturated Fat: 8g
- Trans Fat: 0g
- Carbohydrates: 28g
- Fiber: 0g
- Protein: 4g
- Cholesterol: 170mg