No Knead Italian Artisan Bread: Effortlessly Delicious
Effortless, Rustic, and Irresistibly Delicious
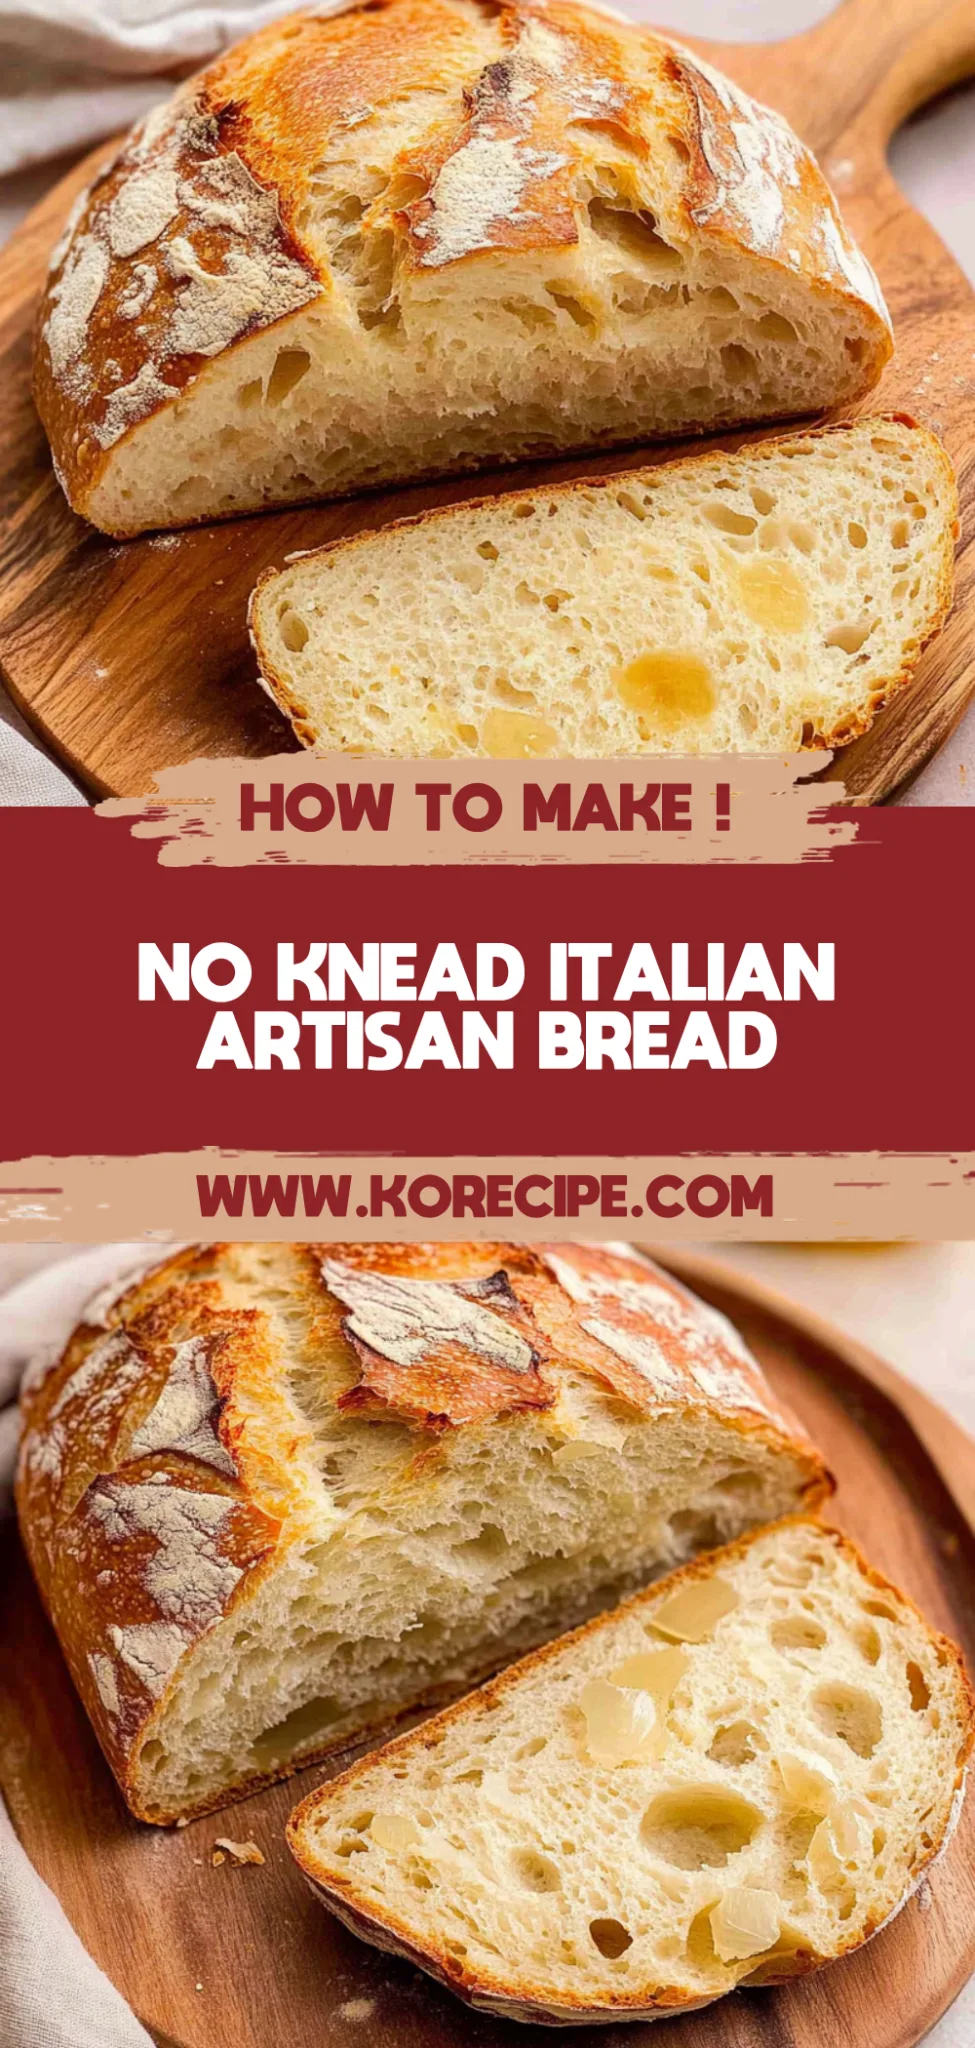
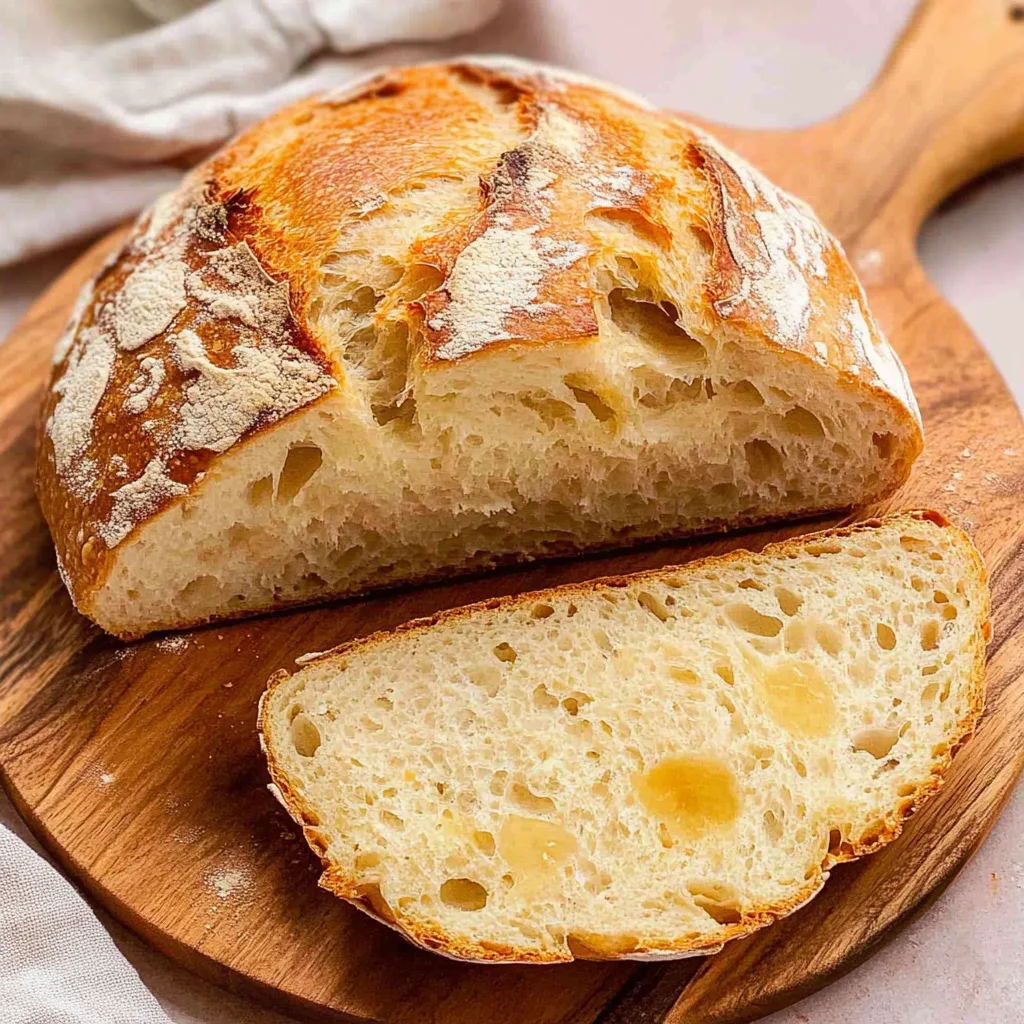
I still remember the first time I pulled a loaf of No Knead Italian Artisan Bread from my oven—its golden crust crackled as I tapped it lightly, revealing the soft, airy interior. The simplicity of this recipe amazed me; no kneading required, just a bit of patience and the promise of warm, homemade bread filling my kitchen with an irresistible aroma. Each bite was a celebration of flavor that left my family asking for seconds.
What makes this bread truly special is how it transforms any meal into a memorable occasion. The moment you slice into that crusty exterior and reveal the tender crumb inside, there’s an audible gasp of delight. It’s perfect for cozy dinners with loved ones or even as a charming centerpiece for a date night at home—it effortlessly elevates any dining experience.
Pair it with a rich olive oil for dipping, slather on some herbed butter, or enjoy it alongside your favorite soup—there are endless ways to savor this No Knead Italian Artisan Bread. Just imagine the smiles around your table as you share this warm loaf; it’s not just food but an invitation to create beautiful memories together.
What are No Knead Italian Artisan Bread?
No Knead Italian Artisan Bread is a delightful, rustic loaf that captures the essence of traditional Italian baking without the labor-intensive kneading process. Made with just a few simple ingredients, including 3 cups of all-purpose flour, 1 teaspoon of salt, and 1 teaspoon of instant yeast, this bread develops a beautifully crispy crust while remaining soft and tender on the inside. The dough is combined with 1.5 cups of room-temperature water and allowed to rise for an extended period, resulting in a flavor-packed loaf that’s perfect for sandwiches or as an accompaniment to soups and salads. Baked in the oven, this method ensures minimal cleanup and effort, making it an ideal choice for both novice bakers and seasoned cooks alike.
Perfect For:
Busy Weeknights: This no-knead bread requires minimal hands-on time, allowing you to prepare a delicious side while you focus on the rest of your meal prep.
Budget-Friendly Baking: Enjoy the taste of artisan bread without breaking the bank—this simple recipe uses basic ingredients that you likely already have in your pantry.
Family Gatherings: With its crusty exterior and soft interior, this loaf is perfect for sharing, making it an ideal accompaniment for family dinners or gatherings with friends.
Cozy Weekend Mornings: The delightful aroma of freshly baked bread will fill your home, creating a warm and inviting atmosphere for leisurely brunches or intimate breakfasts.
No Knead Italian Artisan Bread Ingredients
For the Dough
- 3 cups all-purpose flour (plus extra for dusting) – This flour forms the backbone of your bread, giving it structure and a lovely crust.
- 1 teaspoon salt – Salt enhances the flavor of your bread and helps control yeast activity for a better rise.
- 1 teaspoon instant yeast – Instant yeast allows for a quicker rise, making this no-knead recipe easy and efficient.
For the Liquid
- 1.5 cups water (room temperature) – Using room temperature water ensures the yeast activates properly, leading to a beautifully airy loaf of No Knead Italian Artisan Bread.
Kitchen Equipment You’ll Need
- Large mixing bowl
- Wooden spoon
- Plastic wrap
- Floured surface
- Parchment paper
- Towel
- Cast iron pot or Dutch oven
How to Make No Knead Italian Artisan Bread
Step 1:
In a large mixing bowl, combine 3 cups of all-purpose flour, 1 teaspoon of salt, and 1 teaspoon of instant yeast. Stir the mixture until it’s well combined and there are no dry patches left.
Step 2:
Next, add 1.5 cups of room temperature water to the dry ingredients. Use a wooden spoon to mix everything together until a shaggy dough forms, ensuring that all the flour is incorporated into the mixture.
Step 3:
Now it’s time for the first rise. Cover the bowl with plastic wrap and let it sit at room temperature for about 12 to 18 hours. You’ll know it’s ready when the surface is dotted with bubbles, indicating that the yeast has done its magic.
Step 4:
After the first rise, gently turn the dough out onto a floured surface. With floured hands, fold the dough over itself a few times to shape it into a ball, being careful not to deflate it too much.
Step 5:
Place your shaped dough onto a floured piece of parchment paper. Cover it with a towel and let it rise again for about 1 to 2 hours, or until it has doubled in size. This second rise will help develop that lovely texture you’re aiming for.
Step 6:
About 30 minutes before baking, preheat your oven to 450°F (230°C). While it’s heating up, place a cast iron pot or Dutch oven inside so it can get nice and hot—this will create an amazing crust on your bread.
Step 7:
Once your pot is hot and ready, carefully remove it from the oven. Lift your dough using the parchment paper and place it directly into the pot. Be sure to cover it with the lid before popping it back in the oven.
Step 8:
Bake the bread covered for about 30 minutes. After that time, remove the lid and continue baking for an additional 15 minutes until you see that beautiful golden brown color on top—this is when you’ll know it’s just right!
Step 9:
Finally, take the bread out of the pot and let it cool on a wire rack for at least 30 minutes before slicing. This cooling period helps set the crumb and enhances flavor—trust me, it’s worth the wait!
Tips
- Use room temperature water: Room temperature water helps the yeast activate properly, promoting a good rise and ensuring an evenly baked loaf. Cold water can slow down the fermentation process and yield a denser bread.
- Monitor the first rise: Allowing the dough to rise for 12 to 18 hours is crucial for developing flavor and texture. A shorter rise may result in less complex flavors and a chewy rather than soft interior.
- Flour your hands generously: When shaping the dough, using plenty of flour on your hands prevents sticking and allows you to handle the dough easily without deflating it too much.
- Let it rise until doubled: For the second rise, waiting until the dough has doubled in size ensures that your bread will have a light and airy crumb. Rushing this step can lead to a dense loaf with fewer air pockets.
- Preheat your pot: Heating your cast iron pot or Dutch oven before adding the dough creates an ideal baking environment. This intense heat helps develop a crispy crust while trapping steam for a moist interior.
- Cool completely before slicing: Allow your bread to cool on a wire rack for at least 30 minutes before slicing. Cutting too soon can result in a gummy texture as the steam hasn’t fully evaporated.
Optional Ingredients
- Parmesan cheese: Fold in grated Parmesan into the dough for a rich, savory flavor that enhances the bread’s crust and adds a delightful umami kick.
- Crushed red pepper flakes: For those who enjoy a bit of heat, adding crushed red pepper flakes will give your bread a spicy kick without overwhelming the palate. Just mix in a teaspoon or two with the dry ingredients.
- Olive oil: Drizzling a bit of high-quality olive oil into the dough adds a wonderful richness and helps create a soft crumb. Try using about 2 tablespoons mixed in with the water for extra flavor.
- Chopped sun-dried tomatoes: Incorporate finely chopped sun-dried tomatoes for bursts of tangy sweetness and vibrant color throughout your loaf. Mix about half a cup into the dough before the first rise.
- Fresh rosemary: Adding chopped fresh rosemary lends an aromatic quality to your bread, creating a fragrant experience that elevates every bite. Use about 1 tablespoon mixed into the dry ingredients for optimal infusion.
What to Pair with No Knead Italian Artisan Bread?
To complement the crusty exterior and soft interior of No Knead Italian Artisan Bread, consider serving a fresh salad or light starter. A classic Caprese salad, with ripe tomatoes, creamy mozzarella, and fragrant basil drizzled with balsamic glaze, provides a delightful contrast in both flavor and texture. The acidity from the tomatoes and the richness of the cheese enhance the bread’s subtle flavors while offering a refreshing balance to your meal.
Roasted or steamed vegetables also make an excellent pairing for this artisan loaf. Think of vibrant asparagus or tender carrots tossed with olive oil and herbs, which bring out the earthy notes in the bread. Their slight char from roasting or delicate tenderness from steaming harmonizes beautifully with the crispy crust, creating a satisfying dining experience that showcases seasonal produce.
For those seeking comfort, a side of creamy polenta or garlic mashed potatoes can elevate your meal to new heights. The smooth, buttery texture of these sides contrasts wonderfully with the chewy crust of the bread, providing a comforting mouthfeel that invites you to savor each bite. This combination not only rounds out the meal but adds layers of flavor that make every element shine.
Lastly, consider pairing your bread with a glass of light-bodied red wine, such as Pinot Noir, or a refreshing sparkling water infused with lemon. The wine’s fruity notes can enhance the bread’s natural flavors while adding complexity to your palate. If you’re in the mood for something sweet afterward, a simple fruit tart will offer just enough sweetness to round off your meal without overpowering it—making for a delightful conclusion that celebrates the homemade touch of your artisan bread.
Variations and Substitutions
Whole Wheat Flour: Substitute half of the all-purpose flour with whole wheat flour for a denser, nuttier loaf that adds extra fiber to your bread. This variation enhances the flavor profile while maintaining a delightful texture.
Herb-Infused Bread: Incorporate dried herbs such as rosemary, thyme, or oregano into the dry ingredients. This aromatic addition will give your artisan bread an Italian flair, infusing it with fragrant flavors that pair wonderfully with soups and salads.
Olive Oil Addition: Mix in 2 tablespoons of olive oil to the wet ingredients for a richer, more flavorful dough. This subtle enhancement will create a softer crumb and add a hint of Mediterranean taste to your bread.
Gluten-Free Option: For a gluten-free version, swap the all-purpose flour with a gluten-free all-purpose blend. Be sure to check that it contains xanthan gum or add 1 teaspoon separately. Your bread will have a slightly different texture but can still be delightfully crusty and soft inside.
Cheese-Stuffed Variation: Fold in shredded cheese like mozzarella or Parmesan just before the first rise for a cheesy twist on the classic recipe. This will create melty pockets of goodness throughout the loaf and elevate your bread’s savoriness.
Spicy Jalapeño Bread: Add chopped jalapeños to the dough during mixing for a spicy kick. This variation brings heat and excitement, perfect for those who enjoy bold flavors in their baking.
Sweet Cinnamon Raisin Bread: For a sweet twist, mix in 1 tablespoon of cinnamon and 3/4 cup of raisins into the dry ingredients. This creates a deliciously sweet loaf that’s perfect for breakfast or as a snack, adding warmth and sweetness to your table.
Refrigerate your No Knead Italian Artisan Bread by allowing it to cool completely on a wire rack. Once cooled, wrap the loaf tightly in plastic wrap or place it in an airtight container to prevent it from drying out. It will keep well in the fridge for up to one week. To reheat, preheat your oven to 350°F (175°C) and warm the bread for about 10-15 minutes; this helps restore its crusty exterior and soft interior.
This bread does freeze well, although you may notice a slight change in texture upon thawing. To freeze, slice the bread if desired, and wrap each piece tightly in plastic wrap followed by aluminum foil or place them in a freezer-safe bag to prevent freezer burn. It can be stored frozen for up to three months. Thaw overnight in the refrigerator or at room temperature for a few hours before reheating in the oven for best results.
FAQ
Can I use whole wheat flour instead of all-purpose flour for this recipe?
Yes, you can substitute whole wheat flour for all-purpose flour, but keep in mind that it may affect the texture and rise of the bread. Whole wheat flour absorbs more moisture, so you might need to increase the water slightly to achieve a shaggy dough consistency.
Is it necessary to use instant yeast, or can I use active dry yeast instead?
You can use active dry yeast in place of instant yeast; however, you’ll need to activate it first. Dissolve the active dry yeast in warm water (about 110°F) before adding it to the flour mixture. This will ensure that the yeast is fully activated and will help your dough rise properly.
How long should I let the dough rise during the first rise?
The first rise should last between 12 to 18 hours at room temperature. You’ll know it’s ready when the surface is dotted with bubbles and has increased in size significantly. This long rise helps develop flavor and texture in the bread.
Can I prepare the dough ahead of time and store it in the refrigerator?
Yes, you can prepare the dough and store it in the refrigerator after mixing for up to 3 days. Just be aware that refrigerating will slow down fermentation, so make sure to let it come back to room temperature before shaping and proceeding with the second rise.
How do I know when my bread is done baking?
Your bread is done when it’s golden brown on top and sounds hollow when tapped on the bottom. If you’re unsure, you can also use a thermometer; an internal temperature of about 200°F indicates that your bread is fully baked.
Can I bake this bread without a Dutch oven?
If you don’t have a Dutch oven, you can bake this bread on a baking sheet but make sure to create steam in your oven. Place a pan with hot water at the bottom of the oven during baking to help achieve a crusty exterior similar to that produced by a Dutch oven.
No Knead Italian Artisan Bread
Ingredients
Method
- In a large mixing bowl, combine the flour, salt, and instant yeast. Stir until well mixed.
- Add the water and mix with a wooden spoon until a shaggy dough forms. Ensure all flour is incorporated.
- Cover the bowl with plastic wrap and let it rise at room temperature for 12 to 18 hours, until the surface is dotted with bubbles.
- After the first rise, turn the dough out onto a floured surface. With floured hands, fold the dough over itself a few times to shape it into a ball.
- Place the shaped dough on a floured piece of parchment paper. Cover with a towel and let it rise for about 1 to 2 hours, until doubled in size.
- About 30 minutes before baking, preheat your oven to 450°F (230°C) and place a cast iron pot or Dutch oven inside to heat up.
- Carefully remove the hot pot from the oven. Lift the dough using the parchment paper and place it into the pot. Cover with the lid.
- Bake for 30 minutes covered, then remove the lid and bake for an additional 15 minutes until the bread is golden brown.
- Remove the bread from the pot and let it cool on a wire rack for at least 30 minutes before slicing.