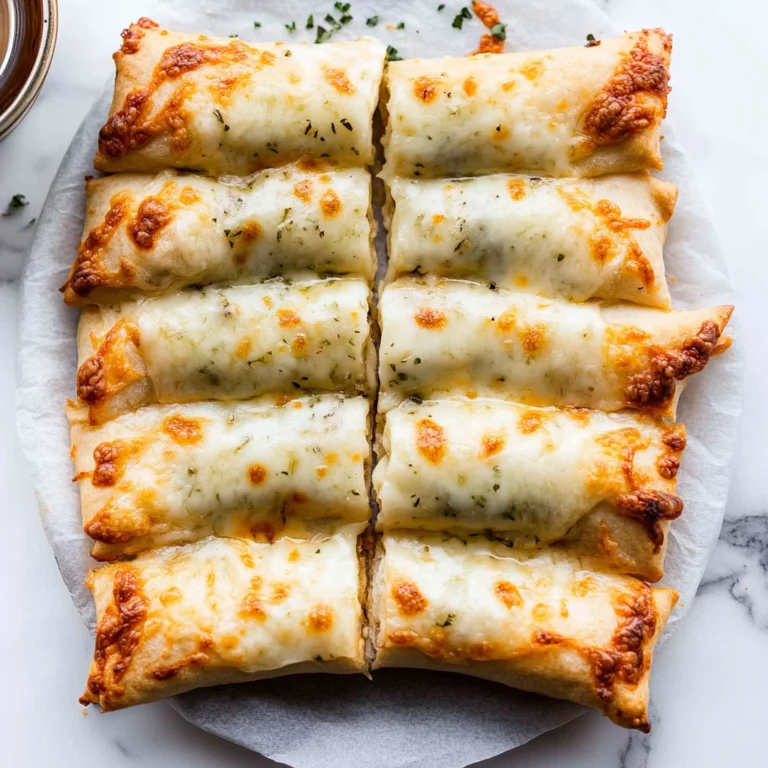
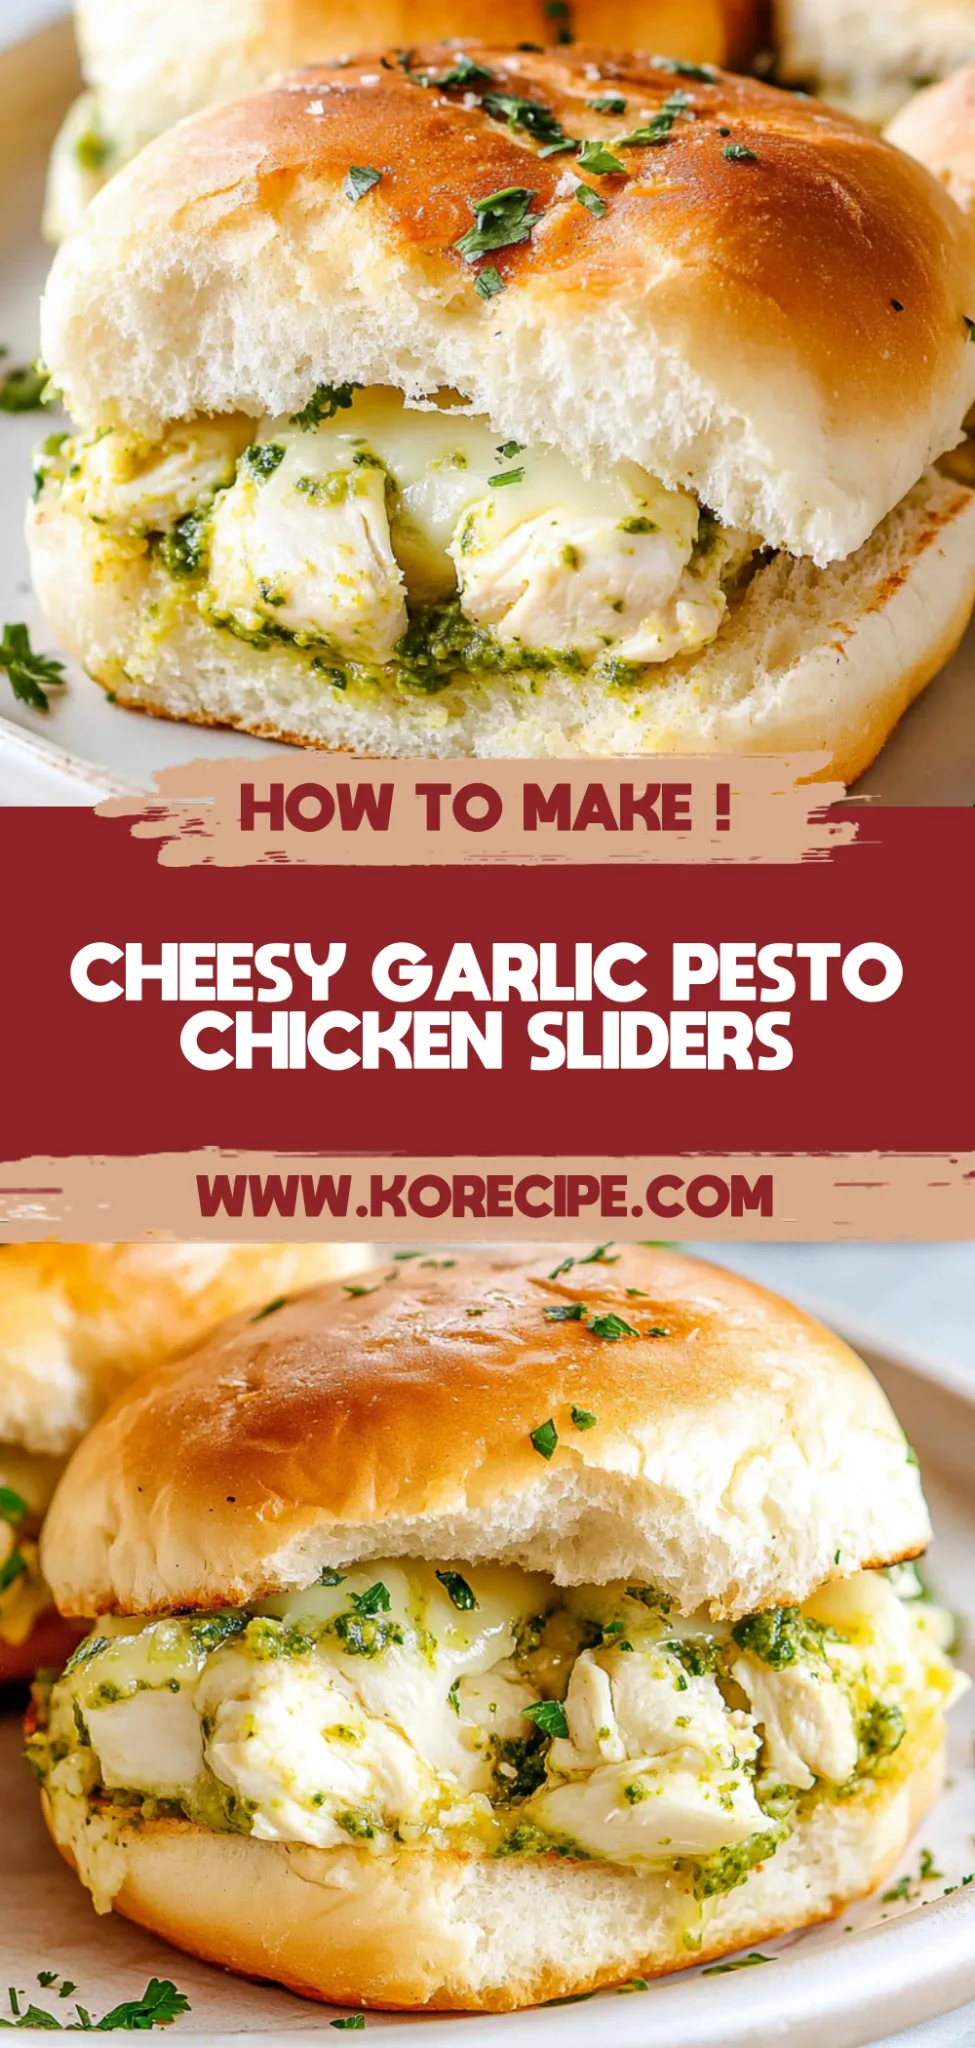
Cheesy Garlic Pesto Chicken Sliders: A Flavor Explosion
Irresistibly Cheesy and Totally Delicious
I remember the first time I whipped up these Cheesy Garlic Pesto Chicken Sliders for a last-minute gathering with friends. The aroma of toasting garlic and melting cheese filled my kitchen, making it feel like a cozy Italian bistro, and let me tell you—everyone was raving about how tender and flavorful the chicken turned out. It felt like a culinary win that required minimal effort but delivered maximum satisfaction!
What truly sets these sliders apart is their mouthwatering combination of creamy cheese and zesty pesto, creating a symphony of flavors that dances in your mouth. They’re perfect for any occasion, whether it’s a fun game night or an intimate date night at home, and trust me—your guests will be coming back for seconds (or thirds!). The moment you take that first bite, you’ll understand why this dish has become a go-to in my kitchen.
Pair these sliders with a fresh side salad or some crispy sweet potato fries for a delightful meal. You can also top them off with some extra pesto or a sprinkle of Parmesan for that gourmet touch. I can’t wait for you to experience the joy of cooking these delicious little bites; they’re sure to become a favorite in your home too!
What are Cheesy Garlic Pesto Chicken Sliders?
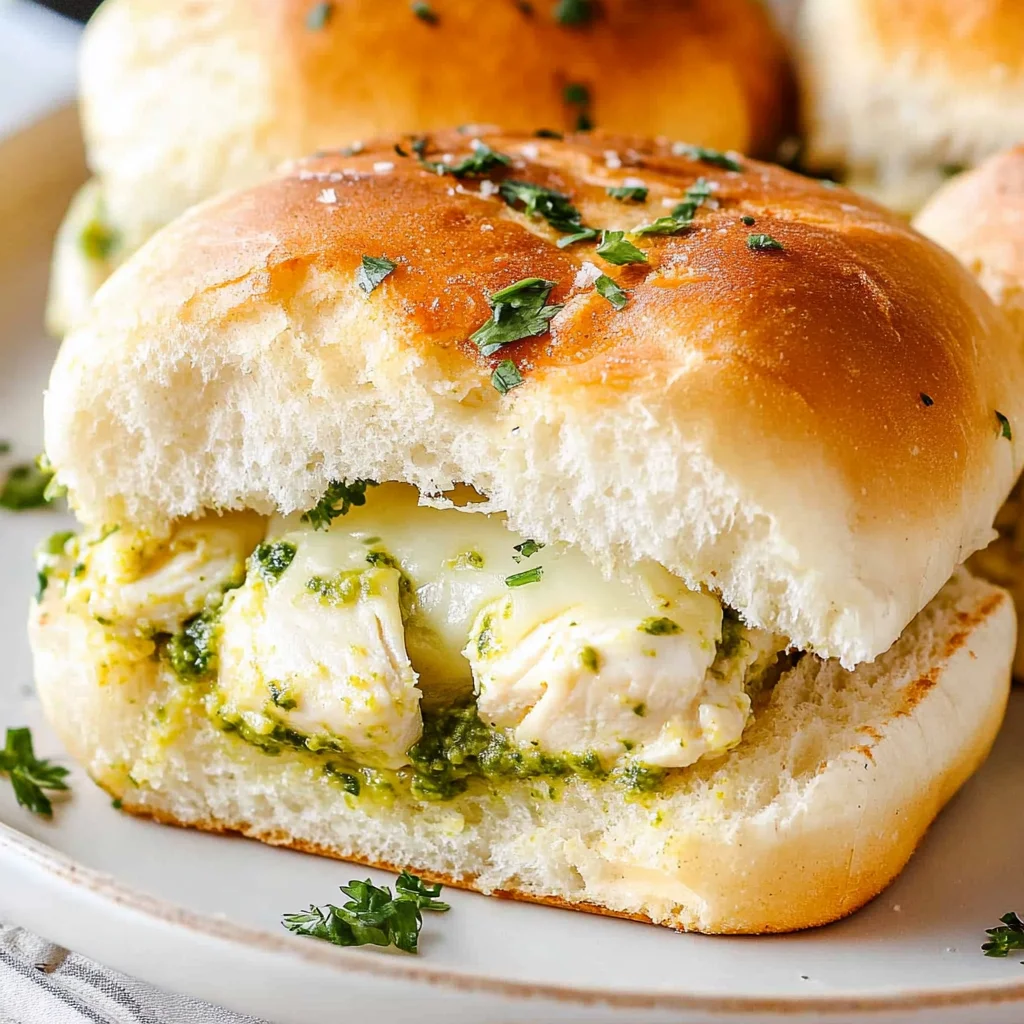
Cheesy Garlic Pesto Chicken Sliders are a delightful twist on traditional sliders, combining tender pieces of marinated chicken breasts with creamy mozzarella cheese and zesty pesto sauce, all nestled within soft whole wheat buns. The juicy chicken, infused with minced garlic and grilled to perfection with a hint of olive oil, creates a savory flavor profile that’s both comforting and satisfying. These sliders have a beautifully crispy exterior while remaining moist and flavorful inside, making them irresistible at any gathering. Plus, they come together quickly with minimal cleanup, perfect for a weeknight dinner or as a crowd-pleasing appetizer with very little effort!
Perfect For:
Quick Weeknight Dinners: These Cheesy Garlic Pesto Chicken Sliders come together in just 30 minutes, making them an ideal choice for busy evenings when you want something delicious without the fuss.
Feeding a Crowd: With their bite-sized nature and irresistible flavors, these sliders are perfect for gatherings, easily scaling up to satisfy a hungry group without breaking a sweat.
Casual Date Nights: Impress your significant other with these gourmet sliders that blend creamy cheese and zesty pesto — they’re sure to create a cozy and romantic atmosphere at home.
Comfort Food Cravings: When you’re in need of a little comfort, these sliders deliver hearty satisfaction with every cheesy, garlicky bite, making them perfect for those cozy nights in.
Ingredients for Cheesy Garlic Pesto Chicken Sliders
For the Chicken and Marinade
- 1 lb boneless, skinless chicken breasts (cut into small pieces) – Tender chicken is the star of these sliders, ensuring juicy bites every time.
- 1/4 cup pesto sauce (store-bought or homemade) – Adds a burst of flavor; opt for homemade if you’re feeling adventurous!
- 2 cloves garlic (minced) – Fresh garlic elevates the taste, giving a fragrant kick to the marinade.
- 1 teaspoon olive oil (for grilling) – Helps achieve that perfect grilled sear on the chicken.
For the Cheese and Buns
- 4 slices mozzarella cheese (or cheese of choice) – Melty mozzarella brings creaminess that perfectly complements the savory chicken.
- 4 pieces slider buns (preferably whole wheat) – Whole wheat buns add a nutty flavor and wholesome touch to your sliders.
For the Toppings
- 1/2 cup arugula (or spinach) – A fresh, peppery bite that balances the richness of the sliders.
- 1/4 cup sliced tomatoes (optional) – Juicy tomatoes add brightness and moisture to each delicious bite.
- 1/4 cup red onion (thinly sliced, optional) – A touch of sharpness from red onion enhances the overall flavor profile of these Cheesy Garlic Pesto Chicken Sliders.
Kitchen Equipment You’ll Need
- Mixing bowl
- Grill
- Tongs
- Broiler pan or baking sheet
- Knife
- Cutting board
How to Make Cheesy Garlic Pesto Chicken Sliders
Step 1:
In a mixing bowl, combine the cut chicken pieces with the pesto sauce, minced garlic, and olive oil. Make sure to mix everything well so that each piece of chicken is evenly coated in the flavorful marinade. This step is crucial for infusing the chicken with delicious garlic and pesto flavors.
Step 2:
Once you’ve mixed the chicken with the marinade, let it sit for at least 10 minutes. This short marinating time allows the flavors to penetrate the chicken, making it tastier and more succulent when cooked.
Step 3:
Preheat your grill to medium-high heat. You want it hot enough to achieve those beautiful grill marks but not so hot that it burns the chicken before it’s fully cooked.
Step 4:
Carefully place the marinated chicken on the grill and cook for about 5-7 minutes on each side. You’ll know it’s done when the chicken is fully cooked through and no longer pink in the center, which can be confirmed by cutting into a piece or using a meat thermometer.
Step 5:
Once the chicken is grilled to perfection, place it on the bottom half of each slider bun. Ensure that you distribute the chicken evenly among all four buns for a balanced bite every time.
Step 6:
Next, lay a slice of mozzarella cheese over each portion of grilled chicken. To melt the cheese beautifully, place the sliders under your broiler for just 1-2 minutes. Keep an eye on them to prevent burning; you want that cheese perfectly melted and bubbly.
Step 7:
After removing them from the broiler, add a handful of arugula on top of each slider along with any optional toppings like sliced tomatoes and thinly sliced red onion if desired. This will add freshness and crunch to your sliders.
Step 8:
Finally, cover each slider with the top half of the bun and serve them warm. These cheesy garlic pesto chicken sliders are delightful on their own or pair wonderfully with your favorite dipping sauce for an extra kick! Enjoy!
Tips
- Use fresh pesto: Homemade pesto offers a vibrant flavor that elevates the sliders. If using store-bought, check for quality ingredients to ensure maximum taste.
- Don’t skip marinating: Even a brief 10-minute marinating time allows the chicken to absorb flavors from the pesto and garlic, resulting in a more delicious and aromatic bite.
- Preheat your grill properly: A well-preheated grill ensures even cooking and nice grill marks. This not only enhances presentation but also adds a smoky flavor to the chicken.
- Check chicken doneness carefully: Use a meat thermometer to ensure the internal temperature reaches 165°F. This guarantees juicy, tender chicken without the risk of undercooking.
- Broil with care: When melting cheese, keep a close eye on it under the broiler. Cheese can go from perfectly melted to burnt in seconds, so monitor closely for best results.
- Layer toppings wisely: Start with arugula as a base layer before adding tomatoes and onions. This prevents sogginess and keeps your sliders crisp and fresh until served.
Optional Ingredients
- Pepper Jack cheese: For a spicy twist, substitute the mozzarella with Pepper Jack cheese, adding a creamy texture and a kick that elevates the flavor profile of your sliders.
- Jalapeños: Fresh or pickled jalapeños can bring a delightful heat and crunch to your sliders. Simply layer them on top before serving for an extra burst of flavor.
- Roasted red peppers: These sweet and smoky peppers add depth and richness to your sliders. Slice them thinly and layer them with the chicken for a vibrant addition.
- Lemon zest: A sprinkle of fresh lemon zest can brighten up the dish with its citrusy aroma, enhancing the overall flavor. Just grate a bit over the finished sliders for that zing!
- Balsamic glaze: Drizzle balsamic glaze over the sliders just before serving to introduce a sweet, tangy finish that beautifully complements the pesto and chicken.
- Chopped fresh basil: For an aromatic garnish, sprinkle chopped fresh basil on top of your sliders. This adds not only visual appeal but also a burst of herbal freshness that ties all the flavors together.
What to Pair with Cheesy Garlic Pesto Chicken Sliders?
To enhance your Cheesy Garlic Pesto Chicken Sliders, consider serving a fresh salad that adds a refreshing crunch. A simple arugula and pear salad with a light vinaigrette complements the richness of the sliders beautifully. The peppery notes of arugula paired with the sweetness of ripe pears provide a delightful contrast that balances the creamy cheese and savory pesto.
For a more comforting option, roasted garlic mashed potatoes would make an excellent side dish. The buttery, creamy texture of the potatoes echoes the sliders’ cheesy elements while the roasted garlic ties back to the flavors in your dish. This pairing creates a satisfying meal that feels indulgent yet harmonious.
When it comes to drinks, a crisp Sauvignon Blanc pairs wonderfully with these sliders. Its zesty acidity cuts through the richness of the cheese and pesto, refreshing your palate with each bite. Alternatively, you could serve a sparkling lemonade for a non-alcoholic option; its bright citrus notes will elevate the overall dining experience while providing a delightful effervescence.
Variations and Substitutions
Grilled Shrimp instead: Swap out the chicken for grilled shrimp for a lighter, seafood twist. The shrimp will absorb the flavors of the pesto beautifully, providing a fresh and zesty experience that pairs perfectly with summer gatherings.
Zucchini Noodles in place of buns: For a low-carb option, replace the slider buns with grilled zucchini noodles. This substitution not only cuts down on carbohydrates but also adds a delightful crunch and a hint of earthiness to each bite.
Sun-dried Tomato Pesto: Instead of traditional basil pesto, use sun-dried tomato pesto for a richer, tangy flavor profile. This variation enhances the sliders with a burst of umami that perfectly complements the creamy mozzarella.
Cream Cheese Spread added: Spread a layer of cream cheese on the slider buns before adding the chicken and cheese. This addition provides an extra creamy texture and balances the savory flavors with a subtle tanginess.
Cauliflower Rice as a base: For a veggie-packed, gluten-free alternative, serve the cheesy garlic pesto chicken over cauliflower rice instead of sliders. This swap offers a light and fluffy bed for your toppings while still delivering all those delicious flavors.
Spicy Pepper Jack Cheese: Switch mozzarella for spicy pepper jack cheese to kick up the heat in these sliders. The creamy texture combined with the added spice will delight those who enjoy a little extra zing in their meals.
Balsamic Glaze drizzle: Enhance your assembled sliders with a drizzle of balsamic glaze for an added layer of sweetness and acidity. This flavorful addition elevates each bite and balances out the richness of the melted cheese.
To store your Cheesy Garlic Pesto Chicken Sliders in the refrigerator, allow them to cool completely, then place them in an airtight container. They will keep well for up to 3 days in the fridge. When ready to enjoy, reheat them in the microwave or on a skillet; adding a splash of water can help restore moisture and prevent the buns from becoming too tough.
These sliders can be frozen, but be aware that the texture may change slightly after thawing, particularly the buns. To freeze, wrap each slider individually in plastic wrap and place them in a freezer-safe bag or container to prevent freezer burn. They can be kept frozen for up to 2 months; simply thaw overnight in the refrigerator and reheat in the oven for optimal crispness.
Frequently Asked Questions
Can I use chicken thighs instead of chicken breasts for this recipe?
Yes, you can definitely use boneless, skinless chicken thighs instead of breasts. Chicken thighs will provide a juicier and more flavorful result due to their higher fat content, but ensure they are cut into small pieces for even cooking.
Can I make my own pesto sauce for the marinade?
Absolutely! Homemade pesto can add a fresh flavor to your sliders. Simply blend fresh basil, garlic, pine nuts, Parmesan cheese, and olive oil until smooth. Adjust the ingredients to suit your taste preference.
How do I ensure my chicken stays tender while grilling?
To keep your chicken tender, be sure not to overcook it. Grill the marinated pieces for about 5-7 minutes on each side until they reach an internal temperature of 165°F (75°C). Letting them marinate beforehand also helps in keeping them juicy.
Can I prepare the chicken ahead of time?
Yes, you can marinate the chicken up to 24 hours in advance. Just store it in an airtight container in the refrigerator until you’re ready to grill. This not only saves time but also enhances the flavor.
Is there a way to make these sliders gluten-free?
Certainly! To make gluten-free Cheesy Garlic Pesto Chicken Sliders, simply use gluten-free slider buns. Also, check that your pesto sauce is gluten-free if you’re using store-bought.
Can I bake these sliders instead of grilling them?
Yes, you can bake the sliders in the oven! Preheat your oven to 400°F (200°C) and place the assembled sliders on a baking sheet. Bake for about 10-12 minutes or until the cheese is melted and bubbly.
How can I adjust the flavor if I’m not a fan of garlic?
If you prefer a milder flavor, reduce the amount of minced garlic or omit it entirely from the marinade. You can also try adding herbs like thyme or oregano to enhance the taste without overpowering it with garlic.
Cheesy Garlic Pesto Chicken Sliders
Ingredients
Method
- In a mixing bowl, combine chicken pieces, pesto sauce, minced garlic, and olive oil. Mix well to coat the chicken.
- Let the chicken marinate for at least 10 minutes.
- Preheat the grill over medium-high heat.
- Grill the marinated chicken for about 5-7 minutes on each side, or until fully cooked and no longer pink in the center.
- Place grilled chicken on the bottom half of each slider bun.
- Top each with a slice of mozzarella cheese and place under the broiler for 1-2 minutes until the cheese is melted.
- Add arugula, sliced tomatoes, and red onion on top, then cover with the top half of the bun.
- Serve the sliders warm with your favorite dipping sauce or enjoy as is.