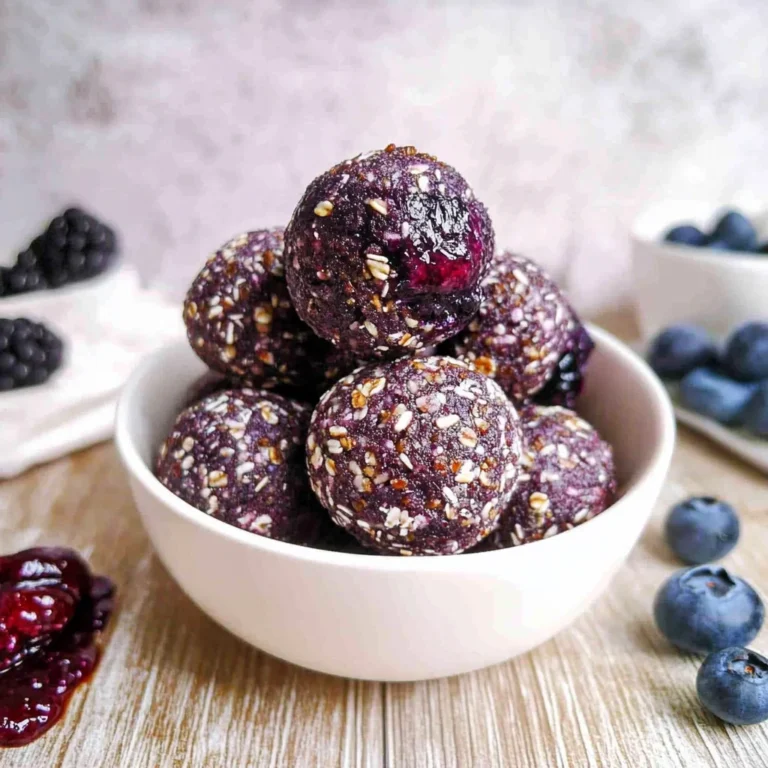
No Bake Protein Balls: Quick and Satisfying Treats
Quick, Easy, and Oh-So-Satisfying
I remember the first time I whipped up these No Bake Protein Balls after a long day at work. It was one of those evenings when I craved something sweet yet nourishing, and these little bites delivered on both fronts—rich, nutty flavors with a delightful chewy texture, all without turning on the oven! They took mere minutes to make, and I was instantly hooked.
What makes these protein balls truly special is the warm, inviting aroma that fills your kitchen as you mix the ingredients together. The moment my family took their first bite, I could see their eyes light up—perfect for a post-workout treat or an afternoon pick-me-up during our busy weekdays. Whether you’re fueling up before a workout or just need a tasty snack on-the-go, these morsels fit right in.
Enjoy them straight out of the fridge for a refreshing energy boost or pair them with a dollop of Greek yogurt for an extra protein punch. You can even sprinkle some coconut or chopped nuts on top for added flair! Trust me, once you taste these No Bake Protein Balls, you’ll be counting down the moments until you can make them again.
What are No Bake Protein Balls?
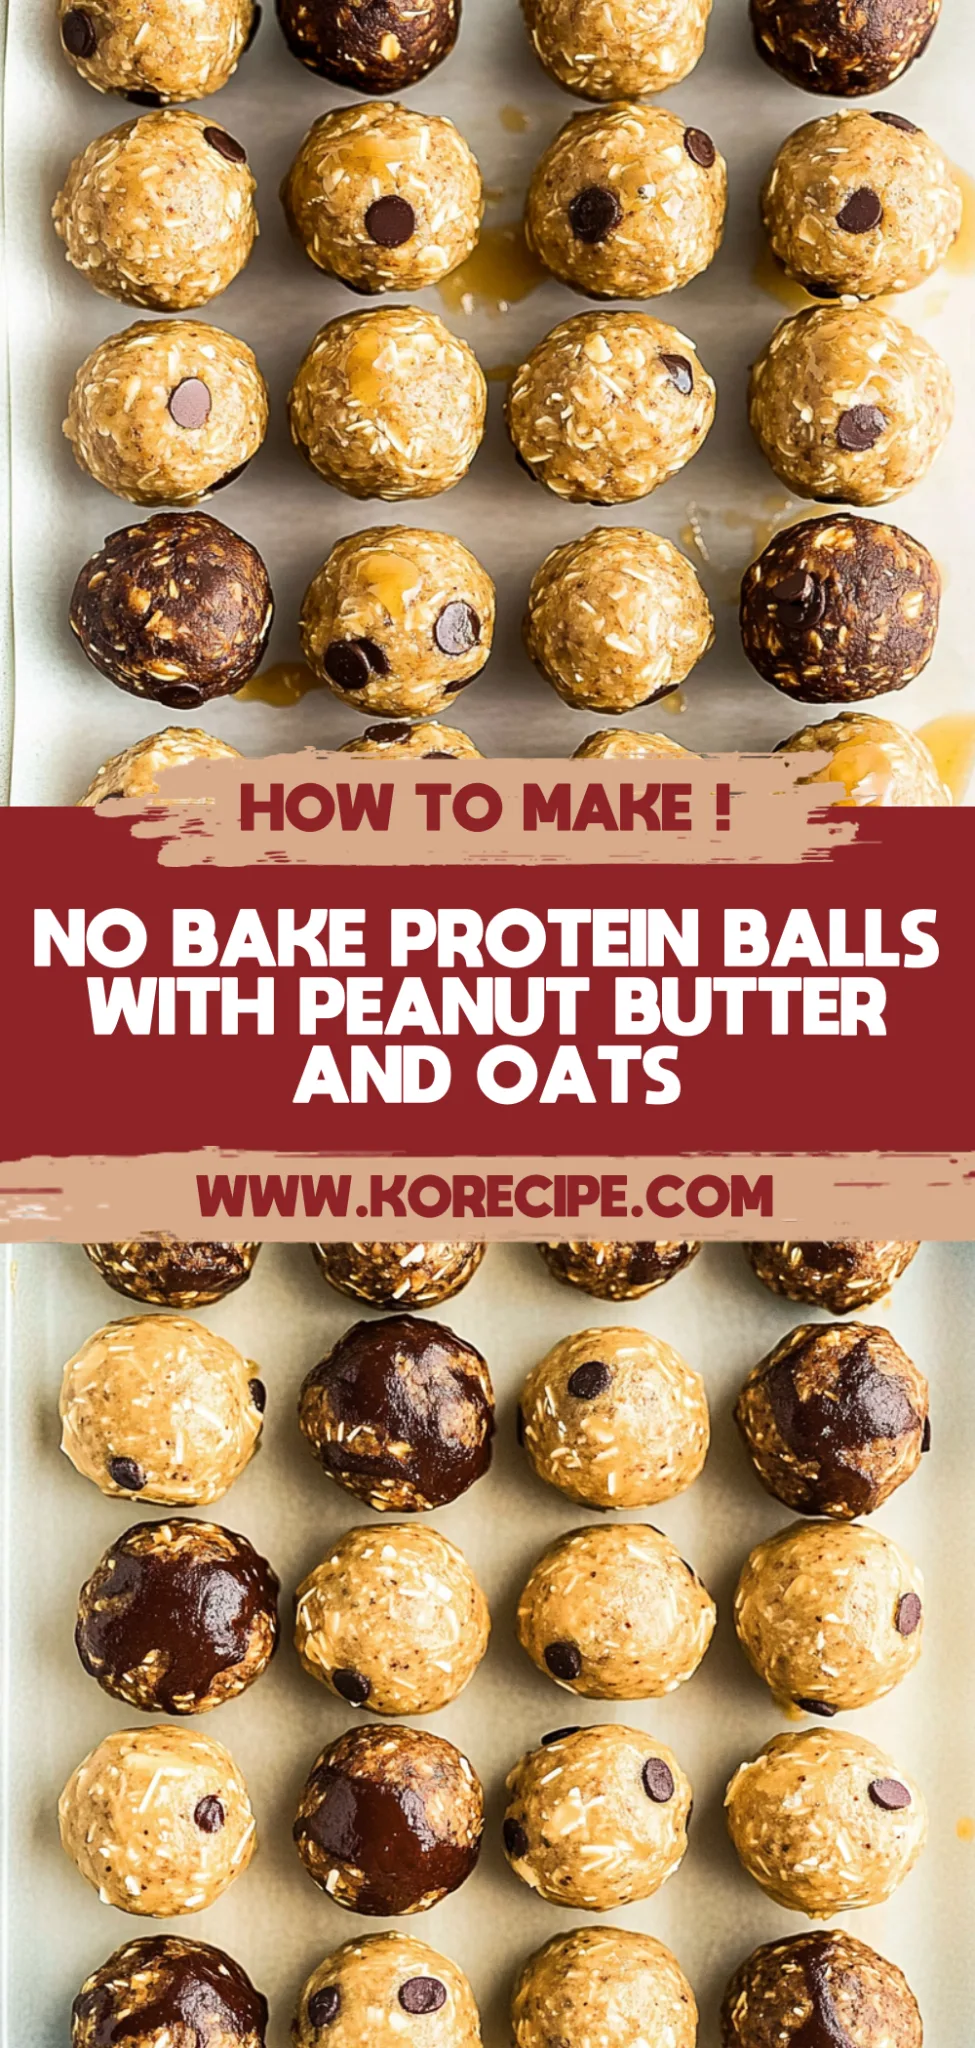
No Bake Protein Balls are a quick and convenient snack option that falls into the no-bake dessert category, making them perfect for those who want to whip up something tasty without turning on the oven. These delightful bites combine key ingredients like rolled oats, creamy peanut butter, sweet honey, and protein powder to create a chewy texture with a satisfying flavor profile, enhanced further by optional mini chocolate chips. The result is a nutritious treat that’s not only delicious but also provides a boost of energy, making it ideal for a post-workout snack or afternoon pick-me-up. Plus, with minimal effort required and no messy cookware involved, cleanup is a breeze, leaving you more time to enjoy your homemade goodies!
Perfect For:
Quick Energy Boost: These no bake protein balls are a fantastic option for a quick snack that provides energy on the go, making them perfect for busy mornings or midday slumps.
Post-Workout Snack: After a tough workout, refuel with these delicious bites that combine protein and healthy fats to help your muscles recover without any cooking required.
Family-Friendly Treat: Kids and adults alike will love these tasty protein balls—easy to make together as a family activity, and they can be customized with favorite add-ins like chocolate chips or dried fruit.
Budget-Conscious Snacking: With simple ingredients often found in your pantry, this recipe allows you to whip up nutritious snacks at home, saving you money compared to store-bought protein options.
No Bake Protein Balls Ingredients
For the Base
- 1 cup rolled oats (old-fashioned) – These provide a hearty texture and are packed with fiber to keep you feeling full.
- 1/2 cup peanut butter (or almond butter) – This creamy base adds protein and healthy fats, making your snack both delicious and nutritious.
- 1/3 cup honey (or maple syrup) – A natural sweetener that binds the ingredients together while offering a touch of sweetness.
- 1/2 cup protein powder (vanilla or chocolate flavor) – Boosts the protein content, perfect for post-workout fuel or a satisfying snack.
- 1/4 cup mini chocolate chips (optional) – Adds a delightful burst of sweetness for those chocolate lovers in your family.
For the Flavor Enhancers
- 1/2 teaspoon vanilla extract (optional) – A splash of vanilla enhances the flavor and makes these No Bake Protein Balls even more irresistible.
- 1/4 cup chopped nuts (such as almonds or walnuts) – For extra crunch and nutrients, adding nuts gives your balls a satisfying texture and healthy fats.
Kitchen Equipment You’ll Need
- Mixing bowl
- Spoon or spatula
- Baking sheet
- Refrigerator
- Measuring cups
- Measuring spoons
How to Make No Bake Protein Balls
Step 1:
In a mixing bowl, combine 1 cup of rolled oats, 1/2 cup of peanut butter, 1/3 cup of honey, and 1/2 cup of protein powder. If you’re using vanilla extract, add 1/2 teaspoon at this stage as well. Stir everything together until the mixture is well combined and holds together nicely. It should look cohesive and inviting!
Step 2:
If you’re feeling a bit indulgent, fold in 1/4 cup of mini chocolate chips and any chopped nuts you’d like to use. This step is optional but adds a delightful texture and flavor to your protein balls. Mix gently until evenly distributed, making sure not to crush the chocolate chips too much.
Step 3:
Now it’s time to form those little energy powerhouses! Using your hands, take small portions of the mixture and roll them into balls about 1 inch in diameter. Don’t worry if they aren’t perfect; just aim for uniformity so they all chill evenly later.
Step 4:
Once formed, place the protein balls on a baking sheet lined with parchment paper. Pop them in the refrigerator for at least 30 minutes to firm up. You’ll know they’re ready when they feel slightly firm to the touch but still soft enough to enjoy right away!
Tips
- Choose the right nut butter: Using a natural peanut butter or almond butter without added sugars will enhance the flavor and texture of your protein balls, helping them stay cohesive and not overly sticky.
- Measure your oats accurately: Old-fashioned rolled oats provide the best texture for these protein balls. Too much or too little can affect the binding, so use a leveled cup for precise measurement.
- Let the mixture rest: After combining all the ingredients, let the mixture sit for about 5 minutes before forming into balls. This allows the oats to absorb moisture and results in a firmer texture.
- Use clean hands for rolling: Lightly dampening your hands before rolling the mixture into balls can prevent sticking and help you achieve a smoother finish on each ball.
- Adjust sweetness to taste: Depending on your preference, you may want to modify the amount of honey or maple syrup. Remember that sweeter protein balls can be more satisfying as a treat!
- Experiment with flavors: Incorporating spices like cinnamon or nutmeg can elevate the taste profile of your protein balls, making them more exciting while still keeping them nutritious.
- Store properly for freshness: Keep your no bake protein balls in an airtight container in the fridge. They will last up to a week, ensuring you have a ready-to-eat snack whenever hunger strikes!
Optional Ingredients
- Coconut flakes: Add a tropical twist and chewy texture by mixing in unsweetened coconut flakes. They bring natural sweetness and enhance the overall flavor profile of the protein balls.
- Cinnamon: A sprinkle of ground cinnamon introduces warm, aromatic notes that complement the nutty flavors perfectly. Just 1/2 teaspoon mixed into the base will elevate your snack.
- Chia seeds: These tiny powerhouses provide a subtle crunch and boost the nutritional value with added fiber and omega-3 fatty acids. Incorporate about 2 tablespoons for an extra health kick.
- Dried fruit: Chopped dried cranberries or apricots can add bursts of sweetness and a chewy texture. Mix in about 1/4 cup to create delightful flavor contrasts in each bite.
- Sea salt: A pinch of flaky sea salt on top enhances the sweetness while adding a sophisticated touch. Just sprinkle it over the finished protein balls for a balanced flavor experience.
What to Pair with No Bake Protein Balls?
For a refreshing contrast to the rich and nutty flavors of No Bake Protein Balls, consider serving a fresh salad. A spinach salad with sliced strawberries and a light balsamic vinaigrette offers a delightful balance of sweetness and acidity that complements the protein balls beautifully. The crisp texture of the greens combined with the juicy berries creates a vibrant and healthful side that enhances your snacking experience.
Another excellent pairing is steamed or roasted vegetables, such as Brussels sprouts or sweet potatoes. Their earthy flavors and slight sweetness harmonize well with the nutty undertones of the protein balls while adding a satisfying textural contrast. The warmth of roasted vegetables also creates a cozy feel, making this combination perfect for any time of day.
To indulge your sweet tooth without overpowering the nutritious base of your meal, consider serving a simple dessert like Greek yogurt drizzled with honey and topped with fresh fruit. This light yet creamy treat mirrors the natural sweetness found in your protein balls while providing a cool, refreshing finish to your snack. The tanginess of yogurt elevates the flavors and keeps everything balanced, making it an ideal companion for your protein-packed delights.
Variations and Substitutions
Almond butter instead of peanut butter: Swap out peanut butter for almond butter to create a slightly sweeter and more delicate flavor profile. Almond butter also offers a unique creaminess that pairs beautifully with the oats, making these protein balls just as delicious while providing different nutritional benefits.
Maple syrup in place of honey: For a vegan-friendly option, replace honey with maple syrup. This substitution not only caters to those avoiding animal products but also adds a rich, caramel-like sweetness that complements the protein powder wonderfully.
Chocolate protein powder for vanilla: Use chocolate protein powder instead of vanilla to enhance the chocolatey flavor of your protein balls. This variation creates a decadent treat that feels indulgent while still being healthy, especially if you add mini chocolate chips for an extra chocolaty bite.
Rolled oats with quinoa flakes: Replace rolled oats with quinoa flakes for a gluten-free alternative. Quinoa flakes provide a nutty flavor and are packed with protein, giving these no-bake balls an additional nutritional boost while maintaining the same chewy texture.
Chopped pecans instead of walnuts: Substitute walnuts with chopped pecans for a sweeter, buttery crunch. Pecans add a rich flavor that can elevate your protein balls, making them even more satisfying and suitable for those who prefer milder nuts.
Add shredded coconut for tropical flair: Incorporate 1/4 cup of unsweetened shredded coconut into the mixture for a delightful tropical twist. The coconut adds both texture and subtle sweetness, making these protein balls feel like a mini vacation in every bite.
Cinnamon spice infusion: Add 1/2 teaspoon of ground cinnamon to your mixture to introduce warm, aromatic notes. This simple addition can transform your no-bake protein balls into a comforting snack that’s reminiscent of baked goods without any of the fuss.
Nut-free seed butter option: For those with nut allergies, replace the nut butter with sunflower seed butter. This substitution creates a similar creamy consistency while offering a unique earthy flavor, ensuring everyone can enjoy these nutritious bites!
To store your No Bake Protein Balls in the refrigerator, place them in an airtight container lined with parchment paper to prevent sticking. These protein balls will keep well for up to one week. If you find they’ve become a bit firm, simply let them sit at room temperature for a few minutes before enjoying, or microwave them for about 10 seconds to restore some of their original texture.
These protein balls freeze beautifully, though be aware that the texture may slightly change once thawed. For best results, portion them into individual servings and wrap each ball in plastic wrap before placing them in a freezer-safe bag or container. They can be stored in the freezer for up to three months; to thaw, simply move them to the refrigerator overnight or leave them out at room temperature for about 30 minutes before eating.
Frequently Asked Questions
Can I use almond butter instead of peanut butter in this recipe?
Yes, you can easily substitute almond butter for peanut butter in this recipe. It will still provide a delicious flavor and similar texture, making your protein balls just as nutritious.
How can I make these protein balls vegan?
To make these no bake protein balls vegan, simply replace honey with maple syrup and ensure that your protein powder is plant-based. Both substitutions will keep the recipe aligned with vegan dietary preferences.
Do I need to refrigerate the protein balls after making them?
Yes, it’s important to refrigerate the protein balls for at least 30 minutes after forming them. This chilling time helps them firm up and hold their shape better when you enjoy them as a snack.
Can I use quick oats instead of rolled oats?
While rolled oats are recommended for the best texture, you can use quick oats as an alternative. Just be aware that the texture might be slightly different, but they will still work well in this recipe.
How long do these protein balls last in the fridge?
These no bake protein balls can last up to one week in the refrigerator when stored in an airtight container. They also freeze well, so you can store them for up to three months if you want to prepare them in advance.
Can I add other mix-ins besides chocolate chips and nuts?
Absolutely! Feel free to customize your protein balls by adding ingredients like dried fruit, seeds, or shredded coconut. Just be mindful not to add too much moisture, which could affect the consistency.