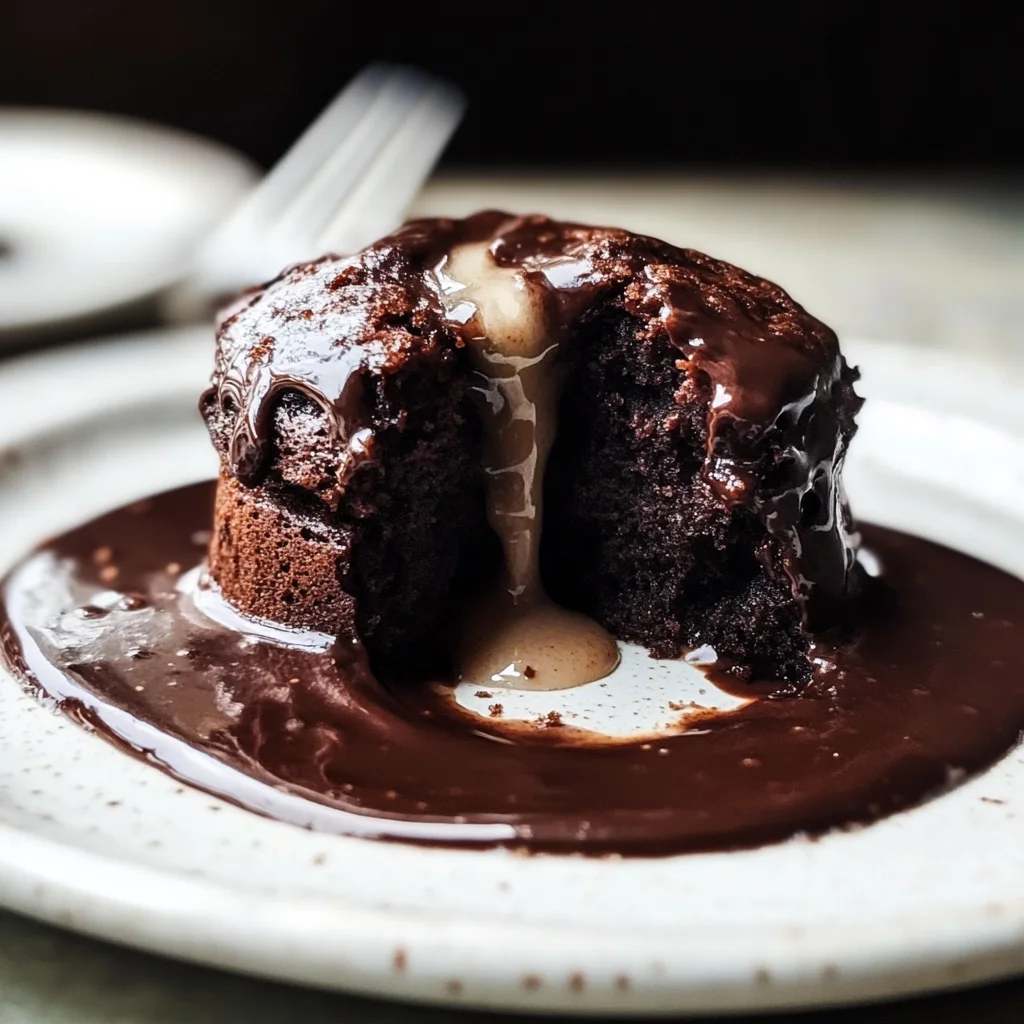
Chocolate Lava Cakes
If you’re looking for a dessert that feels special but is surprisingly easy to make, look no further than Chocolate Lava Cakes. These little gems are the ultimate indulgence! With their warm, gooey center and soft cake exterior, they’re sure to impress anyone who loves chocolate. What I love most about this recipe is its versatility; whether it’s a cozy night at home or a celebratory dinner with friends, these cakes are perfect for any occasion.
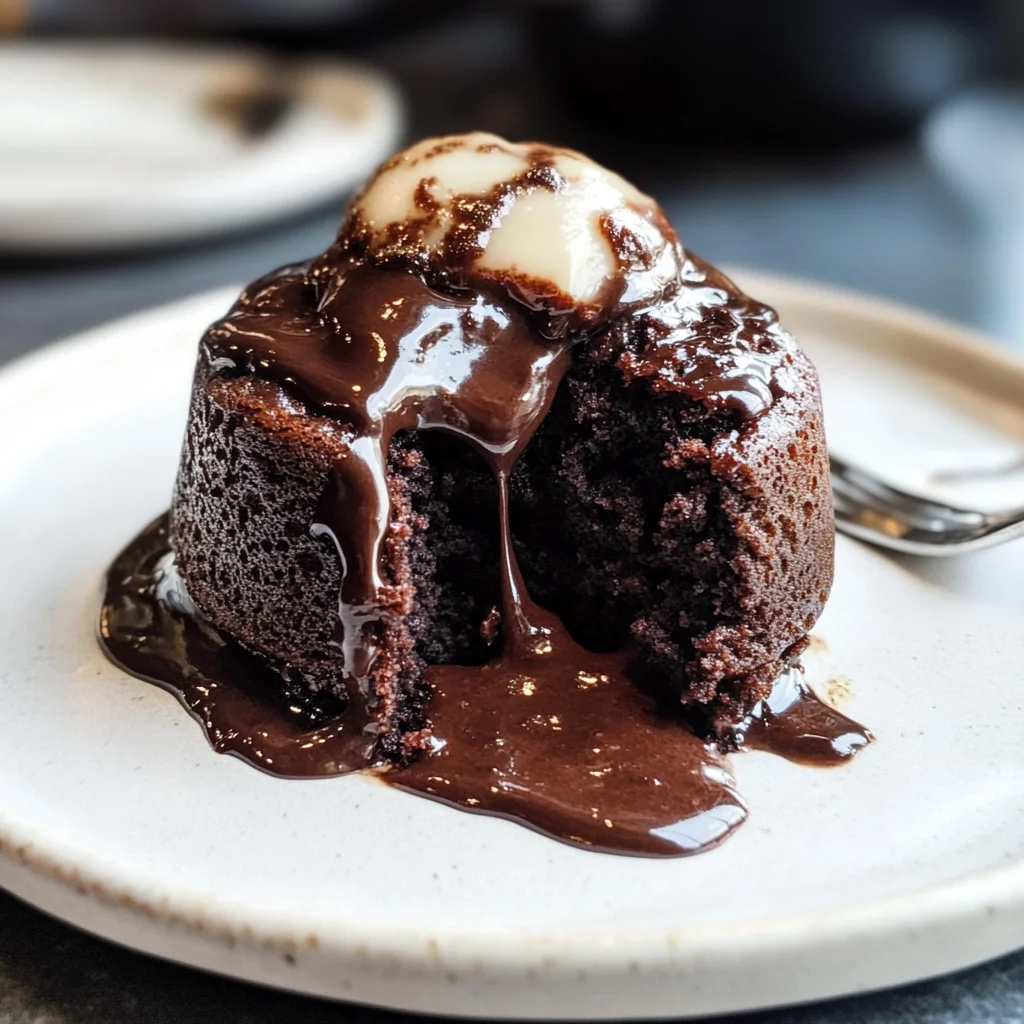
Imagine serving these delightful treats at your next family gathering or romantic dinner. As you cut into them, the rich chocolate flows out like molten lava, creating a magical moment that everyone will remember. Trust me, this Chocolate Lava Cakes recipe is one you’ll want to keep close!
Why You’ll Love This Recipe
- Quick and Easy: With just a few simple steps, you can whip up these delicious treats in under 30 minutes!
- Impressive Presentation: Serve them in individual ramekins for an elegant touch that will wow your guests.
- Customizable: Feel free to add your favorite toppings or serve with ice cream to take them to the next level.
- Perfect Portions: Each cake is perfectly sized for one, making it easy to indulge without overdoing it.
- Make Ahead Option: Prepare the batter in advance and bake right before serving for effortless entertaining.
Ingredients You’ll Need
These Chocolate Lava Cakes come together with simple, wholesome ingredients that you might already have in your kitchen. Let’s gather what we need:
- 4 oz bittersweet chocolate (high quality)
- ½ cup unsalted butter
- ½ cup granulated sugar
- 2 large eggs
- 2 large egg yolks
- ¼ cup all-purpose flour
- 1 tsp vanilla extract
Variations
The beauty of Chocolate Lava Cakes is how flexible they can be. Here are some fun ideas to personalize them:
- Add a flavor twist: Incorporate a tablespoon of espresso powder for a mocha flavor that pairs beautifully with chocolate.
- Go fruity: Add fresh raspberries or strawberries into the batter before baking for a fruity surprise.
- Change the chocolate: Swap bittersweet chocolate for dark chocolate or even white chocolate if you prefer something sweeter.
- Top it off: Drizzle with caramel sauce or serve with whipped coconut cream for extra decadence.
How to Make Chocolate Lava Cakes
Step 1: Preheat and Prepare Ramekins
Start by preheating your oven to 425°F (220°C). Greasing the ramekins with butter and dusting with cocoa powder ensures that your cakes pop out easily after baking. This step is crucial; no one wants their delicious creation stuck in the dish!
Step 2: Melt Chocolate and Butter
In a microwave-safe bowl, combine the bittersweet chocolate and unsalted butter. Melt them together in short bursts until smooth. This combination creates the rich base of our lava cake and ensures that every bite bursts with chocolate goodness.
Step 3: Mix It Up
Whisk in the granulated sugar until fully combined. Next, add the eggs and yolks one at a time, mixing well after each addition. Stir in the vanilla extract—this adds a lovely depth of flavor—and then gently fold in the flour until just mixed. Be careful not to overmix; we want those cakes to be light and airy!
Step 4: Fill Ramekins
Divide the batter evenly among your prepared ramekins without overfilling them. This is important because we want room for that delicious lava center to form as they bake.
Step 5: Bake
Pop those ramekins into your preheated oven and bake for about 12-14 minutes. The edges should be firm while the centers remain slightly jiggly—this is what makes them “lava” cakes!
Step 6: Serve Warm
Let them cool for one minute before carefully inverting onto plates. Serve immediately so everyone can enjoy that ooey-gooey center while it’s still warm!
Enjoy every mouthful of these delightful Chocolate Lava Cakes; they truly are a treat worth savoring!
Pro Tips for Making Chocolate Lava Cakes
Making Chocolate Lava Cakes is a delightful experience, and with a few handy tips, you can ensure they turn out perfectly every time!
-
Use high-quality chocolate – Choosing a premium bittersweet chocolate will enhance the flavor of your cakes, allowing the rich chocolate taste to shine through in every bite.
-
Don’t overmix the batter – Gently folding in the flour prevents the cakes from becoming too dense. You want that lovely molten center, so keep it light and airy!
-
Monitor baking time closely – Each oven is unique, so check your cakes a minute or two before the recommended time. You want the edges set but the center still soft for that gooey lava effect.
-
Let them rest briefly – Allowing your cakes to cool for just one minute before serving helps them hold their shape when inverted onto plates, ensuring a beautiful presentation.
-
Experiment with ramekin sizes – If you prefer smaller or larger portions, feel free to adjust the ramekin size. Just remember that baking times may vary!
How to Serve Chocolate Lava Cakes
Serving Chocolate Lava Cakes can be as fun as making them! A little creativity goes a long way in making these treats look as good as they taste.
Garnishes
-
Powdered sugar dusting – A light sprinkle of powdered sugar adds an elegant touch and contrasts beautifully with the dark chocolate.
-
Fresh berries – Raspberries or strawberries not only add color but also provide a refreshing tartness that complements the sweetness of the cake.
Side Dishes
-
Vanilla coconut ice cream – The creamy texture and subtle sweetness of coconut ice cream pair perfectly with the warm, molten cake, creating a delightful temperature contrast.
-
Chocolate sauce drizzle – A simple homemade or store-bought chocolate sauce adds an extra layer of indulgence and enhances the chocolate flavor.
-
Whipped coconut cream – Light and fluffy coconut cream serves as a dairy-free alternative that adds richness without overpowering the dessert.
-
Mint leaves garnish – A few fresh mint leaves not only brighten up your plate but also introduce a refreshing note that balances out the richness of the lava cake.
Enjoy creating and serving these delightful Chocolate Lava Cakes; they’re sure to leave everyone craving more!
Make Ahead and Storage
These Chocolate Lava Cakes are perfect for meal prep, allowing you to indulge in a rich dessert without the hassle on special occasions. You can prepare the batter ahead of time, making it an ideal treat for gatherings or cozy nights.
Storing Leftovers
- Store any leftover cakes in an airtight container at room temperature for up to 2 days.
- If you prefer, refrigerate them to extend freshness, but consume within 3 days for the best flavor.
Freezing
- To freeze, wrap each cooled lava cake tightly in plastic wrap and then place in a freezer-safe bag or container.
- They can be frozen for up to 2 months. Just remember to label with the date!
Reheating
- For best results, reheat individual cakes in the microwave for about 30 seconds.
- Alternatively, you can warm them in a preheated oven at 350°F (175°C) for about 10 minutes, until warmed through but still gooey inside.
FAQs
Here are some common questions about Chocolate Lava Cakes:
What makes Chocolate Lava Cakes special?
Chocolate Lava Cakes are special because they provide a delightful contrast of textures: a soft exterior with a warm, molten center that oozes chocolate goodness. This unique experience makes them a favorite among chocolate lovers.
Can I make Chocolate Lava Cakes ahead of time?
Yes! You can prepare the batter for Chocolate Lava Cakes ahead of time and store it in the refrigerator. Just fill your ramekins and bake them when you’re ready to serve.
What is the best way to serve Chocolate Lava Cakes?
Serve your Chocolate Lava Cakes warm, ideally with a scoop of vanilla ice cream or a dollop of whipped coconut cream on top. Fresh berries also make a lovely garnish!
Final Thoughts
I hope you enjoy making these divine Chocolate Lava Cakes as much as I do! They are not only simple to prepare but also offer an incredible explosion of chocolate flavor that will impress anyone lucky enough to taste them. Don’t hesitate; treat yourself and your loved ones with this indulgent dessert—I’m sure you’ll be back for seconds!
Chocolate Lava Cakes
Indulge in the rich allure of Chocolate Lava Cakes, where every bite reveals a warm, gooey center that flows with chocolate bliss. This easy-to-make dessert is sure to impress at any gathering, whether it’s a cozy date night or a festive family dinner. With minimal ingredients and quick preparation, you can create these elegant individual cakes that are perfect for satisfying your sweet cravings. Top them off with fresh berries or a scoop of creamy coconut ice cream for an unforgettable treat. Get ready to delight your taste buds with this irresistible dessert!
- Prep Time: 10 minutes
- Cook Time: 14 minutes
- Total Time: 24 minutes
- Yield: Serves 4
- Category: Dessert
- Method: Baking
- Cuisine: American
Ingredients
- 4 oz bittersweet chocolate (high quality)
- ½ cup unsalted butter
- ½ cup granulated sugar
- 2 large eggs
- 2 large egg yolks
- ¼ cup all-purpose flour
- 1 tsp vanilla extract
Instructions
- Preheat the oven to 425°F (220°C) and grease ramekins with butter, dusting them with cocoa powder.
- Melt the bittersweet chocolate and unsalted butter together in a microwave-safe bowl until smooth.
- Whisk in granulated sugar, then add eggs and yolks one at a time, mixing well after each addition. Stir in vanilla extract and gently fold in flour until just combined.
- Divide the batter among ramekins, filling them halfway.
- Bake for 12-14 minutes until edges are set but centers remain soft.
- Cool for one minute before inverting onto plates and serve warm.
Nutrition
- Serving Size: 1 cake (100g)
- Calories: 380
- Sugar: 26g
- Sodium: 40mg
- Fat: 25g
- Saturated Fat: 15g
- Unsaturated Fat: 10g
- Trans Fat: 0g
- Carbohydrates: 36g
- Fiber: 2g
- Protein: 5g
- Cholesterol: 120mg