Mrs. Welch’s Butter Tarts
If you’re looking for a delightful treat that brings smiles all around, then you’ve come to the right place! Mrs. Welch’s Butter Tarts are a cherished recipe in my home, and I can’t wait to share it with you. These tarts are not only a sweet indulgence but also a beautiful reminder of cozy gatherings and cherished moments with family. Whether it’s a busy weeknight or a festive celebration, these little gems fit perfectly into any occasion.
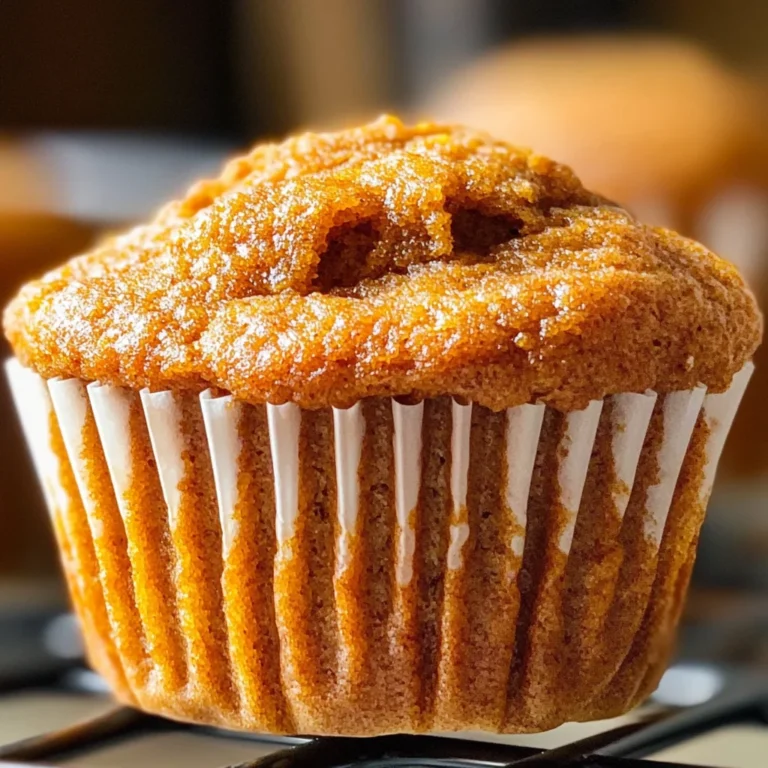
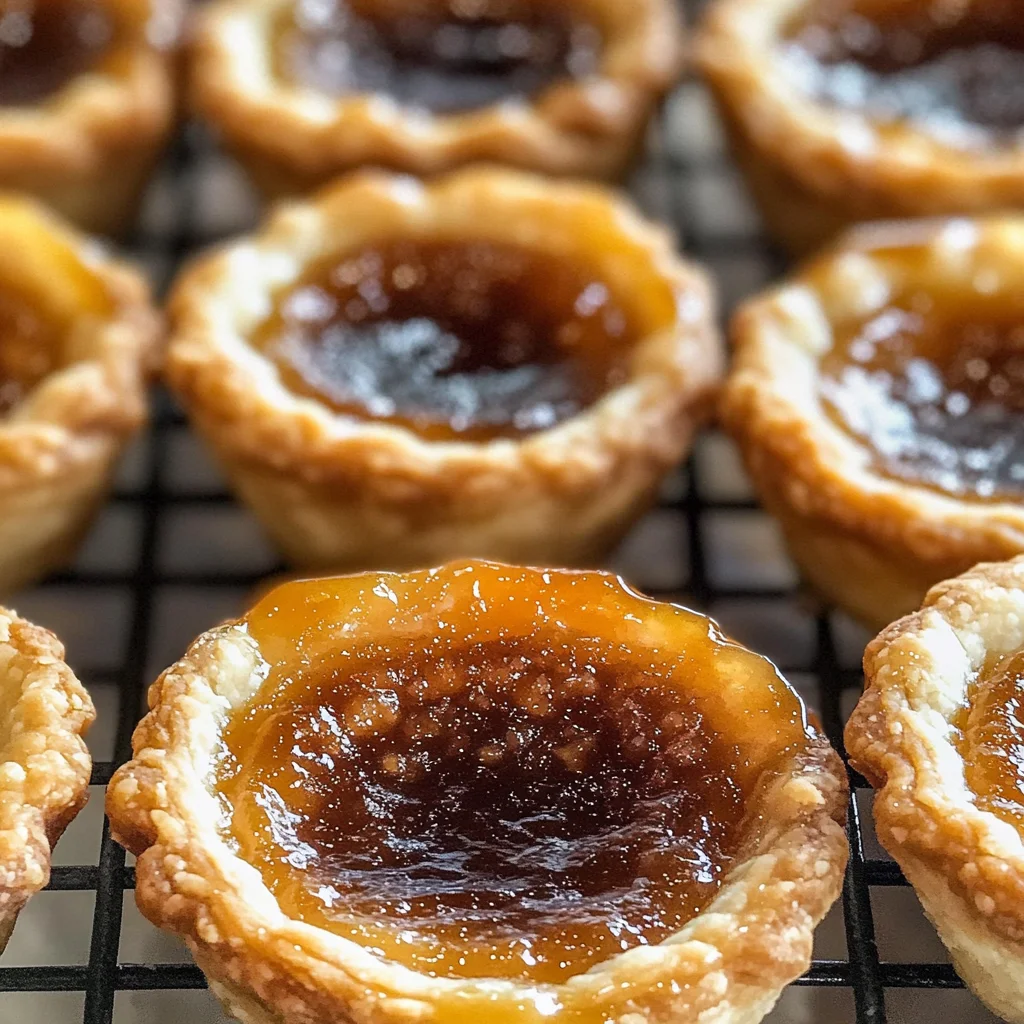
What makes Mrs. Welch’s Butter Tarts truly special is their wonderful balance of a flaky crust and a gooey filling that just melts in your mouth. They’re incredibly easy to whip up, making them an ideal dessert for both novice bakers and seasoned pros. Trust me; once you try this recipe, it will become a beloved favorite among your friends and family!
Why You’ll Love This Recipe
- Quick and Simple: This recipe is straightforward, taking only about 55 minutes from start to finish.
- Family Favorite: With their sweet, buttery flavor, they appeal to both kids and adults alike.
- Make-Ahead Friendly: You can prepare the dough ahead of time, making it perfect for busy schedules.
- Customizable Delight: Feel free to play around with flavors or toppings to suit your taste!
- Perfect for Any Occasion: Whether it’s a holiday gathering or just because, these tarts are sure to impress.
Ingredients You’ll Need
Gathering simple ingredients is half the fun! For Mrs. Welch’s Butter Tarts, you’ll need some wholesome staples that you might already have in your kitchen. Let’s take a look at what you’ll need:
- 1 cup all-purpose flour
- 1/2 cup unsalted butter (cold)
- 1/4 cup brown sugar (light or dark)
- 1/4 cup granulated sugar
- 2 large eggs
- 1 tsp vanilla extract
- Pinch of salt
Variations
One of the best things about Mrs. Welch’s Butter Tarts is how flexible this recipe can be! Feel free to get creative with flavors and fillings. Here are some fun ideas:
- Add Nuts: Mix in chopped pecans or walnuts for added crunch.
- Try Chocolate: A sprinkle of chocolate chips before adding the filling can satisfy any chocolate lover.
- Fruit Infusion: Add dried fruit like raisins or cranberries for a burst of sweetness in every bite.
- Spice It Up: A dash of cinnamon or nutmeg can add warmth and depth to the flavor.
How to Make Mrs. Welch’s Butter Tarts
Step 1: Prepare the Dough
Start by preheating your oven to 350°F (175°C). In a mixing bowl, combine the flour and salt. Then cut in the cold butter until the mixture resembles coarse crumbs. This step is crucial as it ensures your crust will be light and flaky! Gradually add cold water until the dough comes together; then chill it in the fridge for about 30 minutes.
Step 2: Roll Out the Dough
Once your dough has chilled, roll it out on a floured surface to about 1/8 inch thick. Use a round cutter or glass to cut circles from the dough. Gently fit each circle into muffin tins; this will create our delightful pastry shells! Make sure there are no cracks so that your filling stays snug inside.
Step 3: Make the Filling
In another bowl, whisk together brown sugar, granulated sugar, eggs, vanilla extract, and salt until smooth. The sugars provide that creamy texture while the eggs help bind everything together beautifully. Pour this luscious mixture into each pastry shell until they’re about three-quarters full—don’t overfill them!
Step 4: Bake Your Tarts
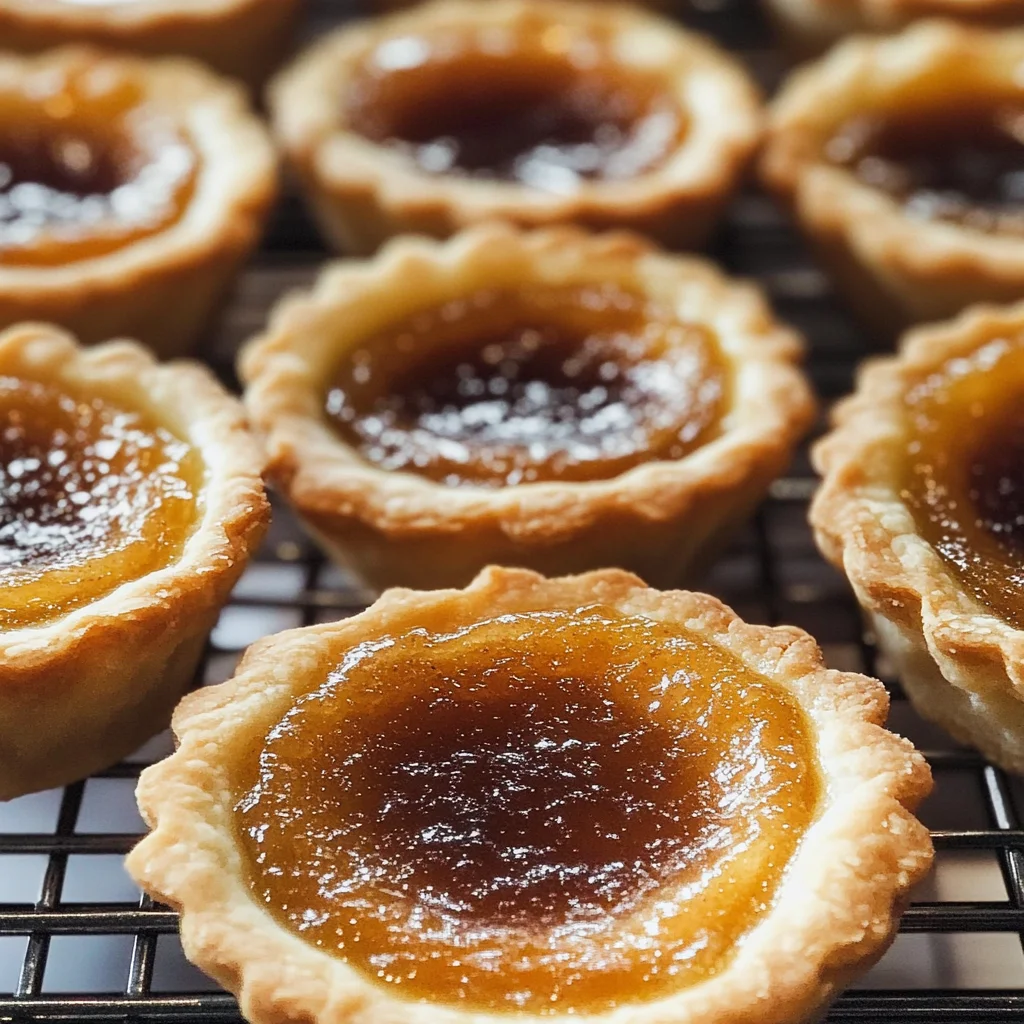
Pop those filled muffin tins into your preheated oven and bake for 20-25 minutes, or until they turn golden brown on top. Keep an eye on them; you’ll know they’re ready when they look perfectly browned and delicious! Once baked, let them cool slightly before serving—this allows the filling to set just right.
Now that you know how to make Mrs. Welch’s Butter Tarts, enjoy sharing them with loved ones—or savoring them all by yourself! Happy baking!
Pro Tips for Making Mrs. Welch’s Butter Tarts
Baking these delightful butter tarts can be a breeze with a few handy tips to ensure you achieve the perfect balance of flavors and textures.
-
Use cold ingredients: Starting with cold butter and water helps maintain the flakiness of the crust, resulting in a tender pastry that’s truly irresistible.
-
Don’t overfill: Pouring the filling only three-quarters full prevents spills and allows the tarts to puff up beautifully while baking, giving you that signature gooey center.
-
Chill the dough: Allowing your dough to chill for at least 30 minutes before rolling makes it easier to work with and helps prevent shrinkage during baking.
-
Test for doneness: Keep an eye on the tarts in the last few minutes of baking; they should be golden brown and slightly jiggly in the center. This ensures a deliciously gooey filling without being undercooked.
-
Let them cool properly: Allowing your tarts to cool slightly before serving helps set the filling, making it easier to enjoy every bite without making a mess!
How to Serve Mrs. Welch’s Butter Tarts
Presentation can make all the difference when enjoying these buttery delights! Here are some creative ideas for serving them up at your next gathering or cozy evening at home.
Garnishes
-
Whipped cream: A dollop of lightly sweetened whipped cream adds a creamy texture that perfectly complements the rich filling.
-
Chopped nuts: Sprinkling some finely chopped pecans or walnuts on top brings an added crunch and nutty flavor that enhances each bite.
Side Dishes
-
Fresh fruit salad: A refreshing mix of seasonal fruits offers a light contrast to the sweetness of butter tarts and adds a burst of color to your table.
-
Vanilla ice cream: The creamy richness of vanilla ice cream pairs beautifully with warm butter tarts, creating a delightful dessert experience that’s hard to resist.
-
Coffee or tea: Serving these tarts with a cup of freshly brewed coffee or herbal tea elevates your dessert offering, providing warmth and balance against their sweetness.
With these tips and serving suggestions, you’re all set to impress friends and family with Mrs. Welch’s Butter Tarts! Enjoy every delicious moment!
Make Ahead and Storage
These Mrs. Welch’s butter tarts are perfect for meal prep, allowing you to enjoy a sweet treat anytime without the fuss of making them from scratch each time! You can easily store or freeze these delightful bites, ensuring they stay fresh and delicious for your enjoyment.
Storing Leftovers
- Allow the butter tarts to cool completely before storing.
- Place them in an airtight container at room temperature for up to 3 days.
- For longer storage, refrigerate them for up to a week.
Freezing
- To freeze, ensure the butter tarts are fully cooled.
- Wrap each tart individually in plastic wrap, then place them in a freezer-safe bag or container.
- They can be frozen for up to 3 months—just remember to label the bag with the date!
Reheating
- To reheat frozen tarts, let them thaw in the refrigerator overnight.
- Preheat your oven to 350°F (175°C).
- Place the tarts on a baking sheet and warm them for about 10-15 minutes until heated through.
FAQs
Here are some frequently asked questions about Mrs. Welch’s Butter Tarts that might help you as you prepare this delicious recipe.
Can I use different sugars in Mrs. Welch’s Butter Tarts?
Absolutely! While this recipe calls for brown sugar and granulated sugar, you can experiment with other types like coconut sugar or even maple sugar for a unique flavor twist.
How do I know when my Mrs. Welch’s Butter Tarts are done baking?
Your tarts are ready when they turn golden brown and the filling is set but still slightly jiggles when gently shaken. Keep an eye on them as baking times may vary slightly based on your oven.
Can I make Mrs. Welch’s Butter Tarts gluten-free?
Yes! Simply substitute all-purpose flour with a gluten-free flour blend that measures 1:1. This will ensure that everyone can enjoy these tasty treats without worry!
What makes Mrs. Welch’s Butter Tarts special?
Mrs. Welch’s Butter Tarts stand out due to their perfect balance of sweetness and buttery flavor, paired with a flaky crust that melts in your mouth—truly a delightful Canadian classic!
Final Thoughts
I hope you enjoy making Mrs. Welch’s Butter Tarts as much as I do! These little gems bring warmth and joy to any gathering or quiet afternoon at home. With their simple ingredients and delightful taste, they’re sure to become a cherished favorite among your friends and family. Happy baking!
Mrs. Welch’s Butter Tarts
Indulge in the delightful taste of Mrs. Welch’s Butter Tarts, a beloved classic that promises to bring joy to any occasion. With their flaky crust and gooey filling, these tarts are the perfect blend of sweet and buttery flavors. They are incredibly easy to prepare, making them an ideal choice for both novice bakers and seasoned pros alike. Whether you’re planning a festive gathering or simply want to treat yourself, these homemade butter tarts are sure to impress everyone at your table.
- Prep Time: 25 minutes
- Cook Time: 25 minutes
- Total Time: 50 minutes
- Yield: Makes approximately 12 tarts 1x
- Category: Dessert
- Method: Baking
- Cuisine: Canadian
Ingredients
- 1 cup all-purpose flour
- 1/2 cup cold unsalted butter
- 1/4 cup brown sugar
- 1/4 cup granulated sugar
- 2 large eggs
- 1 tsp vanilla extract
- Pinch of salt
Instructions
- Preheat your oven to 350°F (175°C). In a bowl, mix flour and salt, then cut in cold butter until crumbly.
- Gradually add cold water until the dough forms; chill in the fridge for 30 minutes.
- Roll out the chilled dough and cut circles. Fit into muffin tins to form pastry shells.
- In another bowl, whisk together brown sugar, granulated sugar, eggs, vanilla extract, and salt until smooth.
- Pour the filling into each pastry shell—about three-quarters full—and bake for 20-25 minutes or until golden.
Nutrition
- Serving Size: 1 tart (40g)
- Calories: 155
- Sugar: 12g
- Sodium: 60mg
- Fat: 9g
- Saturated Fat: 5g
- Unsaturated Fat: 4g
- Trans Fat: 0g
- Carbohydrates: 16g
- Fiber: 0g
- Protein: 2g
- Cholesterol: 33mg