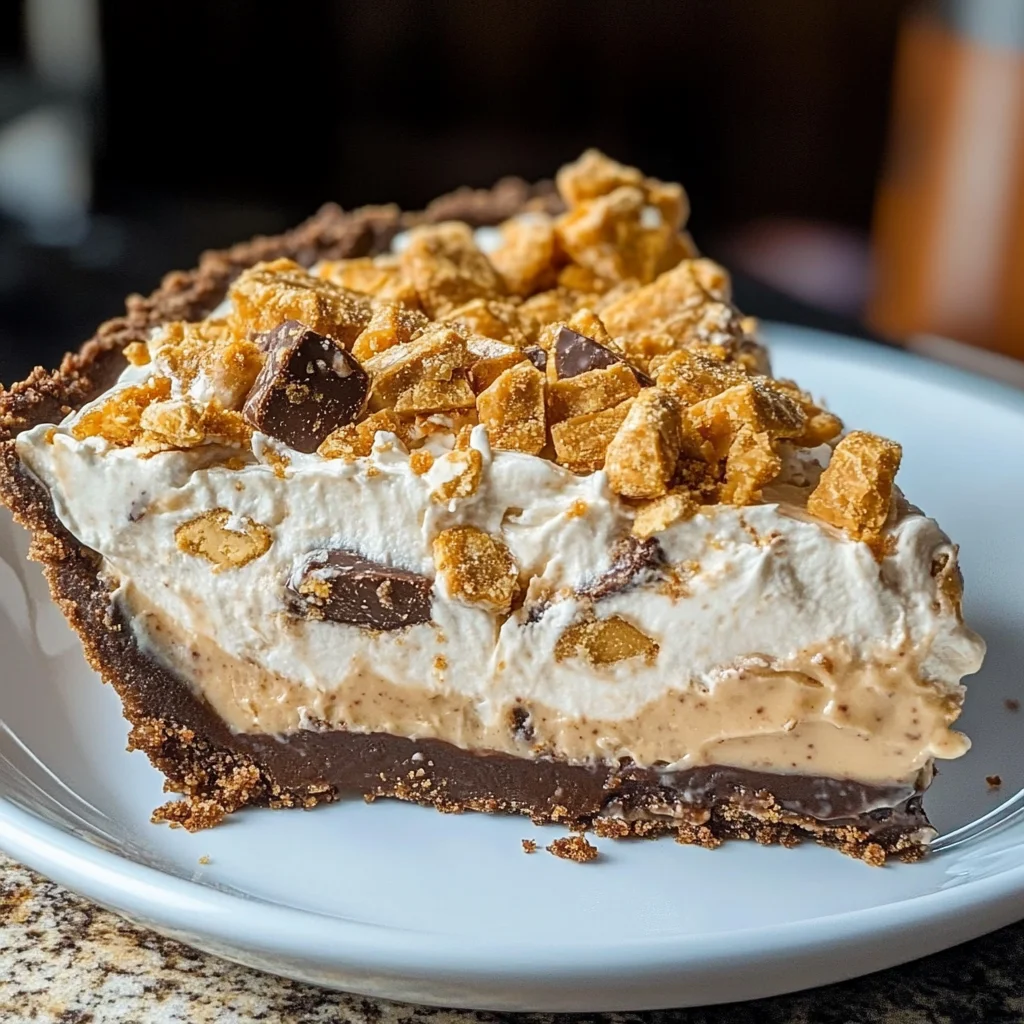
Butterfinger Pie
If you’re looking for a delightful dessert that will impress your friends and family, look no further than this creamy Butterfinger Pie. This no-bake treat is like a slice of heaven on a plate! It’s one of those recipes that always brings back sweet memories—whether it’s a family gathering, a potluck dinner, or just a cozy night in. The combination of cream cheese, peanut butter, and crushed Butterfinger bars makes every bite melt in your mouth.
What I love most about this Butterfinger Pie is how quickly it comes together. With just a few simple ingredients and minimal effort, you can whip up a dessert that feels indulgent yet comforting. Plus, since it’s a chilled pie, it’s perfect for warm days or anytime you want something refreshing.
Why You’ll Love This Recipe
- No baking required: This pie comes together with ease without turning on the oven!
- Family-friendly flavor: Kids and adults alike adore the sweet and crunchy taste of Butterfinger.
- Make-ahead convenience: Prepare it in advance and let it chill—perfect for busy schedules.
- Versatile dessert: Great for any occasion, from casual dinners to special celebrations.
Ingredients You’ll Need
For this easy Butterfinger Pie, you only need simple and wholesome ingredients that you might already have at home. Let’s gather everything to create this delicious masterpiece!
For the Filling
- 1 (8-ounce) package cream cheese (room temperature)
- 1/2 cup creamy peanut butter
- 2 teaspoons vanilla extract
- 1 1/2 cups powdered sugar
- 1 (12.5-ounce) bag fun-sized butterfinger bars (crushed; reserve 2 bars to sprinkle on top)
- 1 (8-ounce) container Cool Whip (thawed)
For the Crust
- 1 store-bought oreo or chocolate graham cracker crust
Variations
This Butterfinger Pie recipe is wonderfully flexible! If you’re feeling adventurous or simply want to mix things up, here are some fun variations to try:
- Add some crunch: Mix in chopped nuts like peanuts or walnuts for added texture.
- Change up the crust: Use a chocolate cookie crust or even a classic graham cracker crust for a different taste.
- Go wild with toppings: Drizzle chocolate syrup or caramel sauce on top before serving for extra sweetness.
- Make it lighter: Substitute regular cream cheese with low-fat cream cheese for a lighter version.
How to Make Butterfinger Pie
Step 1: Prepare the Creamy Base
Start by placing your room temperature cream cheese and creamy peanut butter in a large mixing bowl. Adding the vanilla extract gives it an extra layer of flavor. Beat this mixture with an electric mixer until it’s smooth and creamy. It’s important to get rid of any lumps here; nobody wants lumpy pie filling!
Step 2: Sweeten the Deal
Next, gradually beat in the powdered sugar until everything is well combined and smooth again. This step is crucial because it adds sweetness without overpowering the flavors of the peanut butter and cream cheese.
Step 3: Fold in Butterfingers
Now it’s time to fold in those crushed Butterfinger bars! Gently stir them into your mixture so they’re evenly distributed throughout. This will ensure that every slice of your Butterfinger Pie has those delicious crunchy bits we all love.
Step 4: Incorporate the Cool Whip
Carefully fold in the thawed Cool Whip until fully combined. This will give your pie that light, fluffy texture that makes it so irresistible. Be gentle during this step—you want to keep as much air in as possible!
Step 5: Fill the Crust
Spread your creamy filling into the store-bought crust evenly. Once you’ve filled it up, sprinkle those reserved crushed Butterfinger bars on top for an eye-catching finish.
Step 6: Chill Out
Finally, cover your pie with plastic wrap and refrigerate it for at least four hours before serving. This chilling time allows all those delicious flavors to meld together beautifully!
Enjoy making this lovely Butterfinger Pie! It’s sure to become one of your favorite go-to desserts for all occasions!
Pro Tips for Making Butterfinger Pie
Making Butterfinger Pie is a delightful experience, and with these tips, you’ll ensure your dessert turns out perfectly every time!
-
Use room temperature cream cheese – This ensures that the cream cheese blends smoothly with the peanut butter without any lumps, creating a silky filling.
-
Crush the Butterfingers evenly – Crushing the candy bars into similar-sized pieces allows for consistent texture throughout the pie, giving each bite a perfect crunch.
-
Don’t skip the refrigeration – Allowing the pie to chill for at least 4 hours helps it set properly. This enhances the flavors and makes slicing much easier!
-
Customize your crust – While an Oreo or chocolate graham cracker crust works beautifully, feel free to experiment with other cookie crusts like Nilla wafers or even a homemade graham cracker crust for added flavor.
-
Serve chilled – This dessert is best enjoyed cold! Serving it straight from the fridge not only enhances its creamy texture but also makes it incredibly refreshing.
How to Serve Butterfinger Pie
Presenting your Butterfinger Pie can be as fun as making it! Here are some ideas to elevate your dessert experience.
Garnishes
-
Whipped cream dollops – A few generous dollops of whipped cream on top can add a light and fluffy touch that complements the rich filling.
-
Chocolate syrup drizzle – A drizzle of chocolate syrup can enhance both the visual appeal and flavor profile of your pie, making it even more indulgent.
Side Dishes
-
Fresh fruit salad – A colorful mix of seasonal fruits adds a refreshing contrast to the rich flavors of the pie. It’s light and provides a nice palate cleanser between bites.
-
Vanilla ice cream – The creamy, cool ice cream pairs wonderfully with the pie’s texture. Plus, who doesn’t love ice cream?
-
Coffee or tea – Serving a cup of coffee or herbal tea alongside adds warmth and balances out the sweetness of the pie for a delightful after-dinner treat.
With these serving suggestions and tips, your Butterfinger Pie is sure to impress everyone at your next gathering! Enjoy this sweet treat knowing you’ve poured love into every layer.
Make Ahead and Storage
This Butterfinger Pie is perfect for meal prep, making it a great choice for gatherings or simply to enjoy throughout the week. Its no-bake nature means it’s quick to whip up, and it stores beautifully!
Storing Leftovers
- Place any leftover pie in an airtight container.
- Keep it refrigerated for up to 3 days.
- If you’re using a store-bought crust, be mindful that homemade ones may have a shorter shelf life.
Freezing
- To freeze, slice the pie into individual servings.
- Wrap each slice tightly in plastic wrap, then place them in a freezer-safe container.
- It can be frozen for up to 2 months. Thaw overnight in the refrigerator before serving.
Reheating
- This pie is best served chilled or at room temperature, so there’s no need for reheating!
- If you prefer it slightly softer, let it sit out for about 10-15 minutes before enjoying.
FAQs
Here are some common questions about making Butterfinger Pie:
Can I make Butterfinger Pie ahead of time?
Absolutely! This pie can be made a day or two in advance, allowing the flavors to meld beautifully while it’s chilling in the fridge.
What can I use instead of Cool Whip in Butterfinger Pie?
If you prefer a homemade option, you can whip heavy cream with powdered sugar until stiff peaks form as a substitute for Cool Whip.
How should I serve Butterfinger Pie?
Serve this delightful dessert chilled straight from the fridge. It’s great garnished with extra crushed Butterfinger bars on top for added crunch!
Final Thoughts
I hope this Butterfinger Pie brings as much joy to your kitchen as it does to mine! It’s an easy yet impressive dessert that everyone will love. Whether you’re serving it at a party or enjoying a quiet evening at home, I’m sure you’ll find it irresistible. So go ahead, gather your ingredients, and treat yourself—you deserve it!
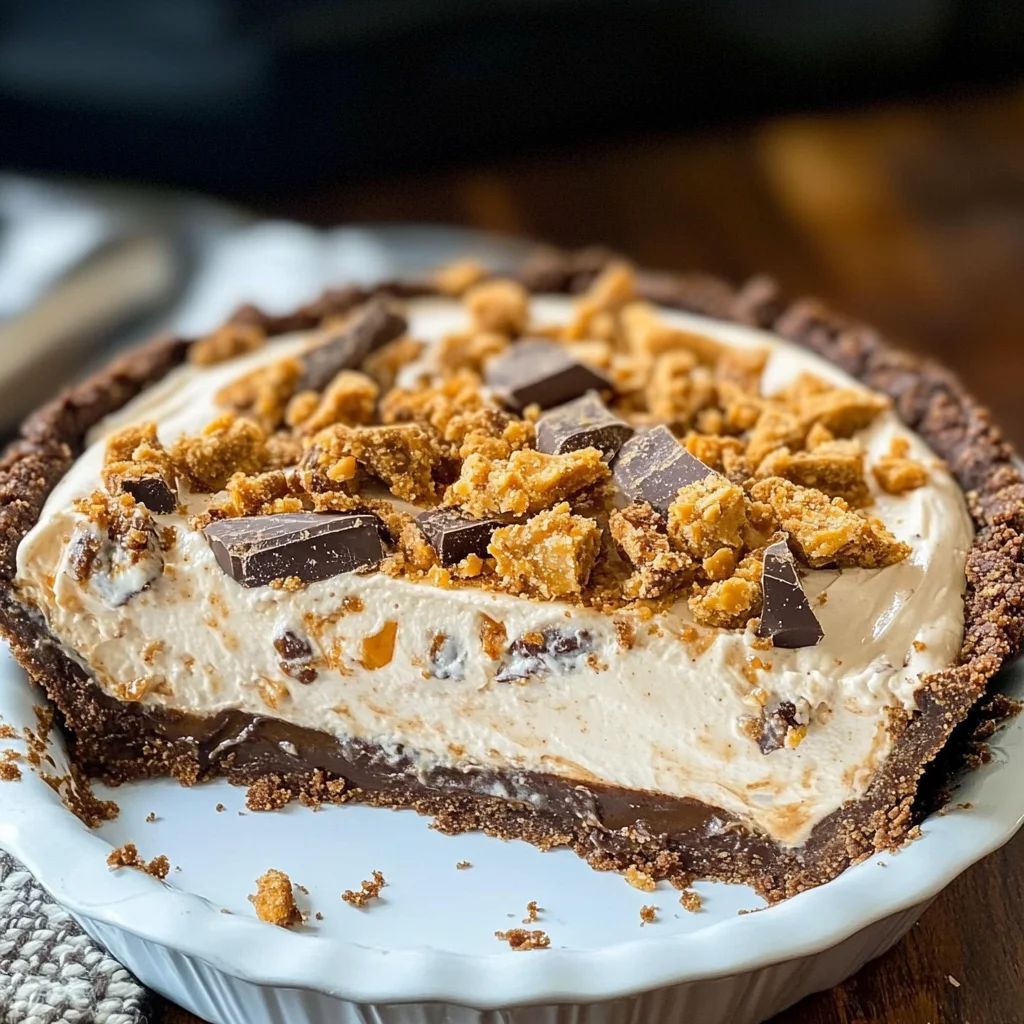
Butterfinger Pie
Treat yourself to this delightful Butterfinger Pie, a creamy and indulgent no-bake dessert that’s sure to impress at any gathering. With a luscious filling made from cream cheese, peanut butter, and crushed Butterfinger bars, this pie offers a sweet and crunchy experience in every bite. It’s perfect for warm days or whenever you’re looking for something refreshing and easy to make. Whether it’s a family dinner or a special celebration, this dessert will be the star of the show!
- Prep Time: 15 minutes
- Cook Time: None
- Total Time: 0 hours
- Yield: Serves 8
- Category: Dessert
- Method: No-bake
- Cuisine: American
Ingredients
- 1 (8-ounce) package cream cheese (room temperature)
- 1/2 cup creamy peanut butter
- 2 teaspoons vanilla extract
- 1 1/2 cups powdered sugar
- 1 (12.5-ounce) bag fun-sized Butterfinger bars (crushed; reserve 2 bars for topping)
- 1 (8-ounce) container whipped topping (thawed)
- 1 store-bought chocolate graham cracker crust
Instructions
- In a large mixing bowl, beat the cream cheese and peanut butter until smooth. Add the vanilla extract and mix well.
- Gradually incorporate the powdered sugar until fully combined.
- Fold in the crushed Butterfinger bars gently.
- Carefully mix in the thawed whipped topping until well blended.
- Transfer the filling into the chocolate graham cracker crust and sprinkle reserved crushed Butterfinger on top.
- Cover with plastic wrap and refrigerate for at least four hours before serving.
Nutrition
- Serving Size: 1 serving
- Calories: 365
- Sugar: 30g
- Sodium: 270mg
- Fat: 23g
- Saturated Fat: 10g
- Unsaturated Fat: 13g
- Trans Fat: 0g
- Carbohydrates: 36g
- Fiber: 1g
- Protein: 4g
- Cholesterol: 30mg