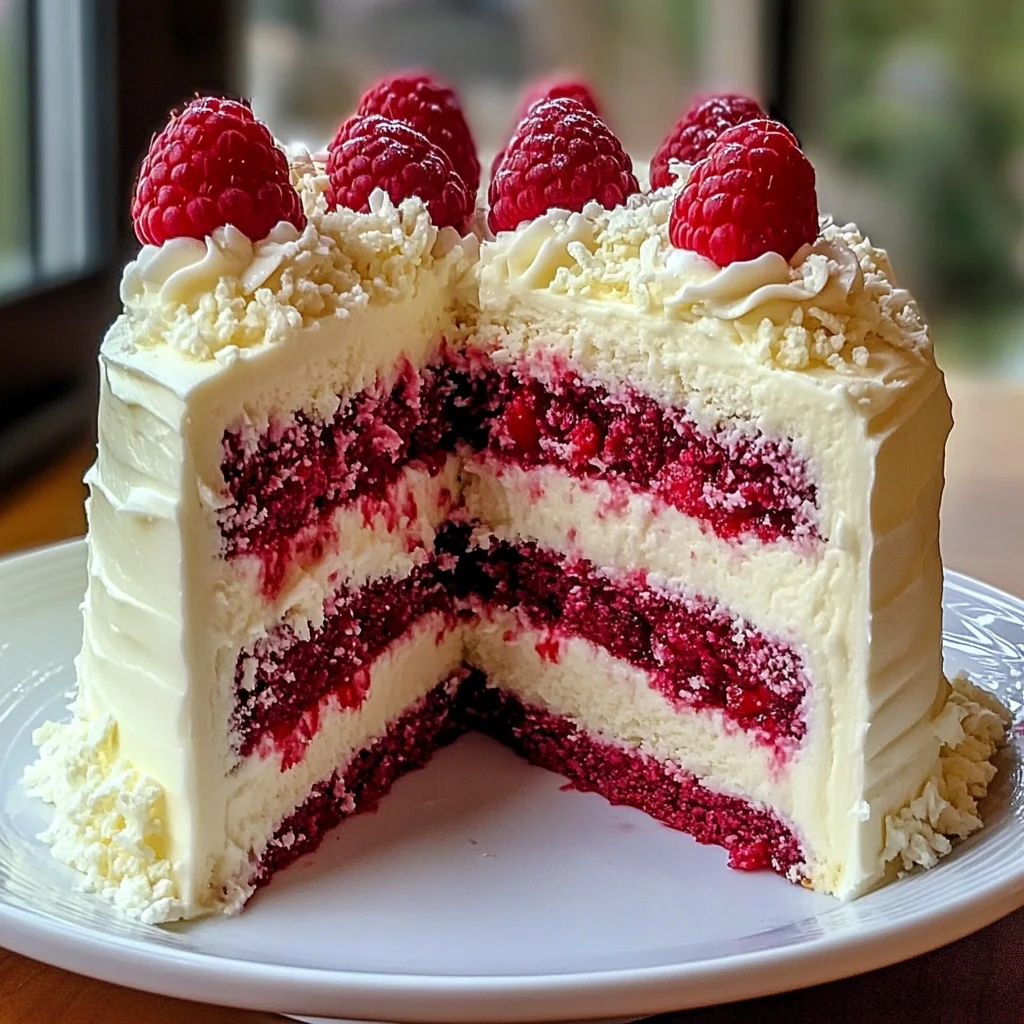
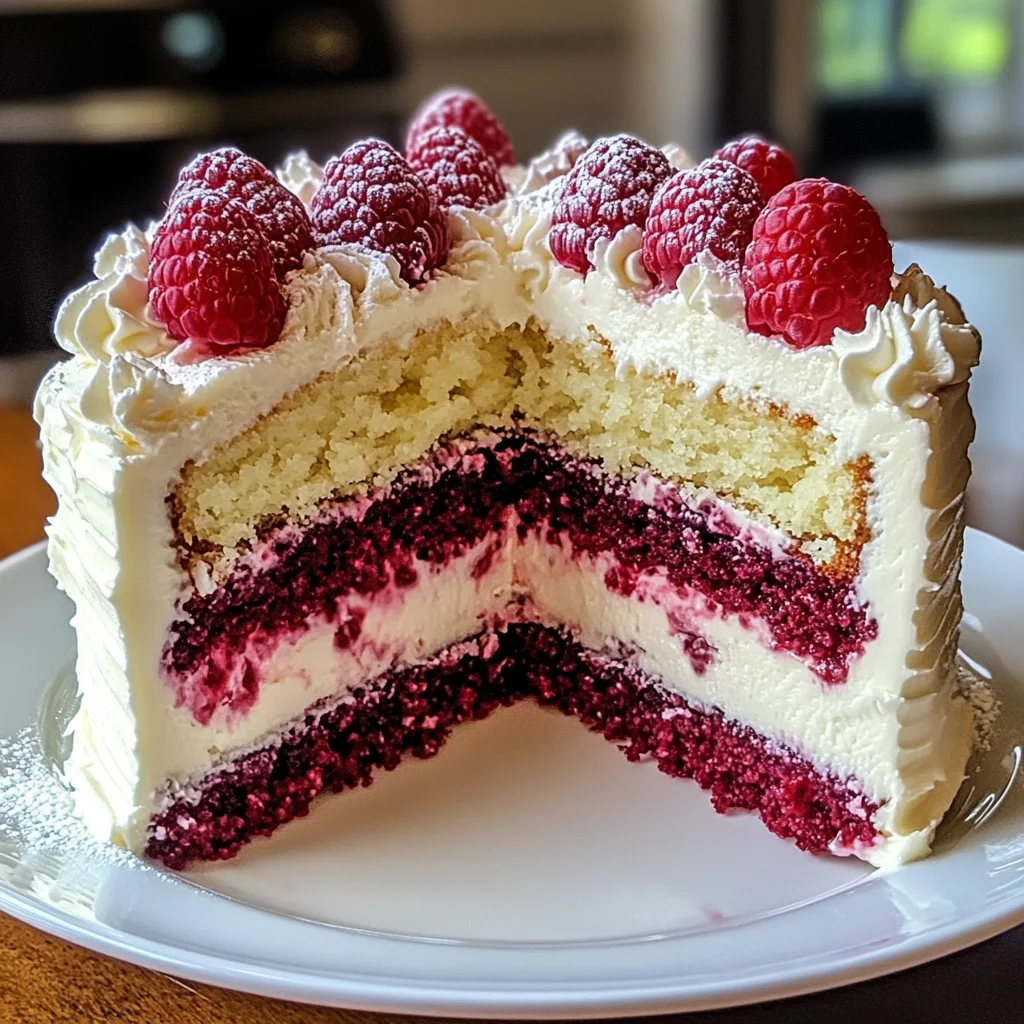
White Chocolate Raspberry Dream Cake – Sweet Easy Recipes Style
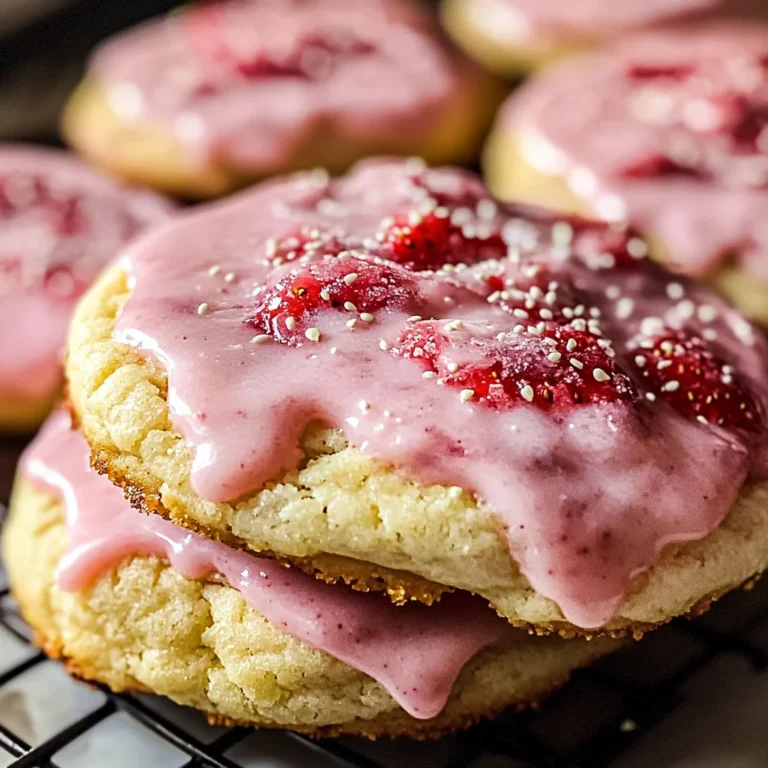
If you’re looking for a dessert that feels like a warm hug on a plate, then you’ve stumbled upon the right recipe! The White Chocolate Raspberry Dream Cake – Sweet Easy Recipes Style is not just any cake; it’s a delightful blend of fluffy cake layers, tangy raspberries, and sweet white chocolate that will make your heart sing. Whether you’re celebrating a special occasion or just want to treat yourself on a busy weekday, this cake brings joy to every gathering.
I still remember the first time I made this beauty. I had some friends over for brunch, and I wanted to create something that would wow them. Little did I know, I ended up impressing myself even more! The combination of tart raspberries and creamy white chocolate creates such a wonderful flavor profile that it feels like celebrating life in every bite. And the best part? You don’t need to be a baking expert; if I could do it after accidentally swapping salt for sugar in another cake, so can you!
Why You’ll Love This Recipe
- Quick and simple: This cake comes together easily without any complicated techniques.
- Family-friendly: Kids and adults alike will love the sweet and tangy flavors.
- Make it ahead: Perfect for prepping the night before—a great time-saver!
- Versatile serving options: Enjoy it as a dessert or with coffee at brunch; it fits any occasion.
- Stunning presentation: The beautiful layers and garnishes make it look as good as it tastes.
Ingredients You’ll Need
Let’s talk about the ingredients! They’re all simple, wholesome items that come together beautifully in this dreamy cake. You might already have many of them in your kitchen!
For the Cake
- 2 1/2 cups all-purpose flour
- 2 tsp baking powder
- 1/2 tsp baking soda
- 1/2 tsp salt
- 3/4 cup unsalted butter, softened
- 1 3/4 cups granulated sugar
- 4 large eggs
- 1 tsp vanilla extract
- 1 cup buttermilk
- 1/2 cup sour cream
- 1/2 cup white chocolate chips (melted)
- 1 1/2 cups raspberries (fresh or frozen)
For Garnish
- White chocolate shavings
- Fresh raspberries
Variations
This recipe is wonderfully flexible, so feel free to get creative! Here are some ideas to switch things up:
- Add some zest: A little lemon or orange zest can brighten the flavor even more.
- Mix up the berries: Try using blueberries or strawberries instead of raspberries for a different twist.
- Go gluten-free: Substitute with gluten-free flour to accommodate dietary needs.
- Change the frosting: Use whipped cream or a cream cheese frosting instead of traditional frosting for a different texture.
How to Make White Chocolate Raspberry Dream Cake – Sweet Easy Recipes Style
Step 1: Preheat Your Oven
Start by preheating your oven to 350°F (175°C). This is crucial because an evenly heated oven ensures your cakes rise perfectly. While that’s warming up, grab two 9-inch cake pans and grease them well—this helps with easy removal later.
Step 2: Whisk Dry Ingredients
In a large bowl, whisk together your flour, baking powder, baking soda, and salt until well combined. This step is important because it ensures that your leavening agents are evenly distributed throughout the flour for an even rise.
Step 3: Cream Butter and Sugar
In another bowl, cream your softened butter and granulated sugar until light and fluffy. This process incorporates air into the mixture which gives your cake its lovely light texture. Add in your eggs one at a time, allowing each one to fully incorporate before adding the next. Then stir in your vanilla extract—trust me, this adds such warmth to the flavor!
Step 4: Combine Wet Ingredients
Next up, gently mix in your buttermilk, sour cream, and melted white chocolate until everything is smooth. These ingredients add moisture and richness to the batter, making each bite deliciously creamy.
Step 5: Mix It All Together
Gradually add your dry ingredients into the wet mixture. Mix just until everything is combined—overmixing can lead to dense cakes! Now comes the fun part: gently fold in those beautiful raspberries with a spatula. Don’t stress if they break apart a bit; they’ll still taste divine!
Step 6: Bake Your Cakes
Divide your batter between the prepared pans and pop them into the oven! Bake for about 25-30 minutes or until a toothpick inserted into the center comes out clean. The aroma wafting through your kitchen will have everyone eagerly waiting!
Step 7: Cool Down
Once baked, let your cakes cool in their pans for about 10 minutes before transferring them onto wire racks to cool completely. Cooling is key here; you want those layers to be stable when you frost them.
Step 8: Frost & Garnish
Now comes my favorite part—frosting and decorating! Layer your cooled cakes with frosting of choice (a light whipped cream works beautifully) and garnish with white chocolate shavings and fresh raspberries on top. Slice up this dreamy creation and serve—it’s time to enjoy every sweet moment!
So there you have it—the White Chocolate Raspberry Dream Cake – Sweet Easy Recipes Style—your new go-to dessert that’ll make any occasion feel special!
Pro Tips for Making White Chocolate Raspberry Dream Cake – Sweet Easy Recipes Style
Baking this cake is a delightful experience, and with a few helpful tips, you can ensure that it turns out perfectly every time!
-
Use room temperature ingredients: Bringing your butter, eggs, and buttermilk to room temperature helps them emulsify better, resulting in a smoother batter and lighter cake texture.
-
Don’t overmix the batter: Gently folding in the dry ingredients prevents the development of gluten, which can lead to a dense cake. We want fluffy and airy!
-
Be gentle with the raspberries: When folding the raspberries into the batter, use a spatula and be careful not to crush them too much. This preserves their shape and adds lovely bursts of flavor throughout.
-
Check for doneness: Ovens can vary significantly. Start checking your cake at 25 minutes using a toothpick inserted in the center; it should come out clean or with just a few moist crumbs attached.
-
Cool completely before frosting: Allowing your cakes to cool completely on wire racks ensures that your frosting doesn’t melt off when applied. Plus, this makes for easier stacking if you’re layering!
How to Serve White Chocolate Raspberry Dream Cake – Sweet Easy Recipes Style
This gorgeous cake not only tastes amazing but also looks stunning on any table! Here are some creative serving ideas that will impress your guests.
Garnishes
- White chocolate shavings: Grate some white chocolate over the top of your frosted cake for an elegant touch that complements the flavors beautifully.
- Fresh mint leaves: A couple of sprigs of mint can add a pop of color and freshness that contrasts nicely with the sweetness of the cake.
- Powdered sugar dusting: A light dusting of powdered sugar just before serving gives a classic finish that enhances both appearance and flavor.
Side Dishes
- Fruit salad: A refreshing fruit salad with seasonal berries can provide a nice balance to the richness of the cake.
- Vanilla ice cream: A scoop of creamy vanilla ice cream pairs wonderfully with this dessert, especially as it melts slightly against the warm cake.
- Lemon curd: A small dollop of tangy lemon curd on the side adds acidity that cuts through the sweetness and elevates each bite.
- Coffee or tea: Serving this cake alongside a warm cup of coffee or herbal tea creates a cozy atmosphere perfect for brunch or afternoon gatherings.
Enjoy baking—and most importantly, enjoy indulging in every slice of this dreamy white chocolate raspberry delight!
Make Ahead and Storage
This White Chocolate Raspberry Dream Cake is not only a showstopper but also perfect for meal prep! You can easily make it ahead of time and store it, so you’re ready for any occasion without the last-minute rush.
Storing Leftovers
- Store leftover cake in an airtight container at room temperature for up to 3 days.
- If you prefer a longer shelf life, refrigerate the cake, where it will keep well for about a week.
- For best flavor and texture, keep the frosting separate until you’re ready to serve.
Freezing
- To freeze, wrap slices tightly in plastic wrap or aluminum foil.
- Place the wrapped slices in a freezer-safe container or bag.
- Enjoy the cake within 2-3 months for optimal taste. Thaw in the refrigerator overnight before serving.
Reheating
- For a warm slice, microwave each piece on low power for 10-15 seconds.
- If you prefer a crispier texture, pop the slices in a toaster oven until warmed through.
FAQs
Here are some common questions about making this delightful cake:
Can I use frozen raspberries for the White Chocolate Raspberry Dream Cake?
Absolutely! Frozen raspberries work beautifully in this recipe. Just make sure to gently fold them into the batter while they’re still frozen to prevent too much juice from leaking out.
How should I store my White Chocolate Raspberry Dream Cake?
Store your cake in an airtight container at room temperature for up to 3 days or refrigerate it for about a week. For longer storage, consider freezing individual slices.
What can I use instead of sour cream?
You can substitute plain yogurt or cottage cheese blended until smooth if you’re looking for an alternative to sour cream. Both options will lend a creamy texture!
How do I make this cake gluten-free?
To make a gluten-free version of the White Chocolate Raspberry Dream Cake, substitute all-purpose flour with a 1:1 gluten-free baking mix that contains xanthan gum.
Can I add other fruits to this recipe?
Certainly! While raspberries are divine in this cake, you can experiment with strawberries or blueberries for a fun twist. Just remember that different fruits may alter the moisture content slightly.
Final Thoughts
I hope you find as much joy in making this White Chocolate Raspberry Dream Cake as I did! Its harmonious flavors and delightful textures make it truly special. Whether it’s for brunch with friends or just because you deserve a sweet treat, this cake is sure to impress. Happy baking, and don’t forget to share your creation with those you love!
White Chocolate Raspberry Dream Cake

Indulge in the delightful experience of our White Chocolate Raspberry Dream Cake – Sweet Easy Recipes Style. This luxurious dessert combines fluffy cake layers with tangy raspberries and rich white chocolate, creating a symphony of flavors that’s perfect for any occasion. Whether you’re hosting a brunch, celebrating a birthday, or just treating yourself after a long day, this cake is sure to impress. With its stunning presentation and mouthwatering taste, you’ll feel like a baking pro—even if you’re a beginner! Enjoy the simplicity of this recipe which requires minimal effort and can be prepared ahead of time.
- Prep Time: 20 minutes
- Cook Time: 30 minutes
- Total Time: 50 minutes
- Yield: Serves approximately 12 1x
- Category: Dessert
- Method: Baking
- Cuisine: American
Ingredients
- 2 1/2 cups all-purpose flour
- 2 tsp baking powder
- 1/2 tsp baking soda
- 1/2 tsp salt
- 3/4 cup unsalted butter, softened
- 1 3/4 cups granulated sugar
- 4 large eggs
- 1 tsp vanilla extract
- 1 cup buttermilk
- 1/2 cup sour cream
- 1/2 cup white chocolate chips (melted)
- 1 1/2 cups raspberries (fresh or frozen)
- White chocolate shavings
- Fresh raspberries
Instructions
- Preheat your oven to 350°F (175°C) and grease two 9-inch cake pans.
- In a bowl, whisk together flour, baking powder, baking soda, and salt.
- In another bowl, cream butter and sugar until fluffy. Add eggs one at a time and then stir in vanilla extract.
- Mix in buttermilk, sour cream, and melted white chocolate until smooth.
- Gradually combine dry ingredients with the wet mixture; fold in raspberries gently.
- Divide batter between prepared pans and bake for 25-30 minutes or until a toothpick comes out clean.
- Cool cakes for about 10 minutes before transferring to wire racks to cool completely.
Nutrition
- Serving Size: 1 slice (80g)
- Calories: 350
- Sugar: 25g
- Sodium: 160mg
- Fat: 15g
- Saturated Fat: 9g
- Unsaturated Fat: 5g
- Trans Fat: 0g
- Carbohydrates: 50g
- Fiber: 2g
- Protein: 5g
- Cholesterol: 60mg